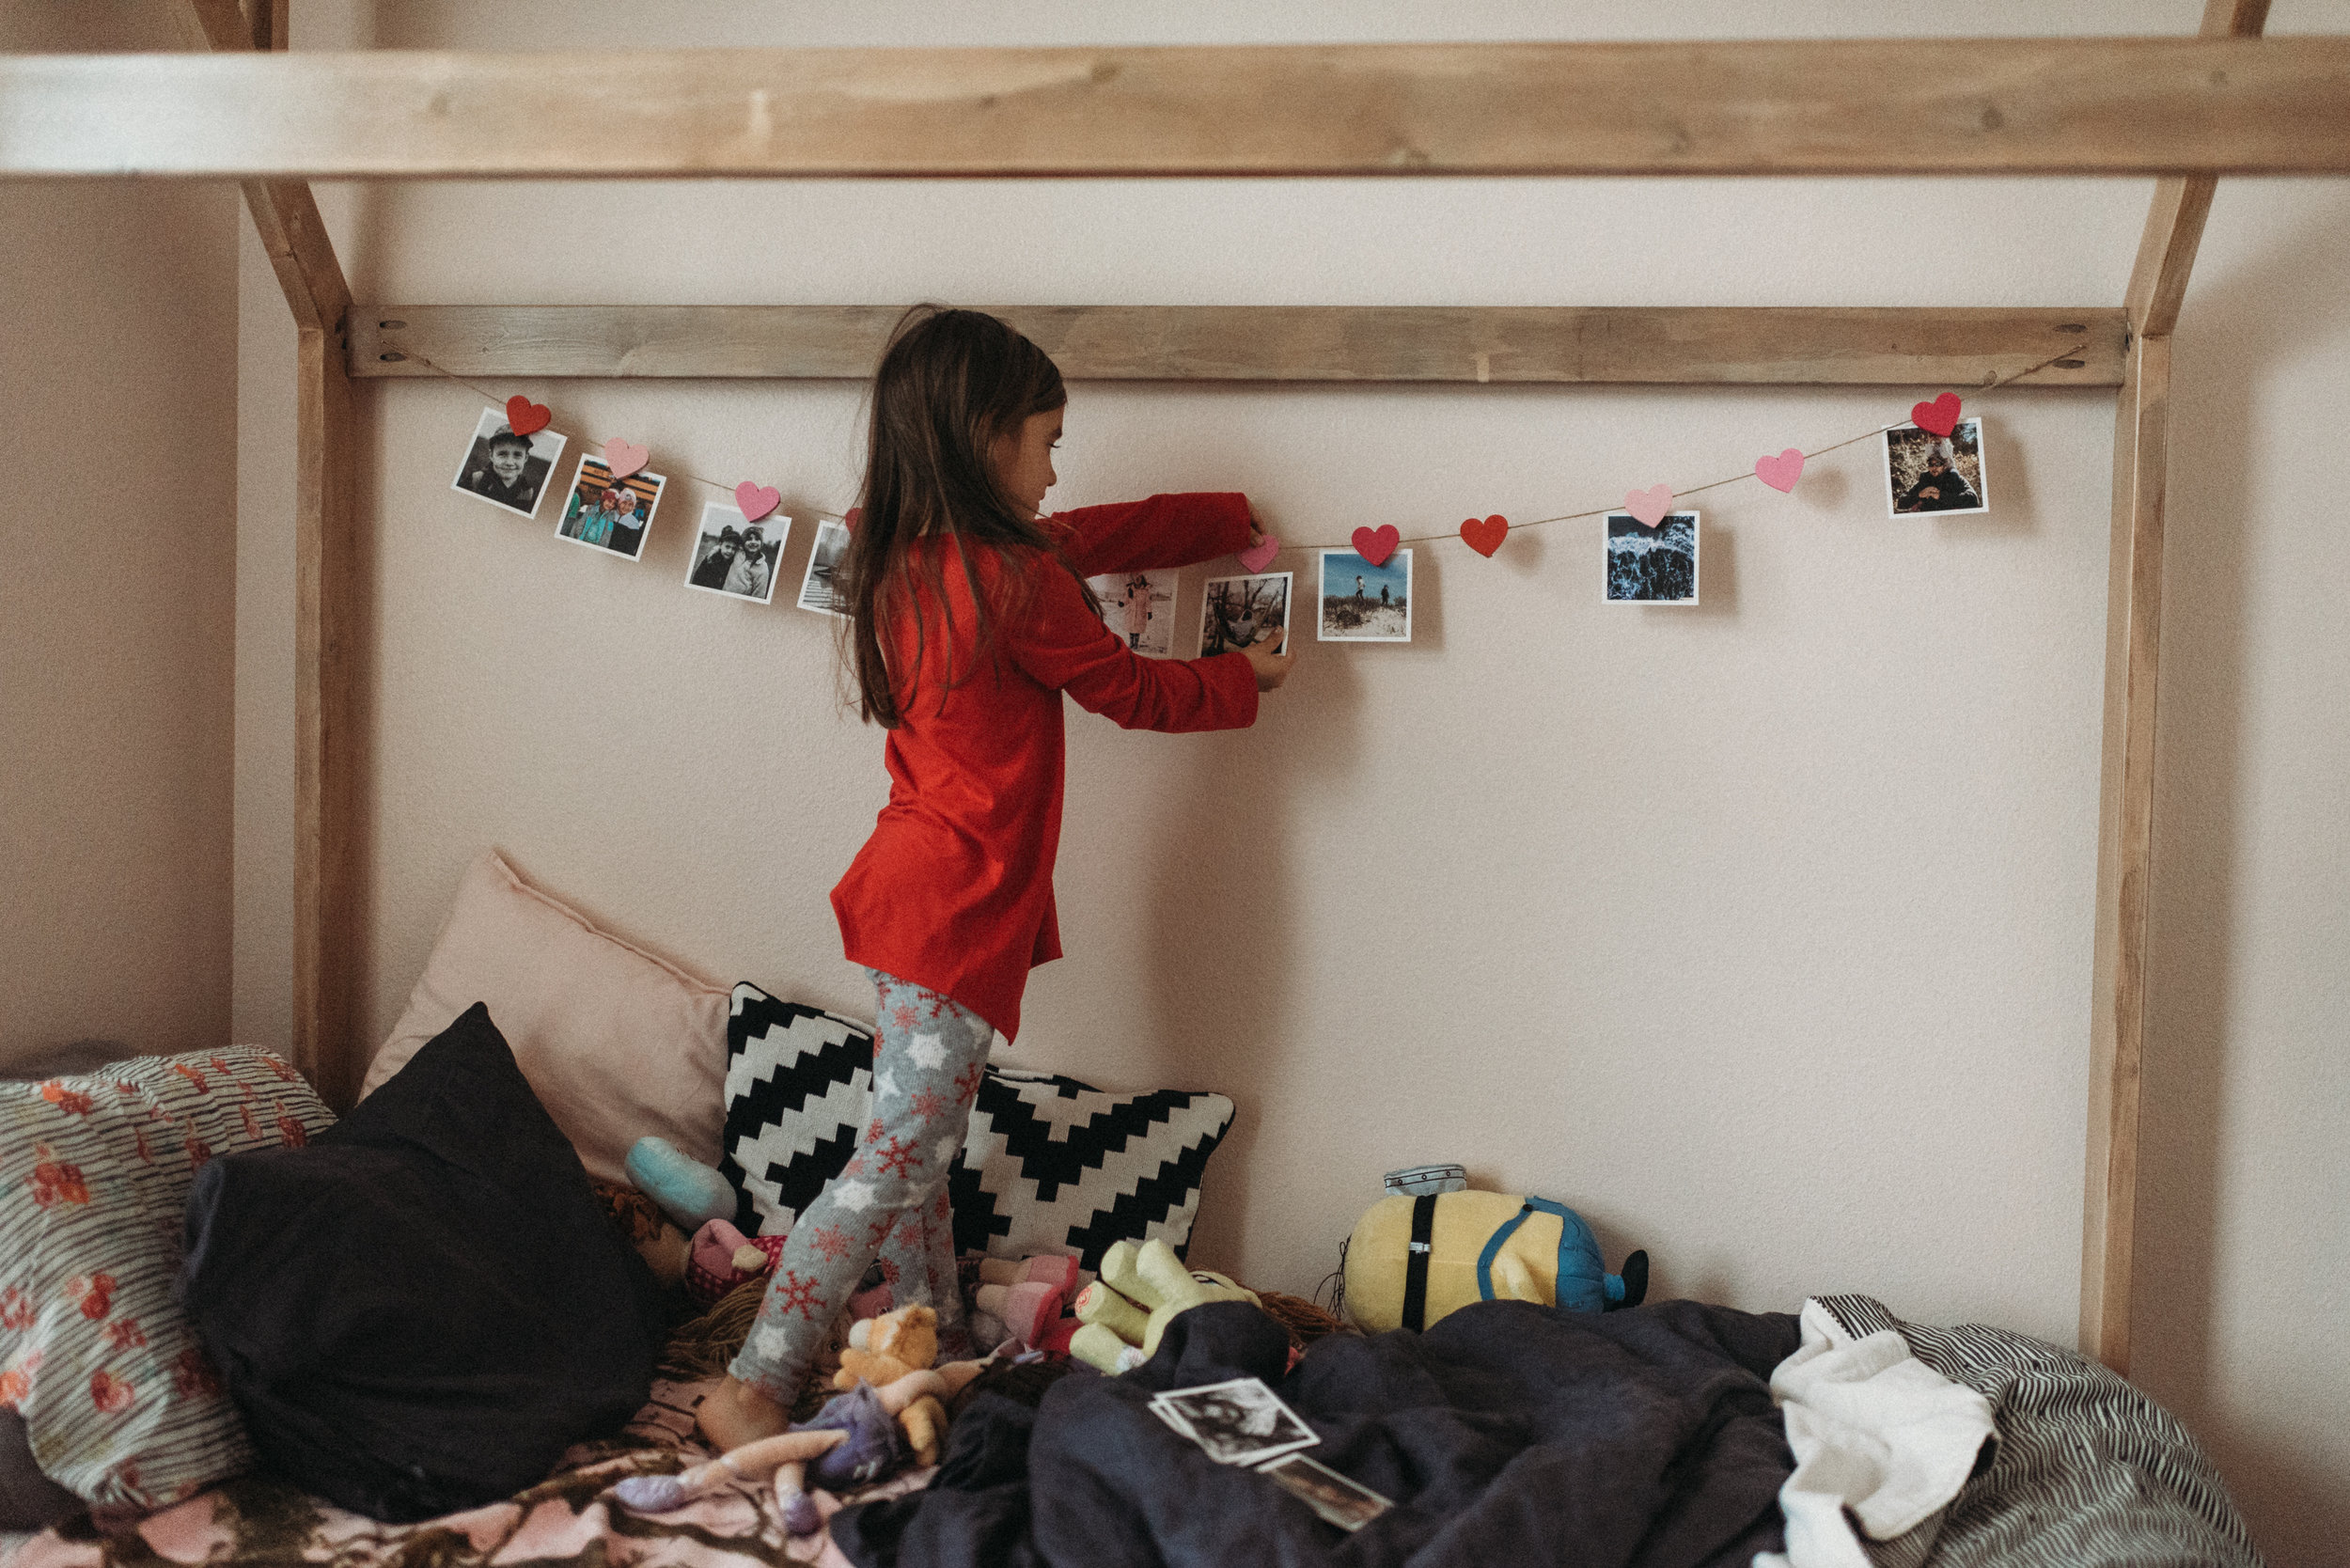
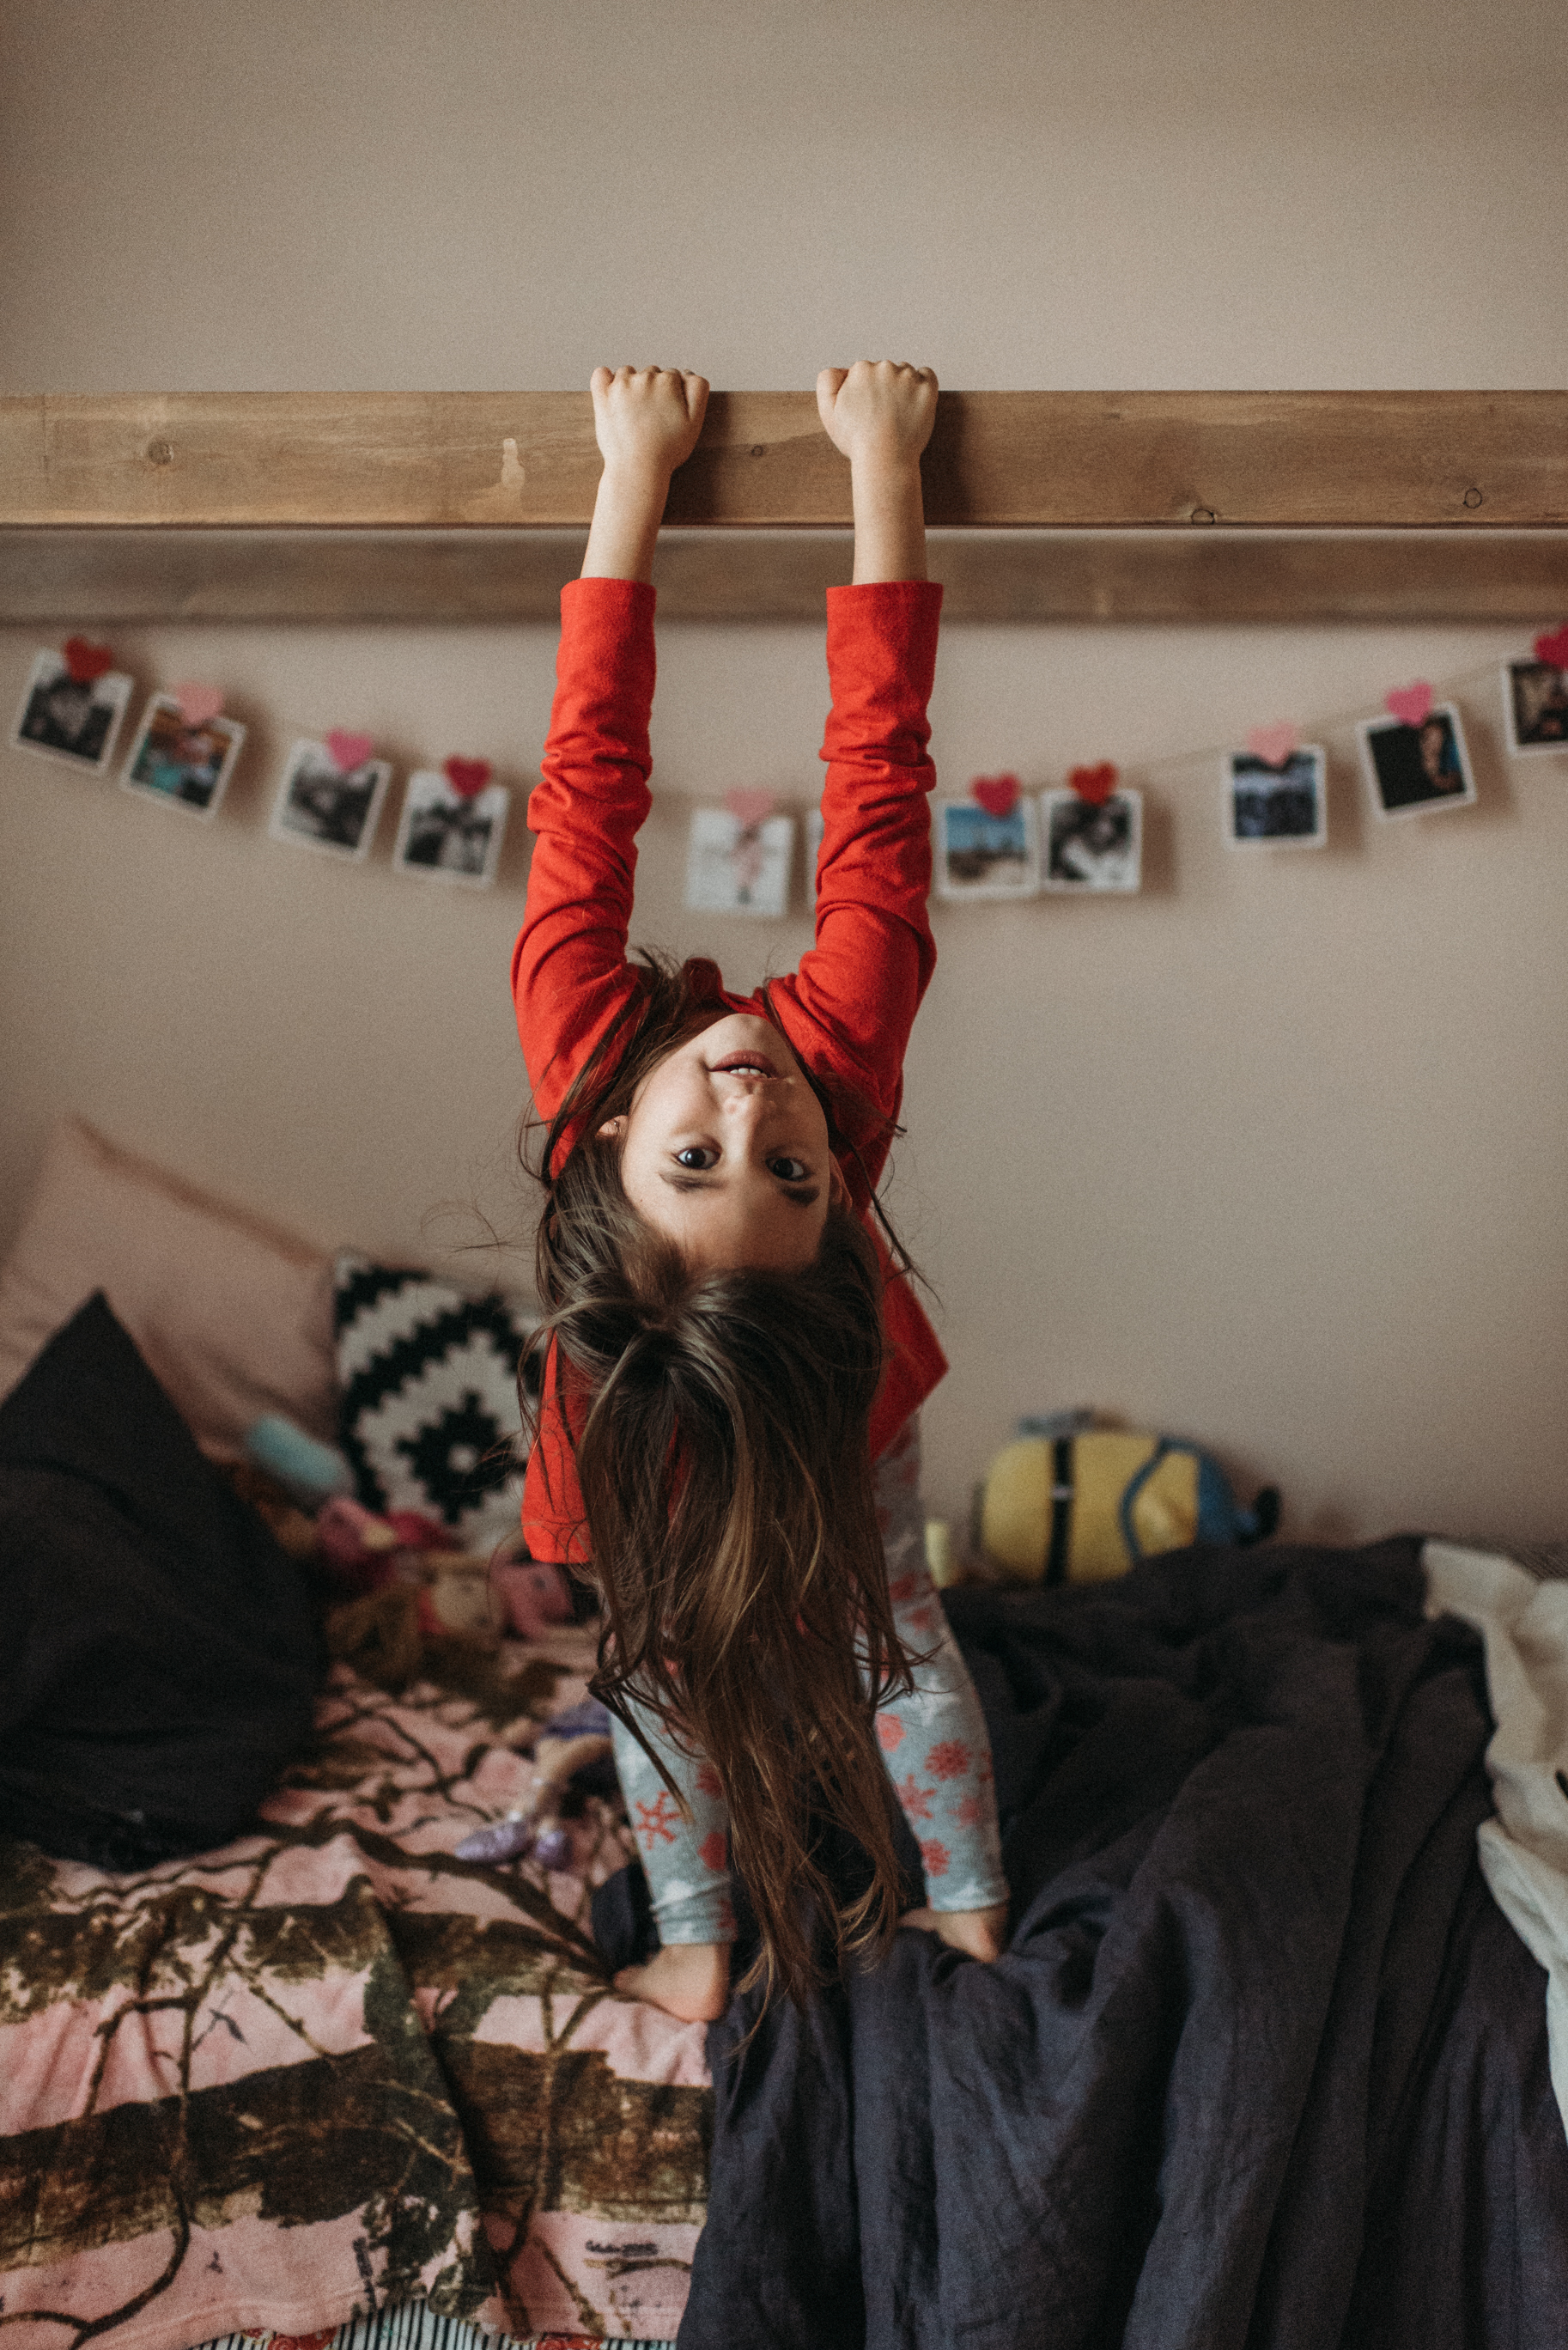
As Seen in Issue 11 of the Magnolia Journal

IMG_2017.JPG

Issue No. 11 of the Magnolia Journal surrounds the idea of Freedom and inspires you to celebrate freedom in a number of ways. Maybe you celebrate freedom by choosing a path for you instead of what was expected, maybe it’s letting go of comforts to allow room for growth, maybe it’s packing out your kids into the car and living life on the road, or maybe it’s simply running through the grass barefoot on a summer day with literally nothing else to do. There’s even a summer bucket list that will inspire you to make this the best summer ever and live like you’re a kid again. If this sounds like your jam or you just want some of the grilled flatbread recipes (because they look freaking delicious and easy to make), go get it. If you just want to find a few Joanna Gaines approved items you can buy online, well then, I can help you with that. Just keep scrolling.


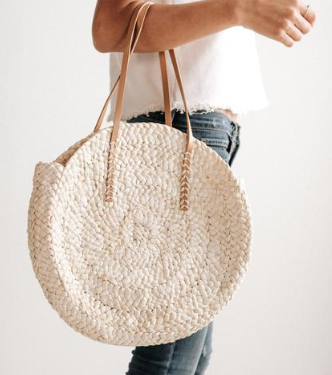
Backpack by Walker Family Goods

There’s an entire article about the Walker Family in this issue. They sound kind of amazing and I want to be them for like a week (likely I’d change my mind after 1 day in the car with my kids). Plus I’m just loving the vintage vibe of this bag.

Chemical Free Sunscreen

Look, I use the bad stuff on my kids too because it works. I’m trying to do better though and this one caught my eye.


Coconut Milk Roll On Perfume

There’s a seaweed + sea salt one I really want to try. I haven’t used perfume in years, but this makes me want to try.


But seriously, this issue has me saying all the yeses and I’m really anxious to try the spinach + artichoke flatbread and the tomato + basil flatbread. There’s even a recipe for chimichurri with avocado that sounds amazing too and since our outdoor kitchen is finally up and running, you can bet we might just be trying that one very soon with whatever steak I can get Tyler to cook. I don’t grill so if you know what an appropriate cut of mean for a chimichurri is, feel free to share.

So yeah, if you’re asking my opinion, I’d totally recommend issue no. 11 of the Magnolia Journal.

-Monica

As Seen in Issue No. 10 of The Magnolia Journal

I’m a Johanna Gaines fan. For some that’s cool and for others I imagine they’re over it, but I could literally watch Fixer Upper all day. I don’t reall buy magazines, but I finally broke down the other day and bought my first issue of The Magnolia Journal and I kind of love it. It’s not over ran with ads and I love that not every single item in the magazine is from Magnolia Market or the Hearth and Hand section at Target. I was a little surprised really and from my surprise came this post. I’ve compiled some of the things from the magazine that can be purchased elsewhere and put them all here. It’s a little doormat heavy because I guess that’s a thing at the onset of spring when we’re all trying to freshen up our outdoor spaces. It makes me want a few more exterior doors. And I really think I’d like to have The Kaufman Merchantile Guide. It looks like one of those things you could get lost in for a little bit.

Disclaimer: Post contains a couple affiliate links.


IMG_1741.JPG
Screen Shot 2019-04-08 at 12.24.01 PM.png

Screen Shot 2019-04-08 at 12.32.10 PM.png
Screen Shot 2019-04-08 at 12.35.45 PM.png

Screen Shot 2019-04-08 at 12.41.31 PM.png
Screen Shot 2019-04-08 at 2.15.20 PM.png

Screen Shot 2019-04-08 at 2.24.03 PM.png
Screen Shot 2019-04-08 at 2.33.37 PM.png

If you’ve ever thought about checking out the magazine and haven’t, I’d recommend picking one up. This issue had articles about authenticity and monthly journal prompts in addition to just being eye candy. I love the positive vibe and plan on subscribing.

-Monica

Weekend Wrap Up: Lots of Sanding and A Little Bit of Crawfish

Photo Mar 11, 12 39 23 PM.jpg

This weekend was a weekend of I’m not really sure where the time went or what all got done. I guess technically we did lose an hour, but even still…

Photo Mar 08, 4 01 58 PM.jpg

I’d hoped to finish up some projects this weekend that just weren’t moving along as expected. Lots of lots of sanding went down and I think the sanding part might finally be done. And let’s be real, kids need things so it’s not like these things ever get my full attention for too long. Here’s a visual of what we’re working on. I’m sanding and staining multiple projects at a time because they’ll all get stained the same color and it seems like the easiest way to control having them all look the same. Sometimes I just eyeball the stain mixture and don’t actually measure so… yeah. The picture ledge will get painted the same white as the shiplap, but the rest of these are getting stained.

Photo Mar 11, 6 17 08 PM.jpg

I feel like the frames for the mirrors are going to take our bathrooms to a whole new level and I’m really excited about it. Our master bathroom especially is in major need of a transformation and paint and framing the mirrors seem like the biggest bang for our buck. We’ve also got some inexpensive light fixtures from Lowe’s that will be mounted into the header portion of the frame. The top of the frame is a 1x10 and the rest of the frame is going to be made out of 1x4s.

I painted a couple of accent walls black (one in our bathroom and one in the office). I don’t regret it, but admittedly I do regret the sheen. Before we can finish and install the floating shelves, I have to head back to Home Depot for more paint. I went with an eggshell by mistake thinking that was what we used for our outdoor kitchen, but the outdoor kitchen is a satin. I think I may purchase a matte this go around. I did try to sand down the sheen because I saw something on the internet that said I could, but our texture is too heavy for this idea to work so back to painting I go.

Saturday evening we attended a random crawfish boil at our home builder’s house. Two years later he and Tyler still keep in touch even though we were a tough customer. The picture below is all the kids (except Corbin) and their big hearts letting the last two crawfish go. Saida is there on the left cautiously watching the release go down. She was curious, but not interested in getting anywhere near those pinchers.

IMG_1297.jpg

Fixer Upper Style For My Windows on the Cheap

Ask me who I'd like to be right now and my asnwer is probably Joanna Gaines minus a few kids because let's be real, two is enough for me.  

An episode of Fixer Upper from season 2 is my inspiration for our latest home improvement project.  I always wanted to do this in our old house, but life never really allowed or rather, we didn't make time.  

See that wood header piece above the window?  I wanted something like that on our otherwise boring windows.

Screen Shot 2018-05-03 at 12.06.52 PM.png

We don't have curtains for a couple of reasons.  1. Tyler hates them and 2. his allergies are terrible.  Curtains are just one more thing that collect dust and as cute as they are, we've just opted not to do them mostly (I actually have a pair in the dining room and Saida's room).  But this means my windows were so not cool and so boring and weren't really contributing anything to our home in terms of style or character.  Not to mention our home is a brand new home void of much in the way of character to begin with.  So I decided to do this simpliest version of this idea that I could think of.  

2018-05-03_0001.jpg

So this was literally as simple as buying wood, cutting it to size, staining it, and screwing it to the wall.  There really isn't anything special about the wood we bought.  I didn't even poly it.  I was really just thinking how do I do this as cheap as possible with as little work as possible and still get something I think looks really cool.  

Next on the list for this room is a rug and maybe a large house plant. 

Side note:  Why are rugs so expensive?  Where do I find an affordable one that doesn't suck? And how do I know how big of one to buy?  I suck at rugs.

OKAY LET'S BREAK DOWN HOW TO DO THIS

STEP ONE: Measure your windows.

In my personal opinion you have two options here.  One is to have a piece of wood for each window and the other is to do like I did here and have a piece of wood for each set of windows.  I measured window sill edge to window sill edge because I wanted a little bit of overhang and that just made sense to me as a simple way to decide on a measurement.

Once I had all my measurements, I took into account how long the boards are at Lowe's and started figuring out how many window treatments I could get per board.

STEP TWO: Family Trip to Lowe's 

Get however many boards you've determined you need.  I'm pretty sure ours are 1x8s, but really you can just get whatever fits the look you're going for.

Wood Stain.  I used a combo of Minwax Weathered Oak and Early American.  1 part Weathered Oak and 3 parts Early American.  I also found a sponge next to the stain that I used to apply the stain once mixed.

Screws - We used black sheetrock screws just because I like to accent with black and it goes with what's happening in our home.  Make sure you buy something that isn't too long, but is going to go through whatever board you choose and still be able to secure to the wall. 

Drop Cloths - Depending on where you plan to do the staining of the wood, I'd definitely invest in a drop cloth or something to protect the floor of wherever the staining is happening.

Sand paper - we used a pretty fine sand paper

STEP THREE: Cut and sand the wood

The cutting part was Tyler's job.  I gave him measurements and told him which pieces were supposed to come out of each board and he went for it.

The sanding is really just so the wood will take the stain and you can remove any sharp edges.  I sanded off all sharp edges of my boards because that's the look I wanted.  I took a wet cloth to my boards afterwards just to remove some of the dust.  Sanding as many boards as I had took forever so I stopped for the day and came back to stain another day.

STEP FOUR: Stain the wood

Again I mixed one part Weathered Oak to three parts Early American and then generously applied the stain with a sponge to one board at a time going with the grain of the wood.  I let it sit for about 7 minutes and wiped it away with the grain of the wood.  I love how the knots in the wood absorbed more stain and really gave the wood some character.

2018-05-03_0002.jpg

STEP FIVE: Find a really cute young thing to do the install for you.

Photo Mar 18, 5 34 06 PM.jpg

Just kidding.  But for real though, this could take a couple people depending on how much space you're covering.  We got ours lined up the way we wanted them, made sure they were level, and that we were screwing into a stud.  We also mounted ours down just enough to cover the mechanical part of the blinds.

breakfast-3984.jpg
breakfast-3980.jpg

And that was it.  Now we have Fixer Upper worthy windows instead of ugly builder windows for way less than traditional window treatments would have ever cost.

breakfast-3974.jpg