As Seen in Issue 11 of the Magnolia Journal

IMG_2017.JPG

Issue No. 11 of the Magnolia Journal surrounds the idea of Freedom and inspires you to celebrate freedom in a number of ways. Maybe you celebrate freedom by choosing a path for you instead of what was expected, maybe it’s letting go of comforts to allow room for growth, maybe it’s packing out your kids into the car and living life on the road, or maybe it’s simply running through the grass barefoot on a summer day with literally nothing else to do. There’s even a summer bucket list that will inspire you to make this the best summer ever and live like you’re a kid again. If this sounds like your jam or you just want some of the grilled flatbread recipes (because they look freaking delicious and easy to make), go get it. If you just want to find a few Joanna Gaines approved items you can buy online, well then, I can help you with that. Just keep scrolling.


Backpack by Walker Family Goods

There’s an entire article about the Walker Family in this issue. They sound kind of amazing and I want to be them for like a week (likely I’d change my mind after 1 day in the car with my kids). Plus I’m just loving the vintage vibe of this bag.

Chemical Free Sunscreen

Look, I use the bad stuff on my kids too because it works. I’m trying to do better though and this one caught my eye.


Coconut Milk Roll On Perfume

There’s a seaweed + sea salt one I really want to try. I haven’t used perfume in years, but this makes me want to try.


But seriously, this issue has me saying all the yeses and I’m really anxious to try the spinach + artichoke flatbread and the tomato + basil flatbread. There’s even a recipe for chimichurri with avocado that sounds amazing too and since our outdoor kitchen is finally up and running, you can bet we might just be trying that one very soon with whatever steak I can get Tyler to cook. I don’t grill so if you know what an appropriate cut of mean for a chimichurri is, feel free to share.

So yeah, if you’re asking my opinion, I’d totally recommend issue no. 11 of the Magnolia Journal.

-Monica

Oven S'mores in Under 5 Minutes

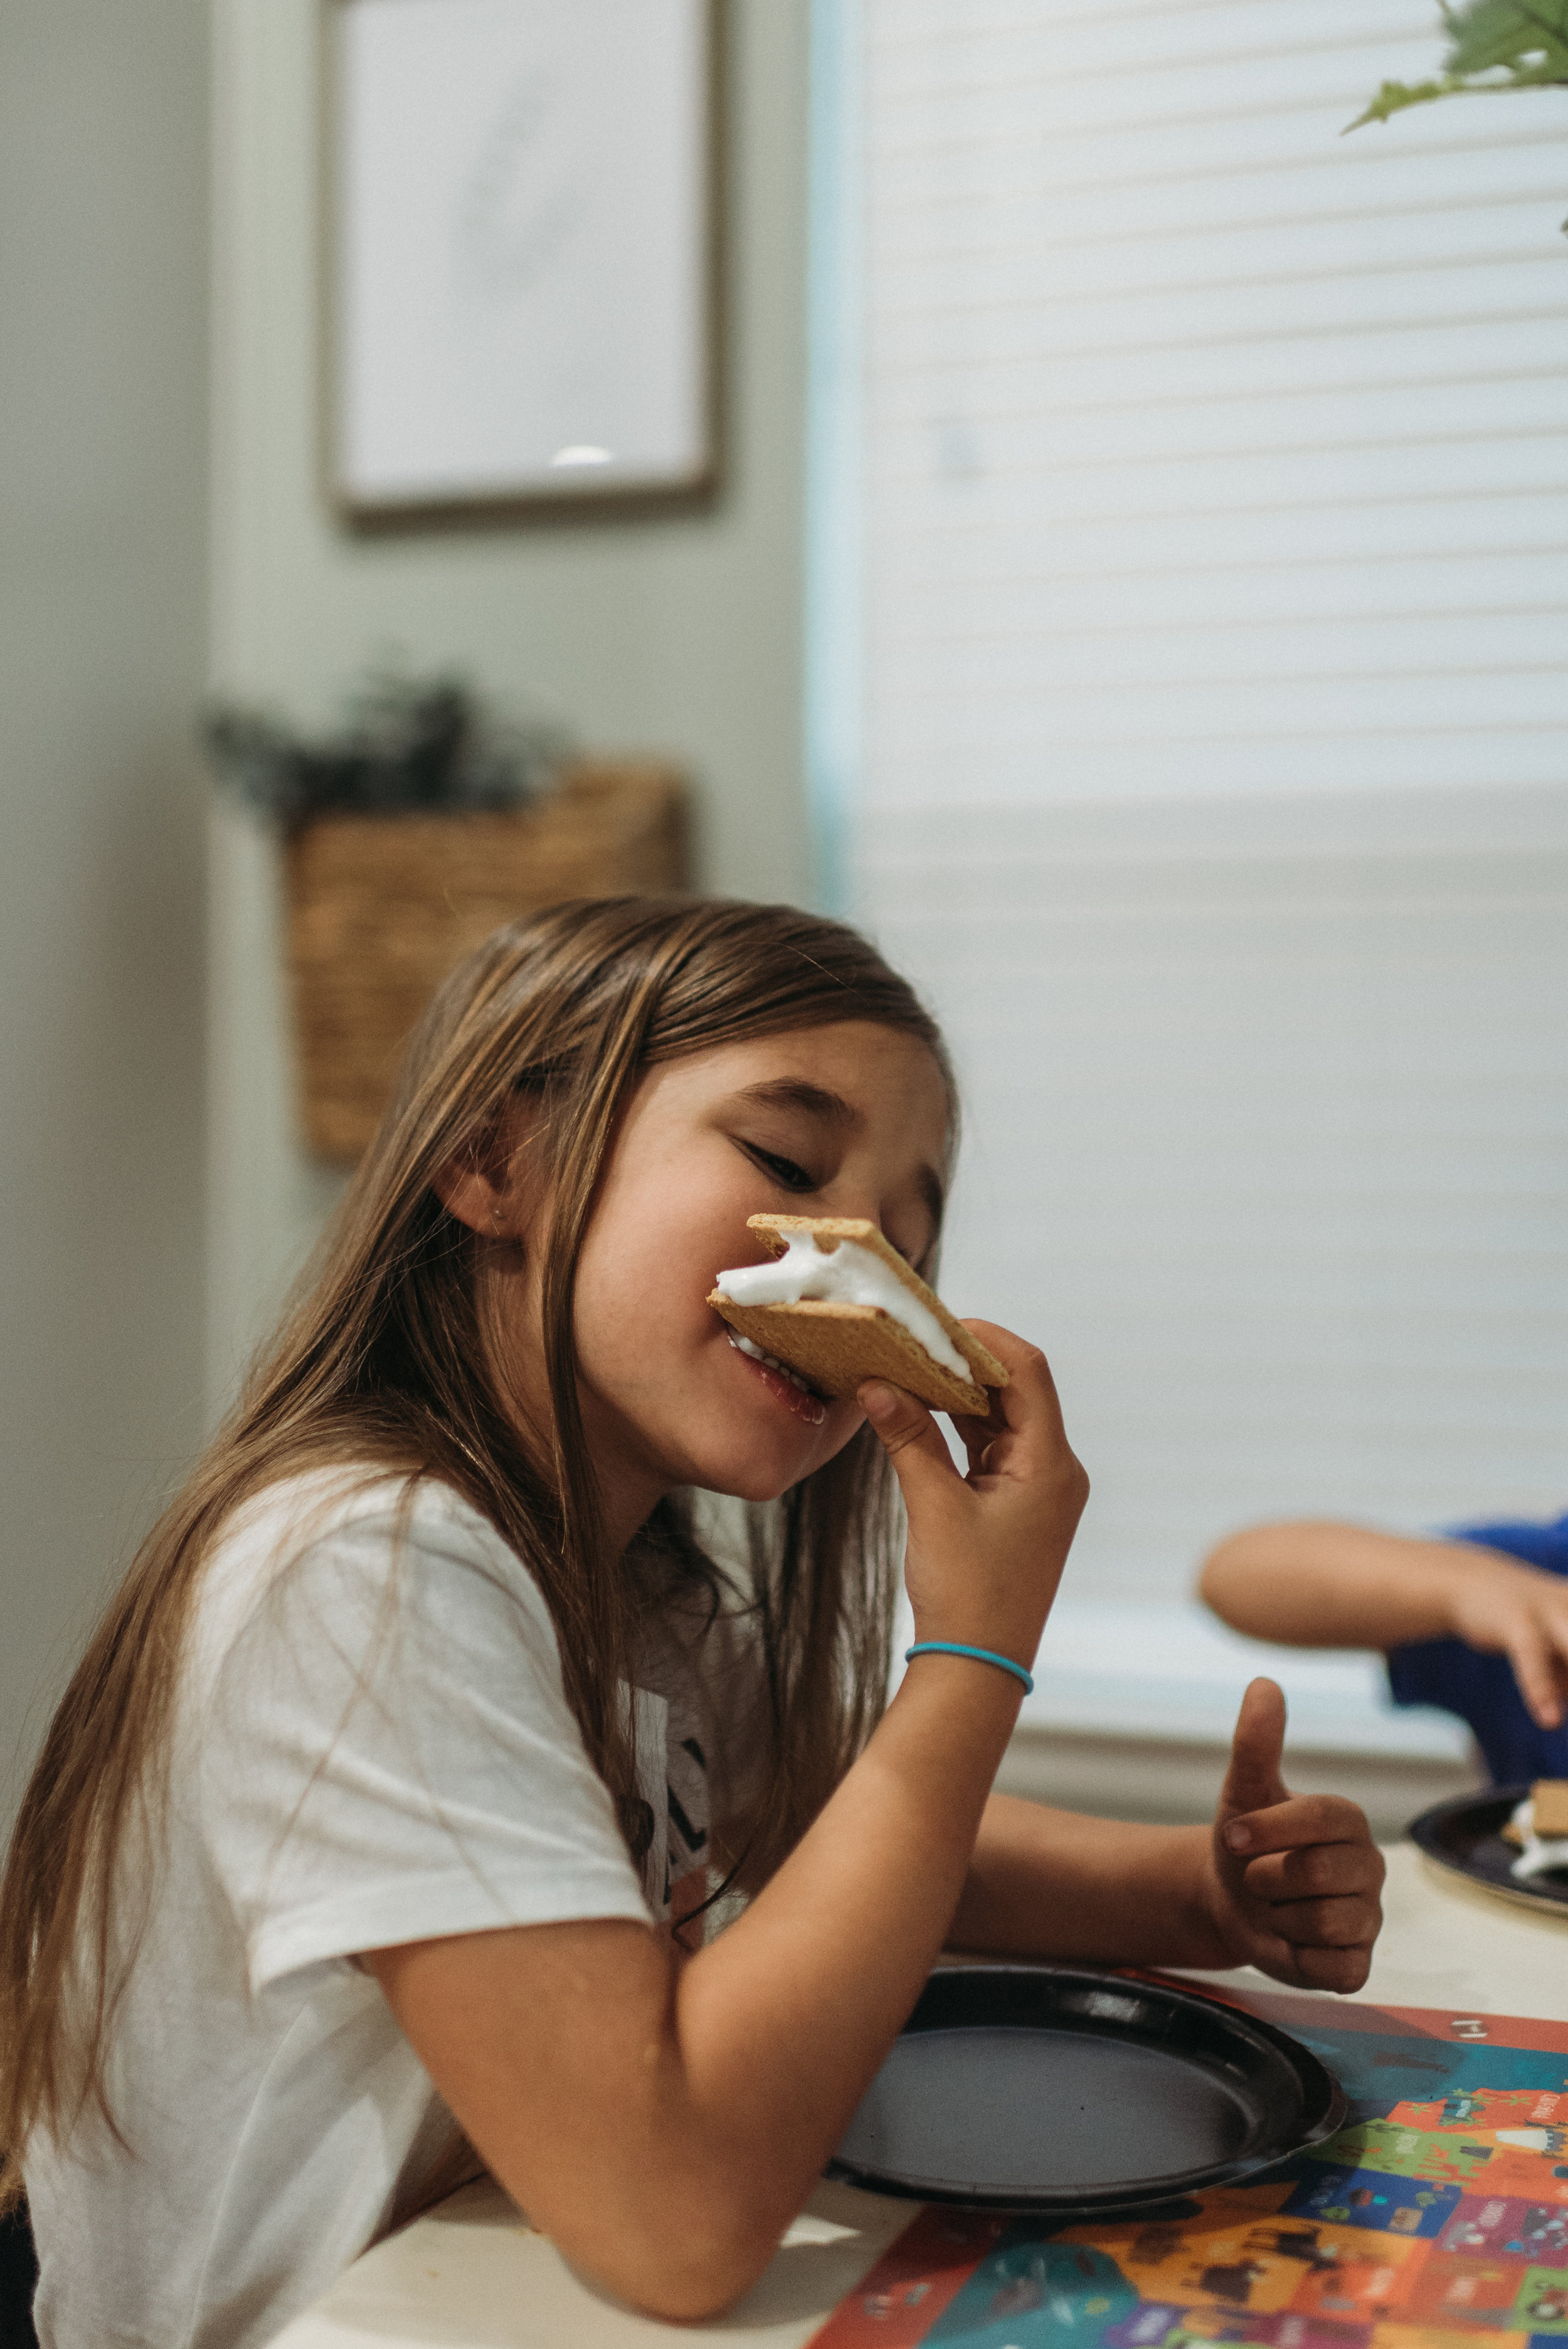
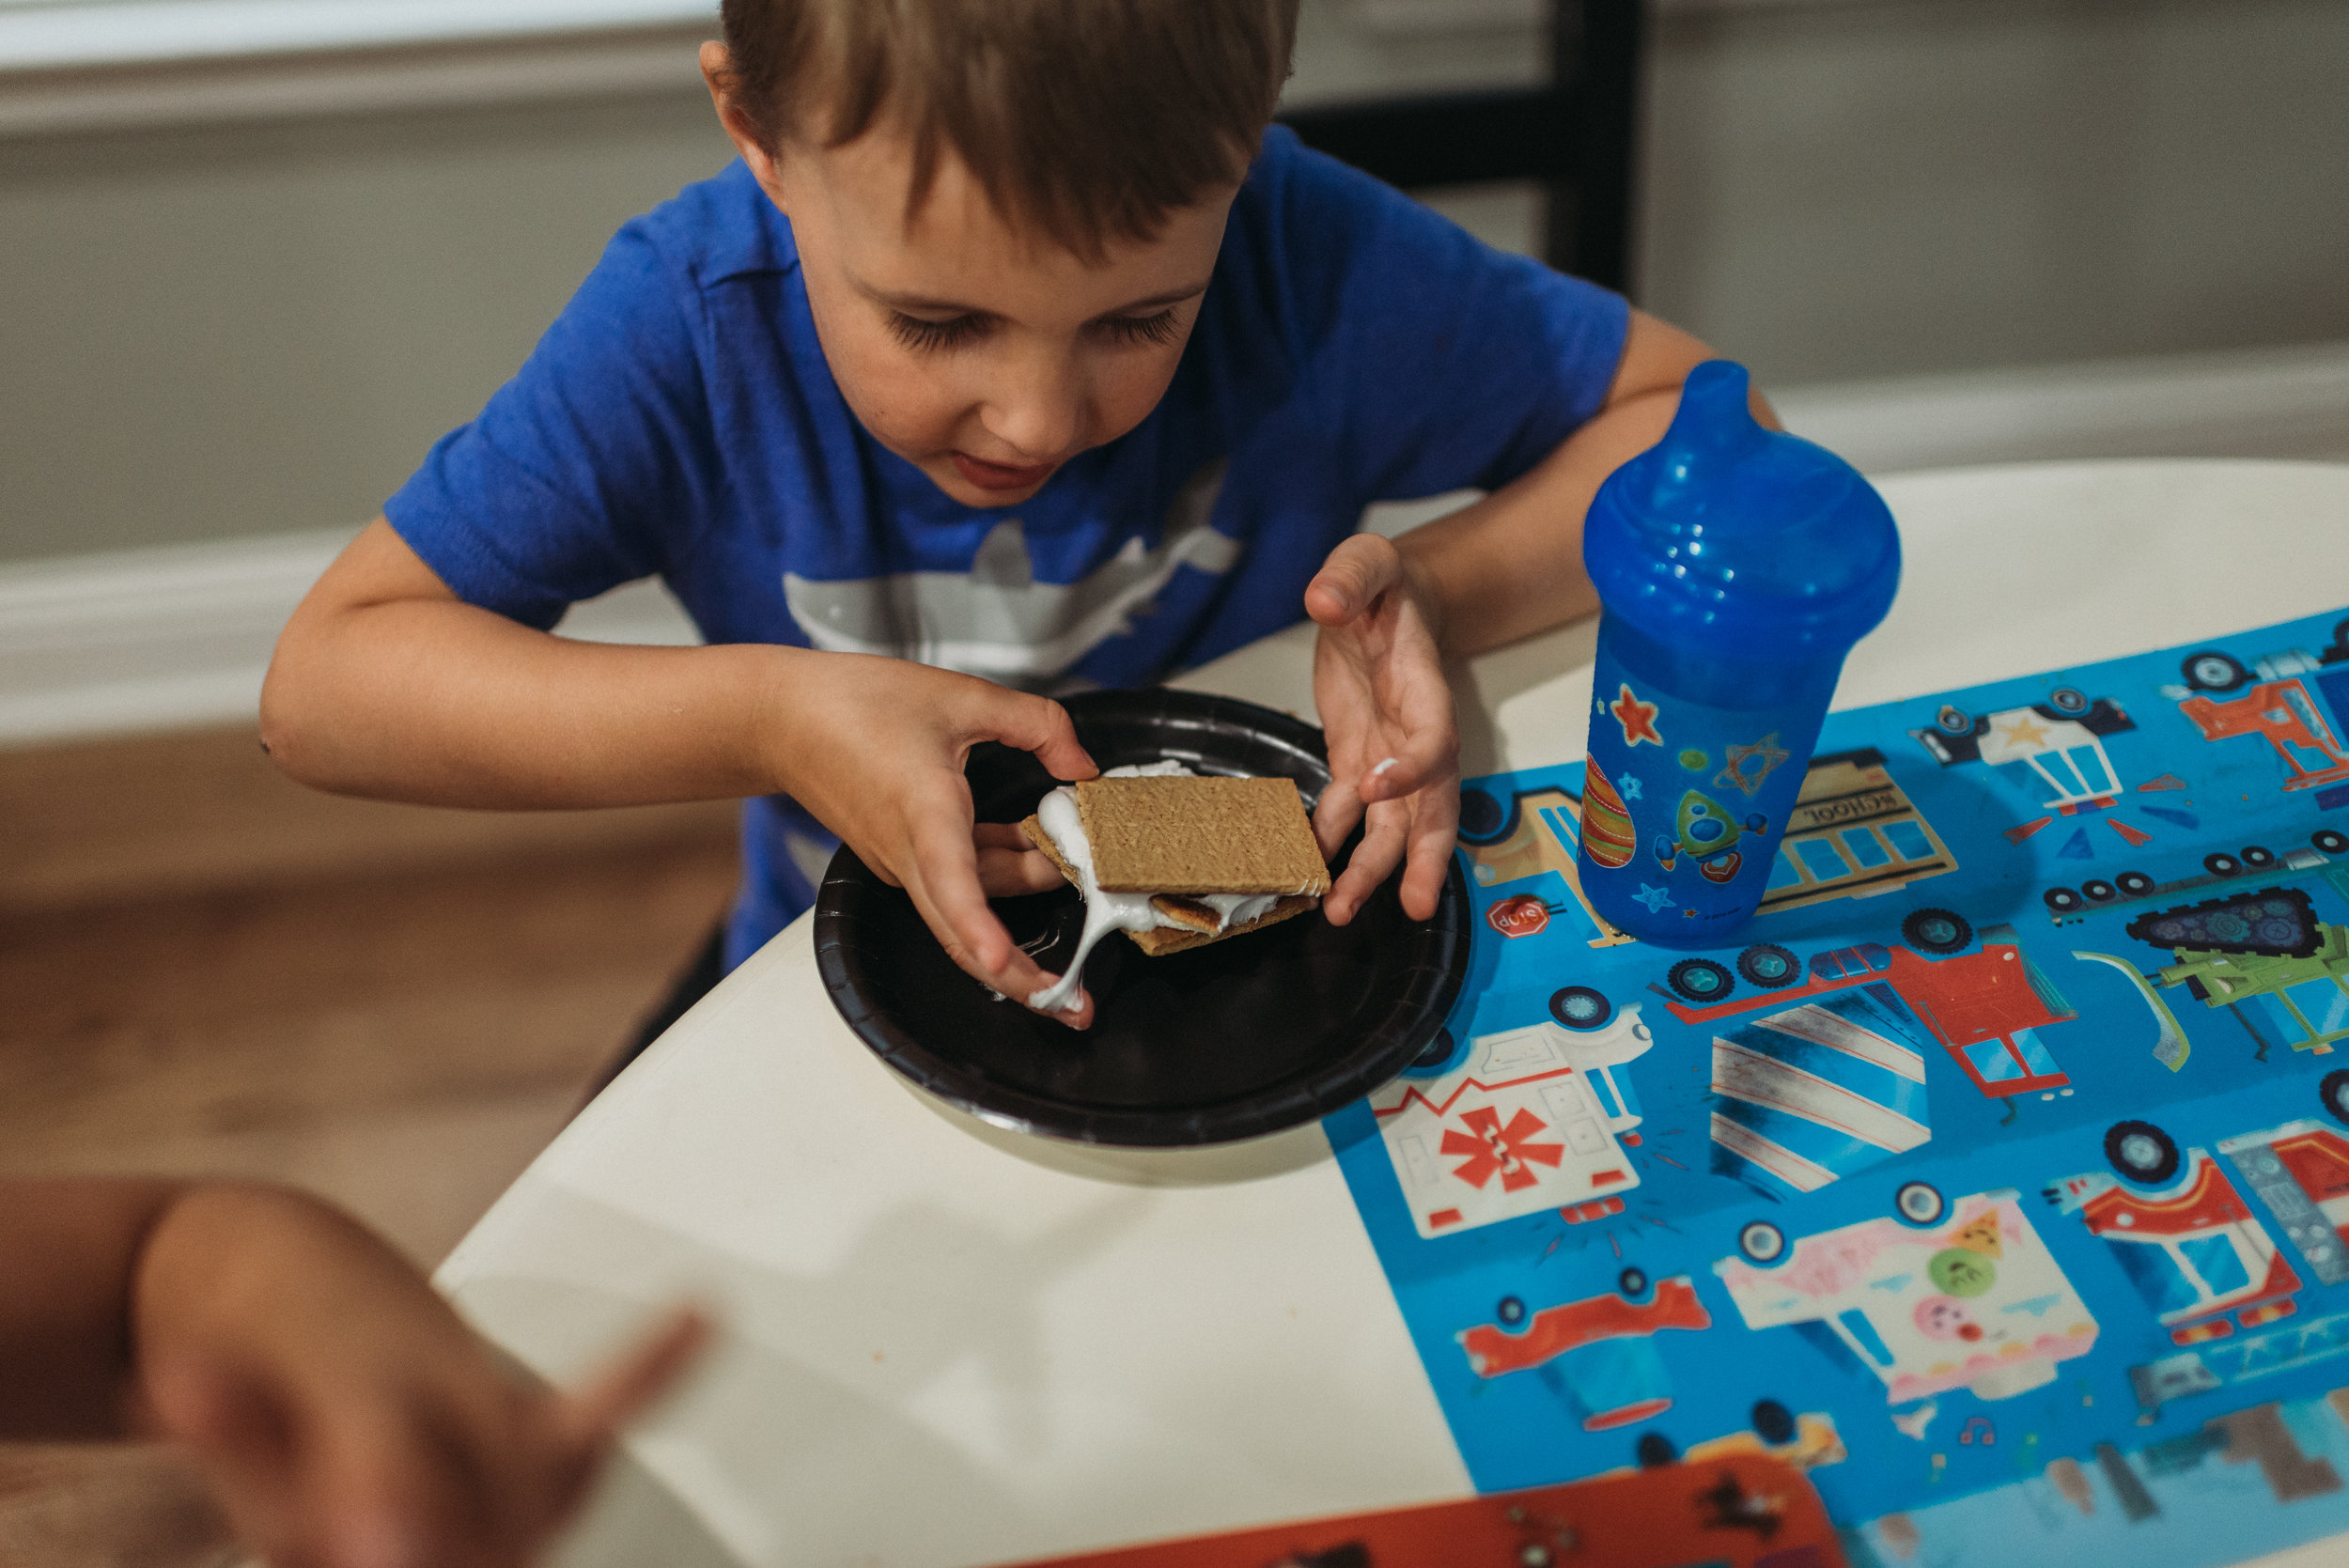
Have you ever wondered how you can make s’mores at home in the oven? We have. We technically have 3 months between our last camping trip and our next one and we’re already missing the camping life with over 2 months to go. It’s funny really because the first time we did s’mores with our kids they hated them. I bought the jumbo marshmallows and it was just too much marshmallow (as if there is such a thing) and they didn’t like how messy it was. They’ve since come to love them and we’ve found a way to have them on any ole night at home in under 5 minutes without having to fire up the grill. This is literally the quickest and easiest s’more you ever made and I’d say it’s just as good as the ones we make on the open fire (I’m sure I’m being judged for this statement by campers everywhere and I’m okay with that). Seriously it’ll take you longer to read this blog post than it will to make the actual s’mores.

Now, I know that I’m not generally your recipe girl. I’m only sorta a decent cook. Basically I can follow instruction really well, but cooking really isn’t my thing, but also I’m not sure you can actually call this cooking so I think we’re good there. Plus this is so easy my kids can do it.

how to make s'mores in the oven

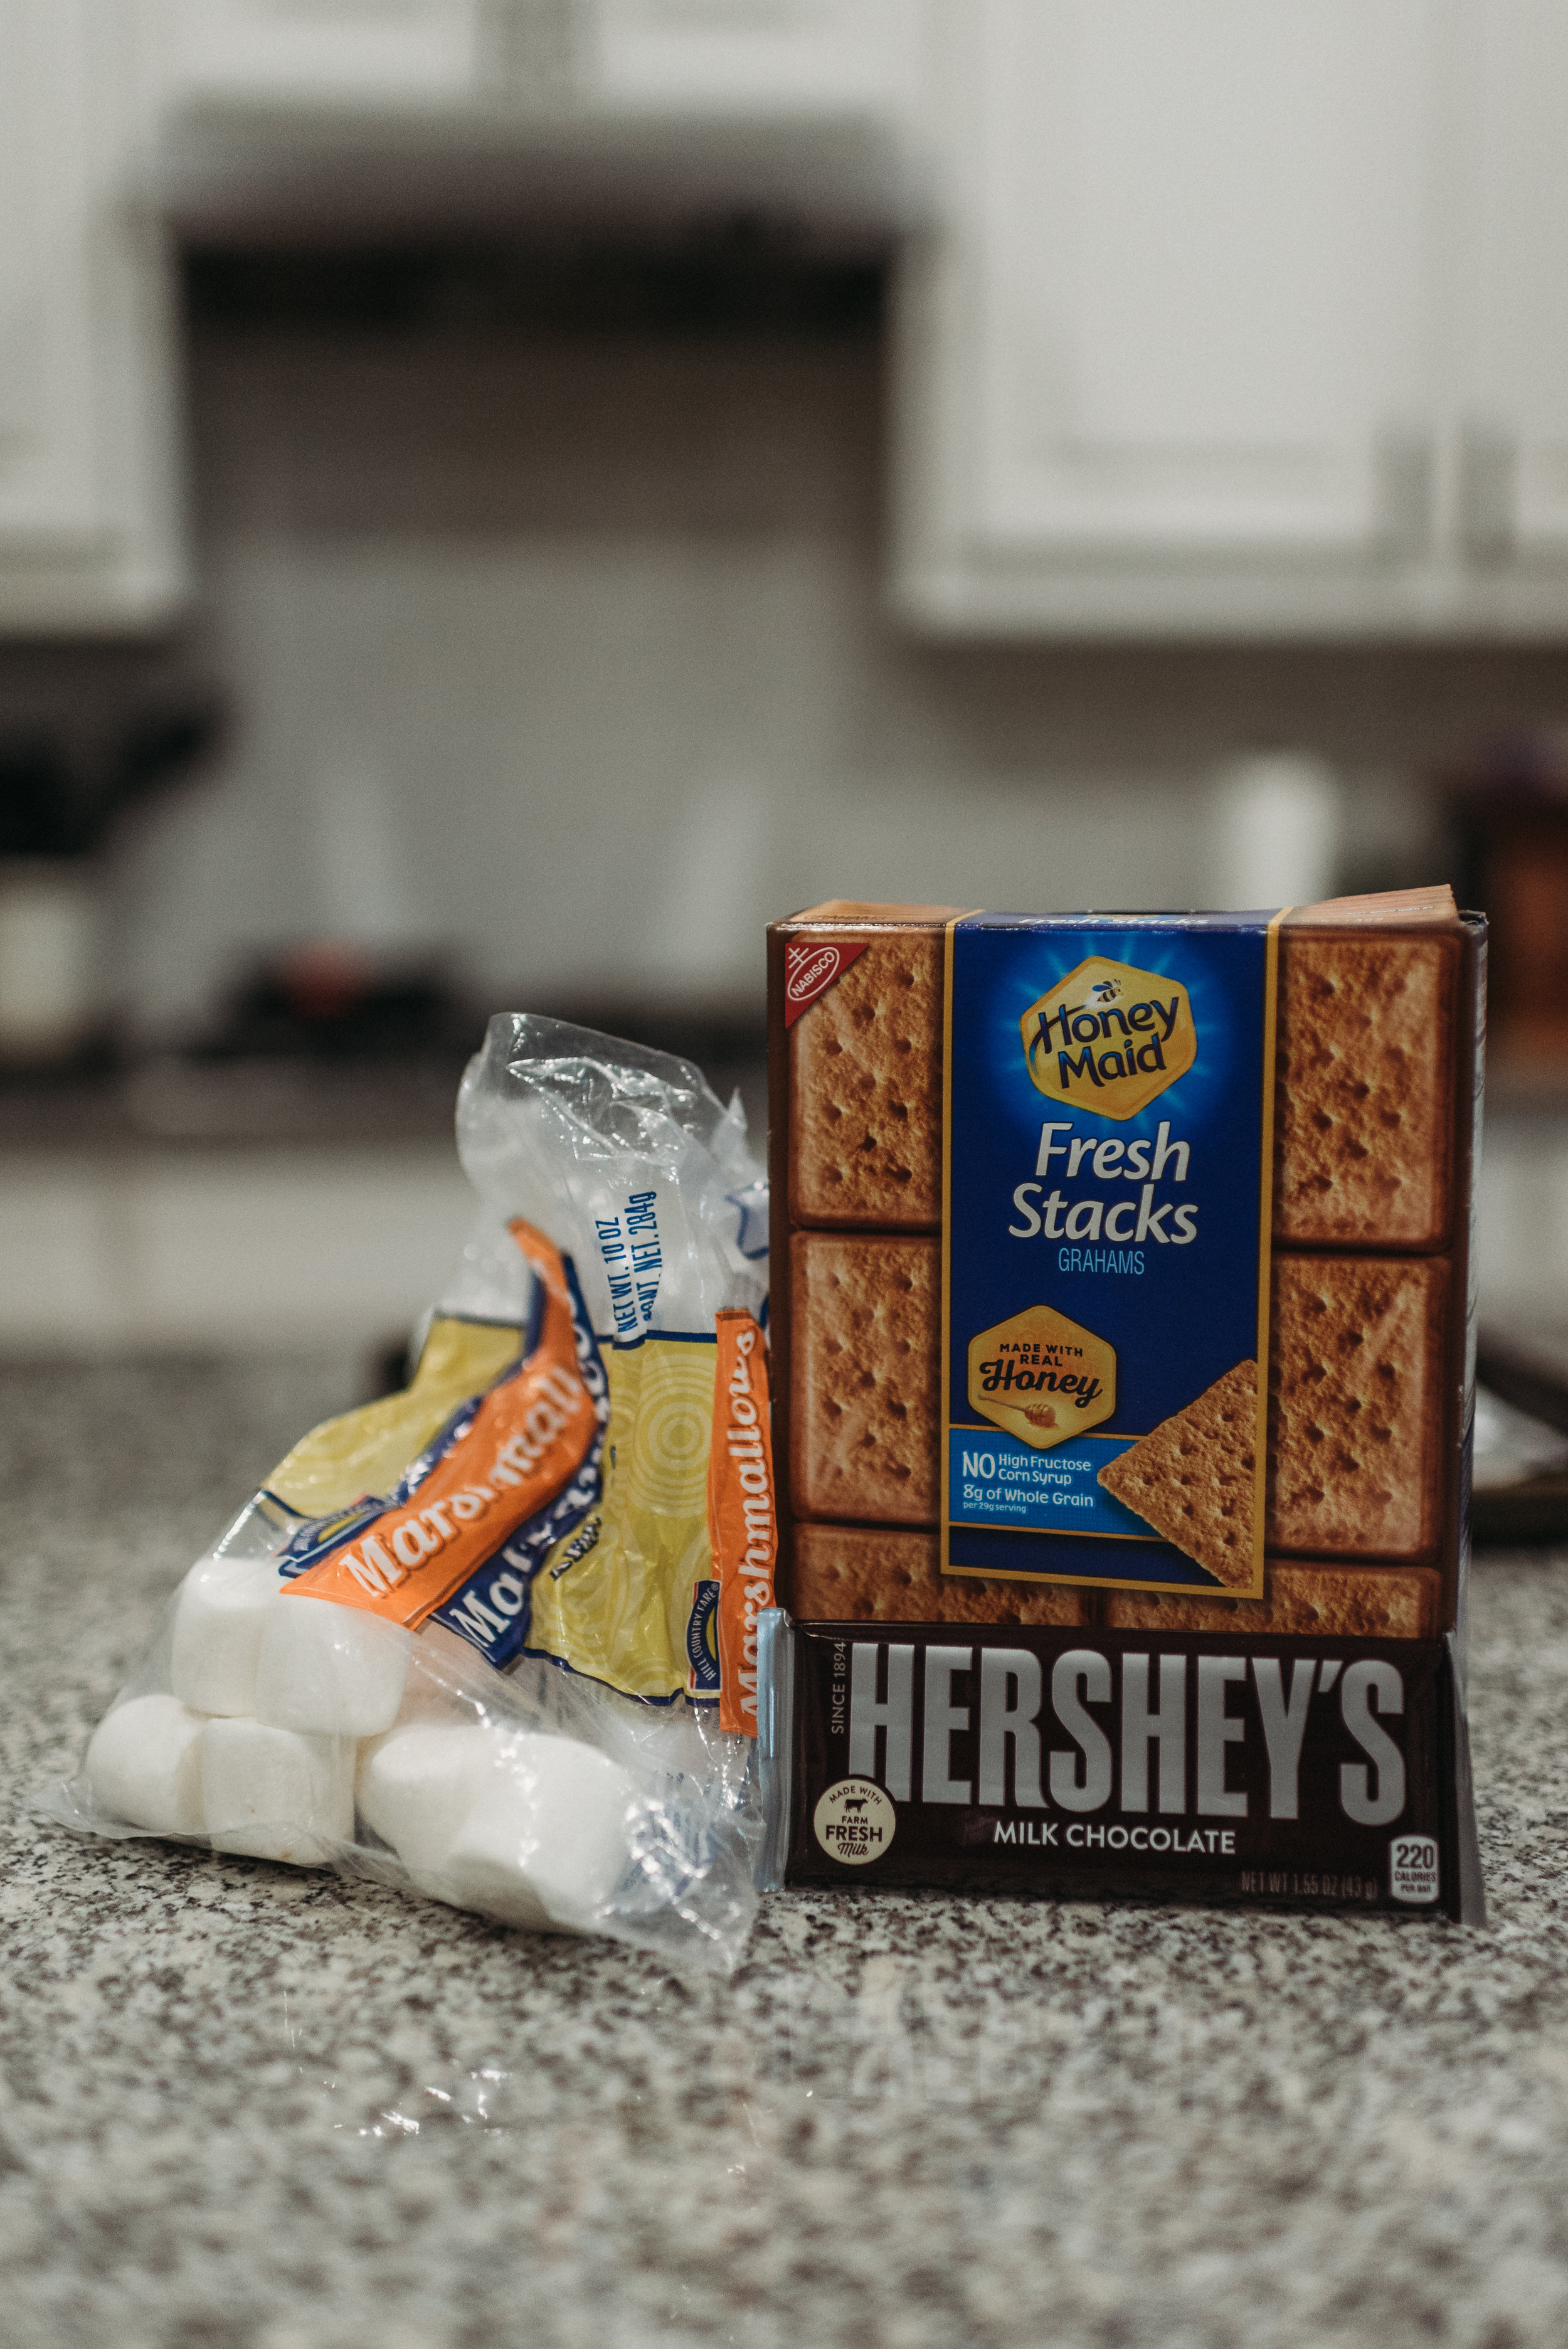
What you’re going to need

  • a cookie sheet

  • foil (optional)

  • graham cracker squares (2 for each s’more you plan to make)

  • medium size marshmallows (1 per s’more)

  • Hershey’s chocolate bar (2 individual pieces per s’more)

“Cooking” Instructions

  • set oven to a high broil (our options are high and low, but I think high is 550 degrees).

  • cover cookies sheet in foil if you’re like me and like the easy cleanup of just rolling up the foil and throwing it away.

  • set one (1) graham cracker square down for each s’more you plan to make.

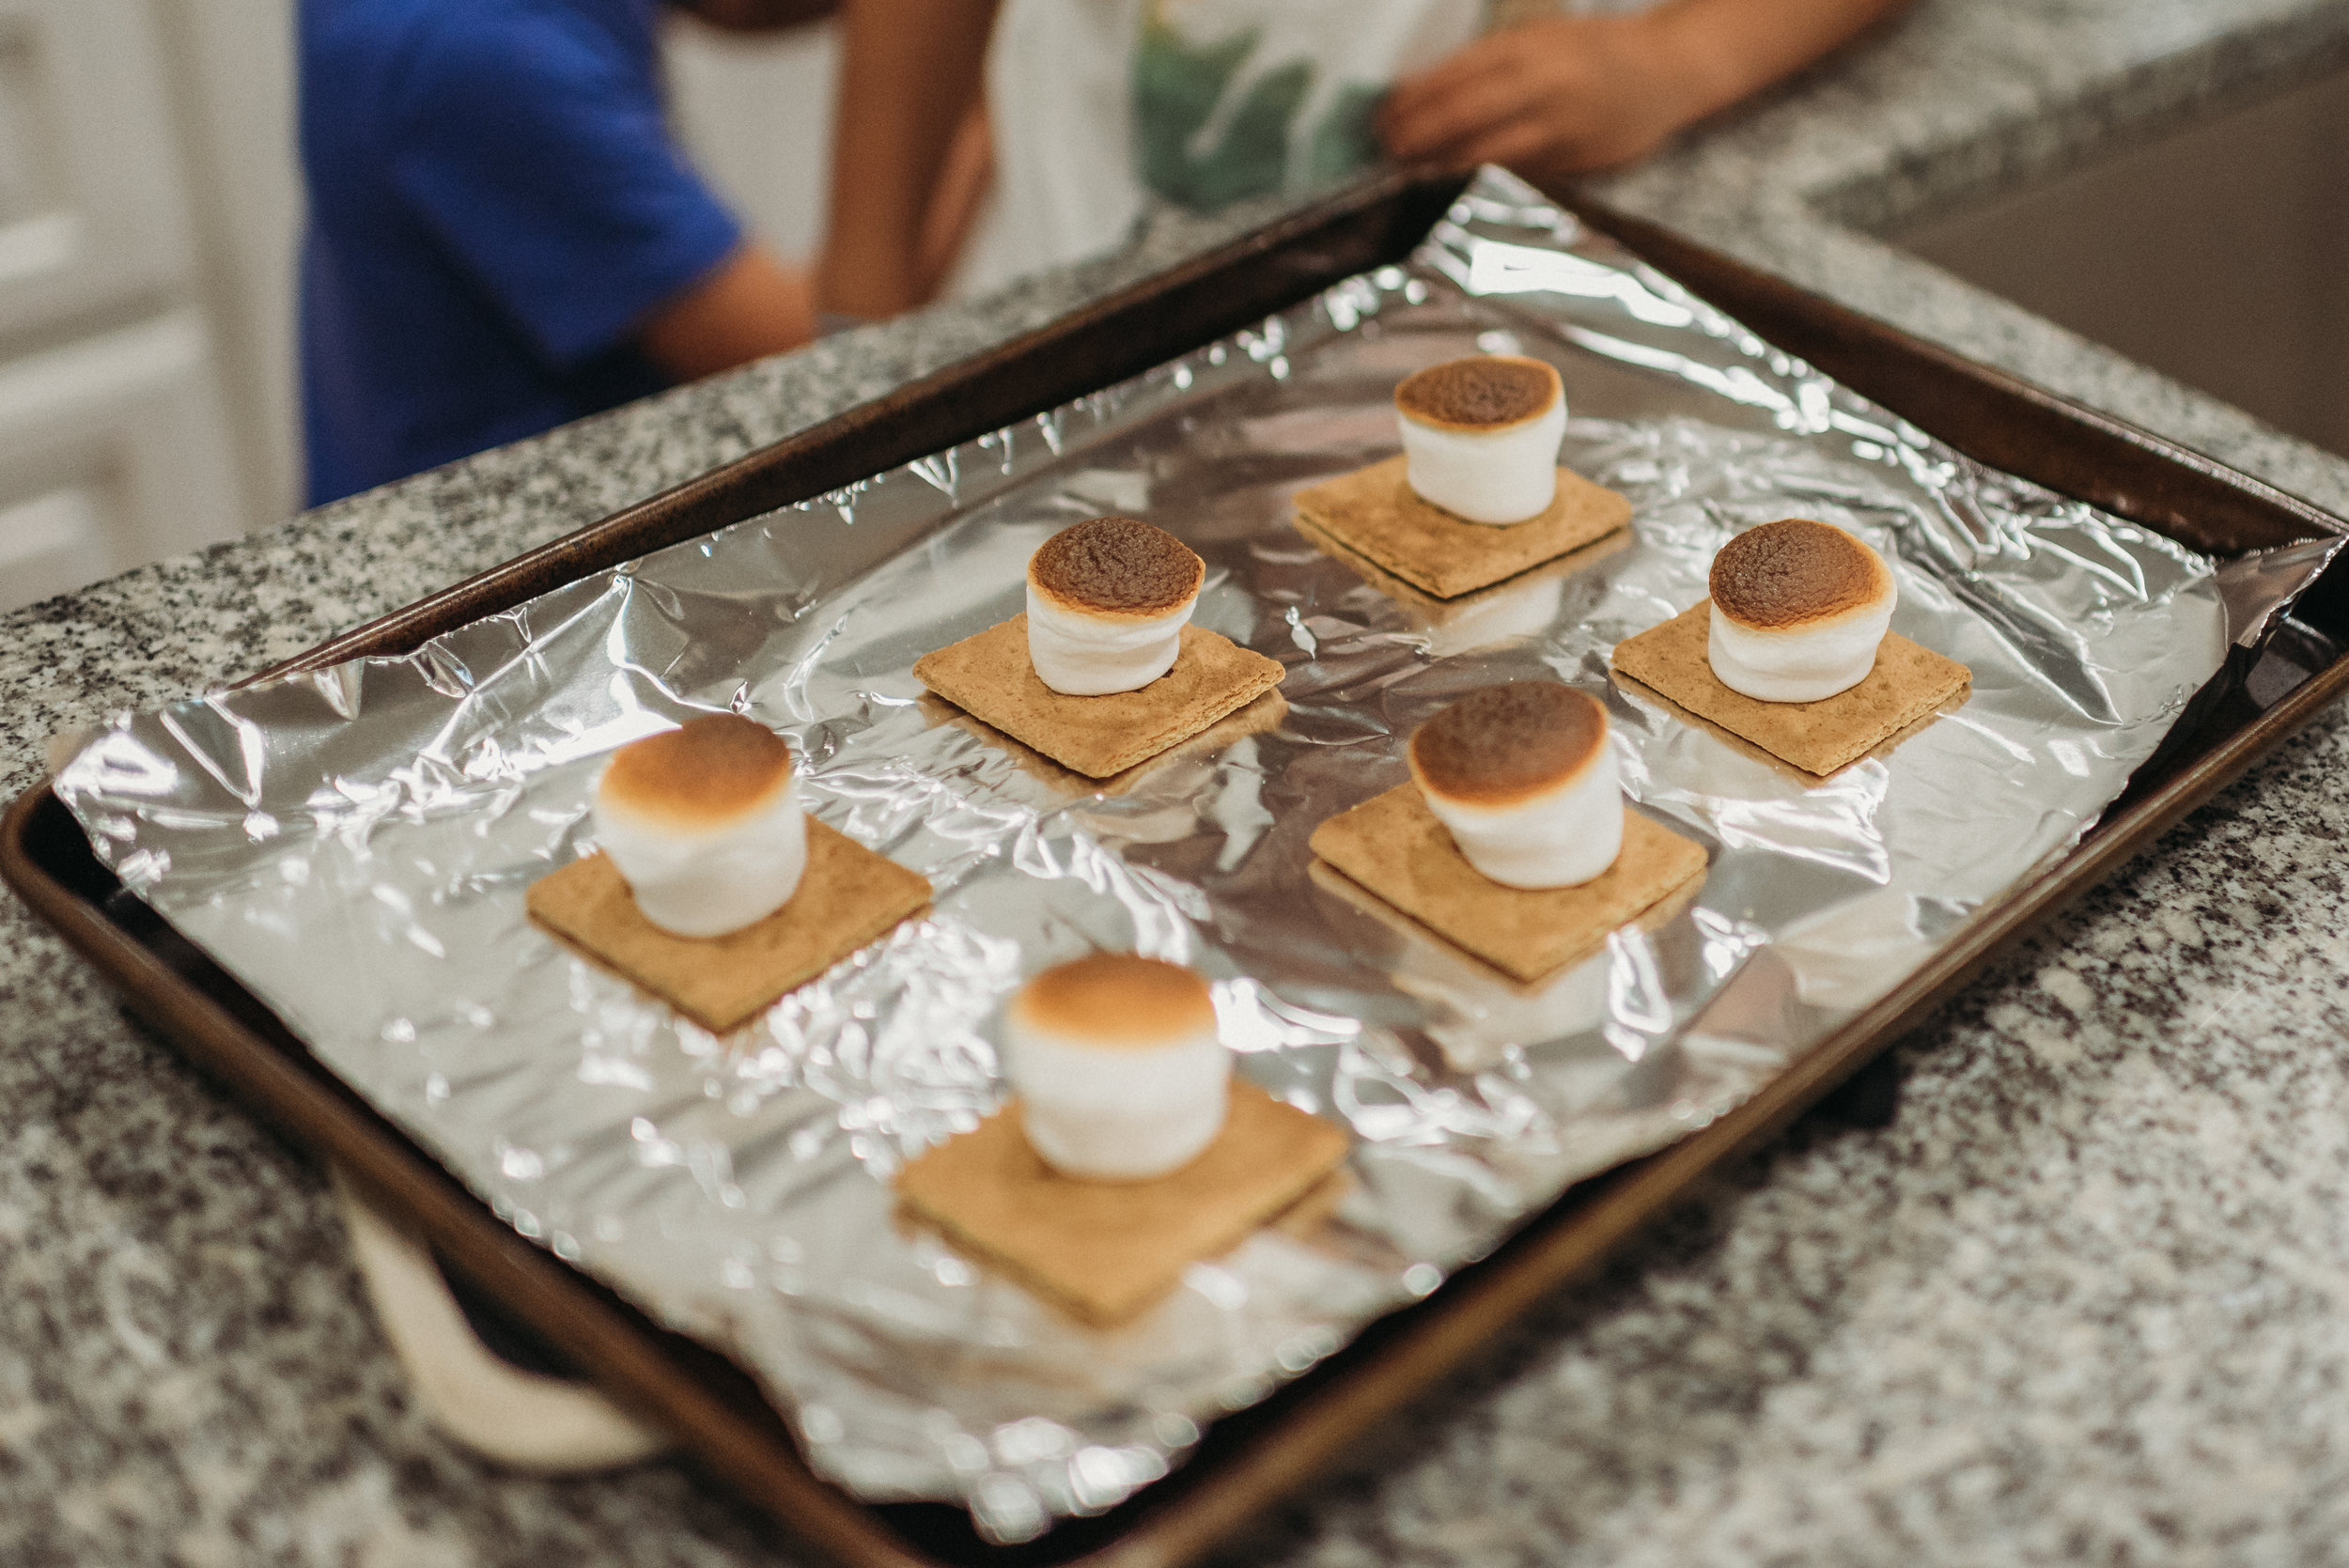
  • add one (1) marshmallow to the top of each cracker.

  • Put in oven for 1-2 minutes or until the tops of the marshmallows are at your desired level of burnt (we’re all different so you do you). Just keep a close eye on it because broil can sneak up on you real fast.

  • Remove from oven and add 2 individual chocolate square to the top of each marshmallow.

  • Add top graham cracker to each s’more and give it a little squish.

  • enjoy!!!!

how to make s'mores in the oven
how to make s'mores at home
how to make s'mores in the oven
How to make oven s'mores
How to make s'mores in the oven

The Easiest Chicken Pot Pie Ever

When I said I was going to start blogging I had decided I was going to try to post every Tuesday to start.  You know what today is?  Not Tuesday.  I'm blaming it on my children.  Who's with me? 

Also for anyone who is curious, I haven't cried in yoga since my last blog post.  I definitely look at yoga a little differently than I used to which is pretty cool, but no tears have been shed.

I made chicken pot pie last night.  It wasn't fancy, nothing about it was healthy really, but it was delicious and sometimes that's really the only requirement.  Yeah sure I'd prefer some fresh ingredients and all sorts of time to prepare, but the reality is that is just not where we are some days and thowing this thing together is just too easy and leftovers never sit in the fridge long enough to get thrown away.  

It's so easy in fact, that it's completely possible you already have every single ingredient in your house.  We lived with the in-laws for 6 months in between houses and one evening we all just kind of looked at each other like "what's for dinner?"  Nothing.  Every protien was frozen and it just wasn't going to happen.  I found pie crusts in the freezer and canned chicken, veggies, and cream of chicken in the panty.  That's literally all this thing really needs to make it work.  Like I said, it's not fancy.  

Speaking of fancy, let's all appreciate this chicken pot pie I ordered at a restaurant in Colonial Williamsburg nearly 4 years ago...

Disclaimer: I didn't make this.  I only ate it, which I felt bad about.

Disclaimer: I didn't make this.  I only ate it, which I felt bad about.

It's like a work of art.  I felt guilty sticking a fork in it.  This is not what my chicken pot pie looks like.  

I personally prefer to use rotisserie chicken for basically everything.  Somebody already cooked it, it's a good amount of chicken, and the price is generally right.  I also have a cheese problem so I put cheese in the mixture tonight (totally optional) and then an egg for the egg wash is not pictured below.  Canned chicken can easily be used in place of rotisserie and I've also used a bag of frozen veggies in place of the veg-all.  It's really just whatever you want or whatever you already have.  Heck, you could even use real fresh veggies.

Photo May 17, 5 00 40 PM.jpg

Ingredients:

1 - Rotisserie Chicken (or can of chicken)

1 - Can of Cream of Chicken Soup

1 - Can of Veg-All (or bag of frozen veggies)

1 cup - Cheese (or amount of your liking and just whatever kind you like)(optional)

2 - Pie crusts

1 - egg


Getting started:

Preheat your oven to 425 degrees.  I'm generally winging it on this depending on what the pie crust box says.

Photo May 17, 5 02 14 PM.jpg

Drain juice from the rotisserie chicken into whatever mixing bowl you plan to mix the pie filling in and then shred the chicken completely and add it to the bowl.

Photo May 17, 5 19 19 PM.jpg

Drain water from the can of vegetables and add vegetables, cream of chicken and cheese to the mixture.

Photo May 17, 5 22 25 PM.jpg

Mix it well.

Next start getting your bottom pie crust into the pie plate.

Photo May 17, 5 33 37 PM.jpg

Dump the filling

Photo May 17, 5 35 44 PM.jpg

Use your fingers to wet the edges of the pie crust with water to allow the top crust to stick better to the bottom crust.  Unroll and place the top crust on top of the pie, using your fingers to pinch the bottom and top crusts together.  

Cut extra pie crust from the top crust and throw it away.

Cut slits into top crust.

Photo May 17, 5 40 59 PM.jpg

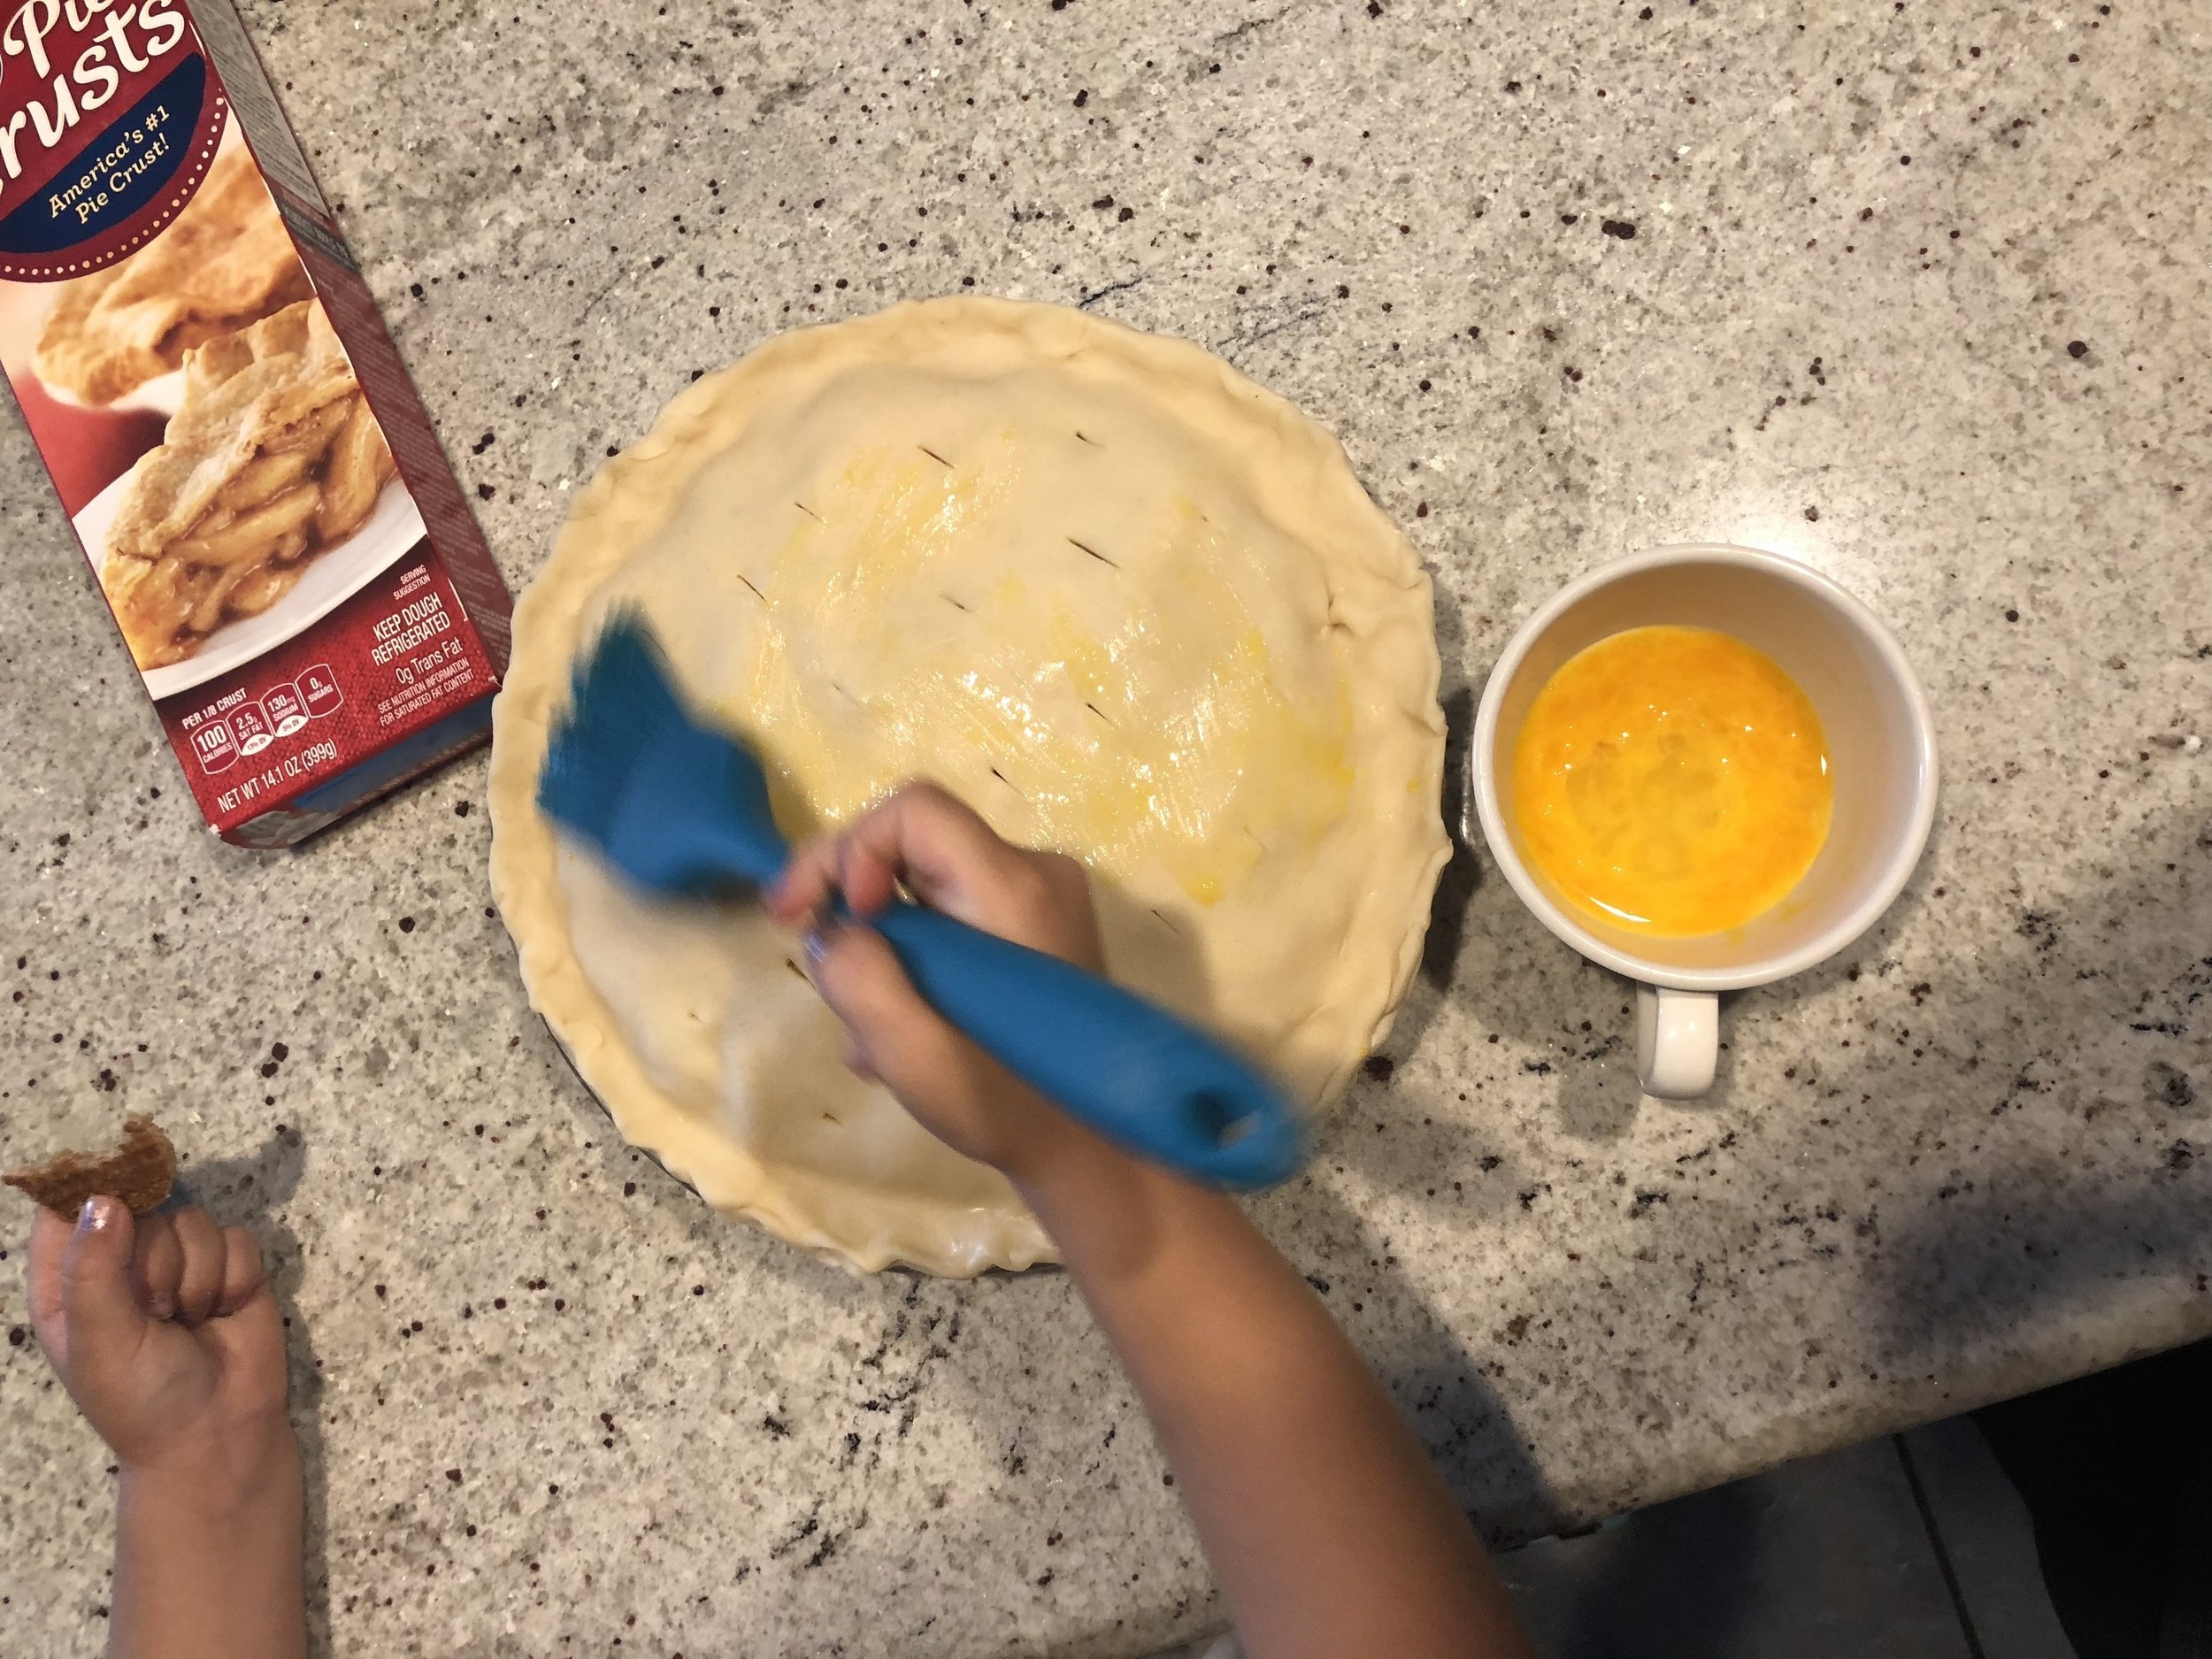
Next up is the egg wash and my daughter's favorite part.  Whisking is one of her favorite activities.  The first time I ever read about an egg wash, I had to google it.  It's just whisking an egg and brushing it on.  

Photo May 17, 5 44 39 PM.jpg
Photo May 17, 5 45 24 PM.jpg

Bake in oven for the first 20 minutes with the edges of the pie covered.  We used foil because we were at my parents' house, but we have these pie crust sheilds at home that I just put over the pie.  You can buy them below or find them later on Monica's Amazon Favorites page. 

After the 20 minutes just remove the crust shield (or foil if you went that route) and continue to bake until the crust is a good golden color.  I just keep checking on it from time to time until it's how I want it.  You can tell we went a little heavy on the egg wash.  There's really no wrong way to do this.

Photo May 17, 6 38 09 PM.jpg

Ready to eat.

Photo May 17, 6 51 26 PM.jpg

If you try it, let me know what you think.  I almost didn't think it was blog worthy, but my mom and grandma have been asking to try this for ages and they seemed to completely approve so here it is. 

Also, please excuse the iphone photos. They're breaking my photographer heart, but it is what it is.