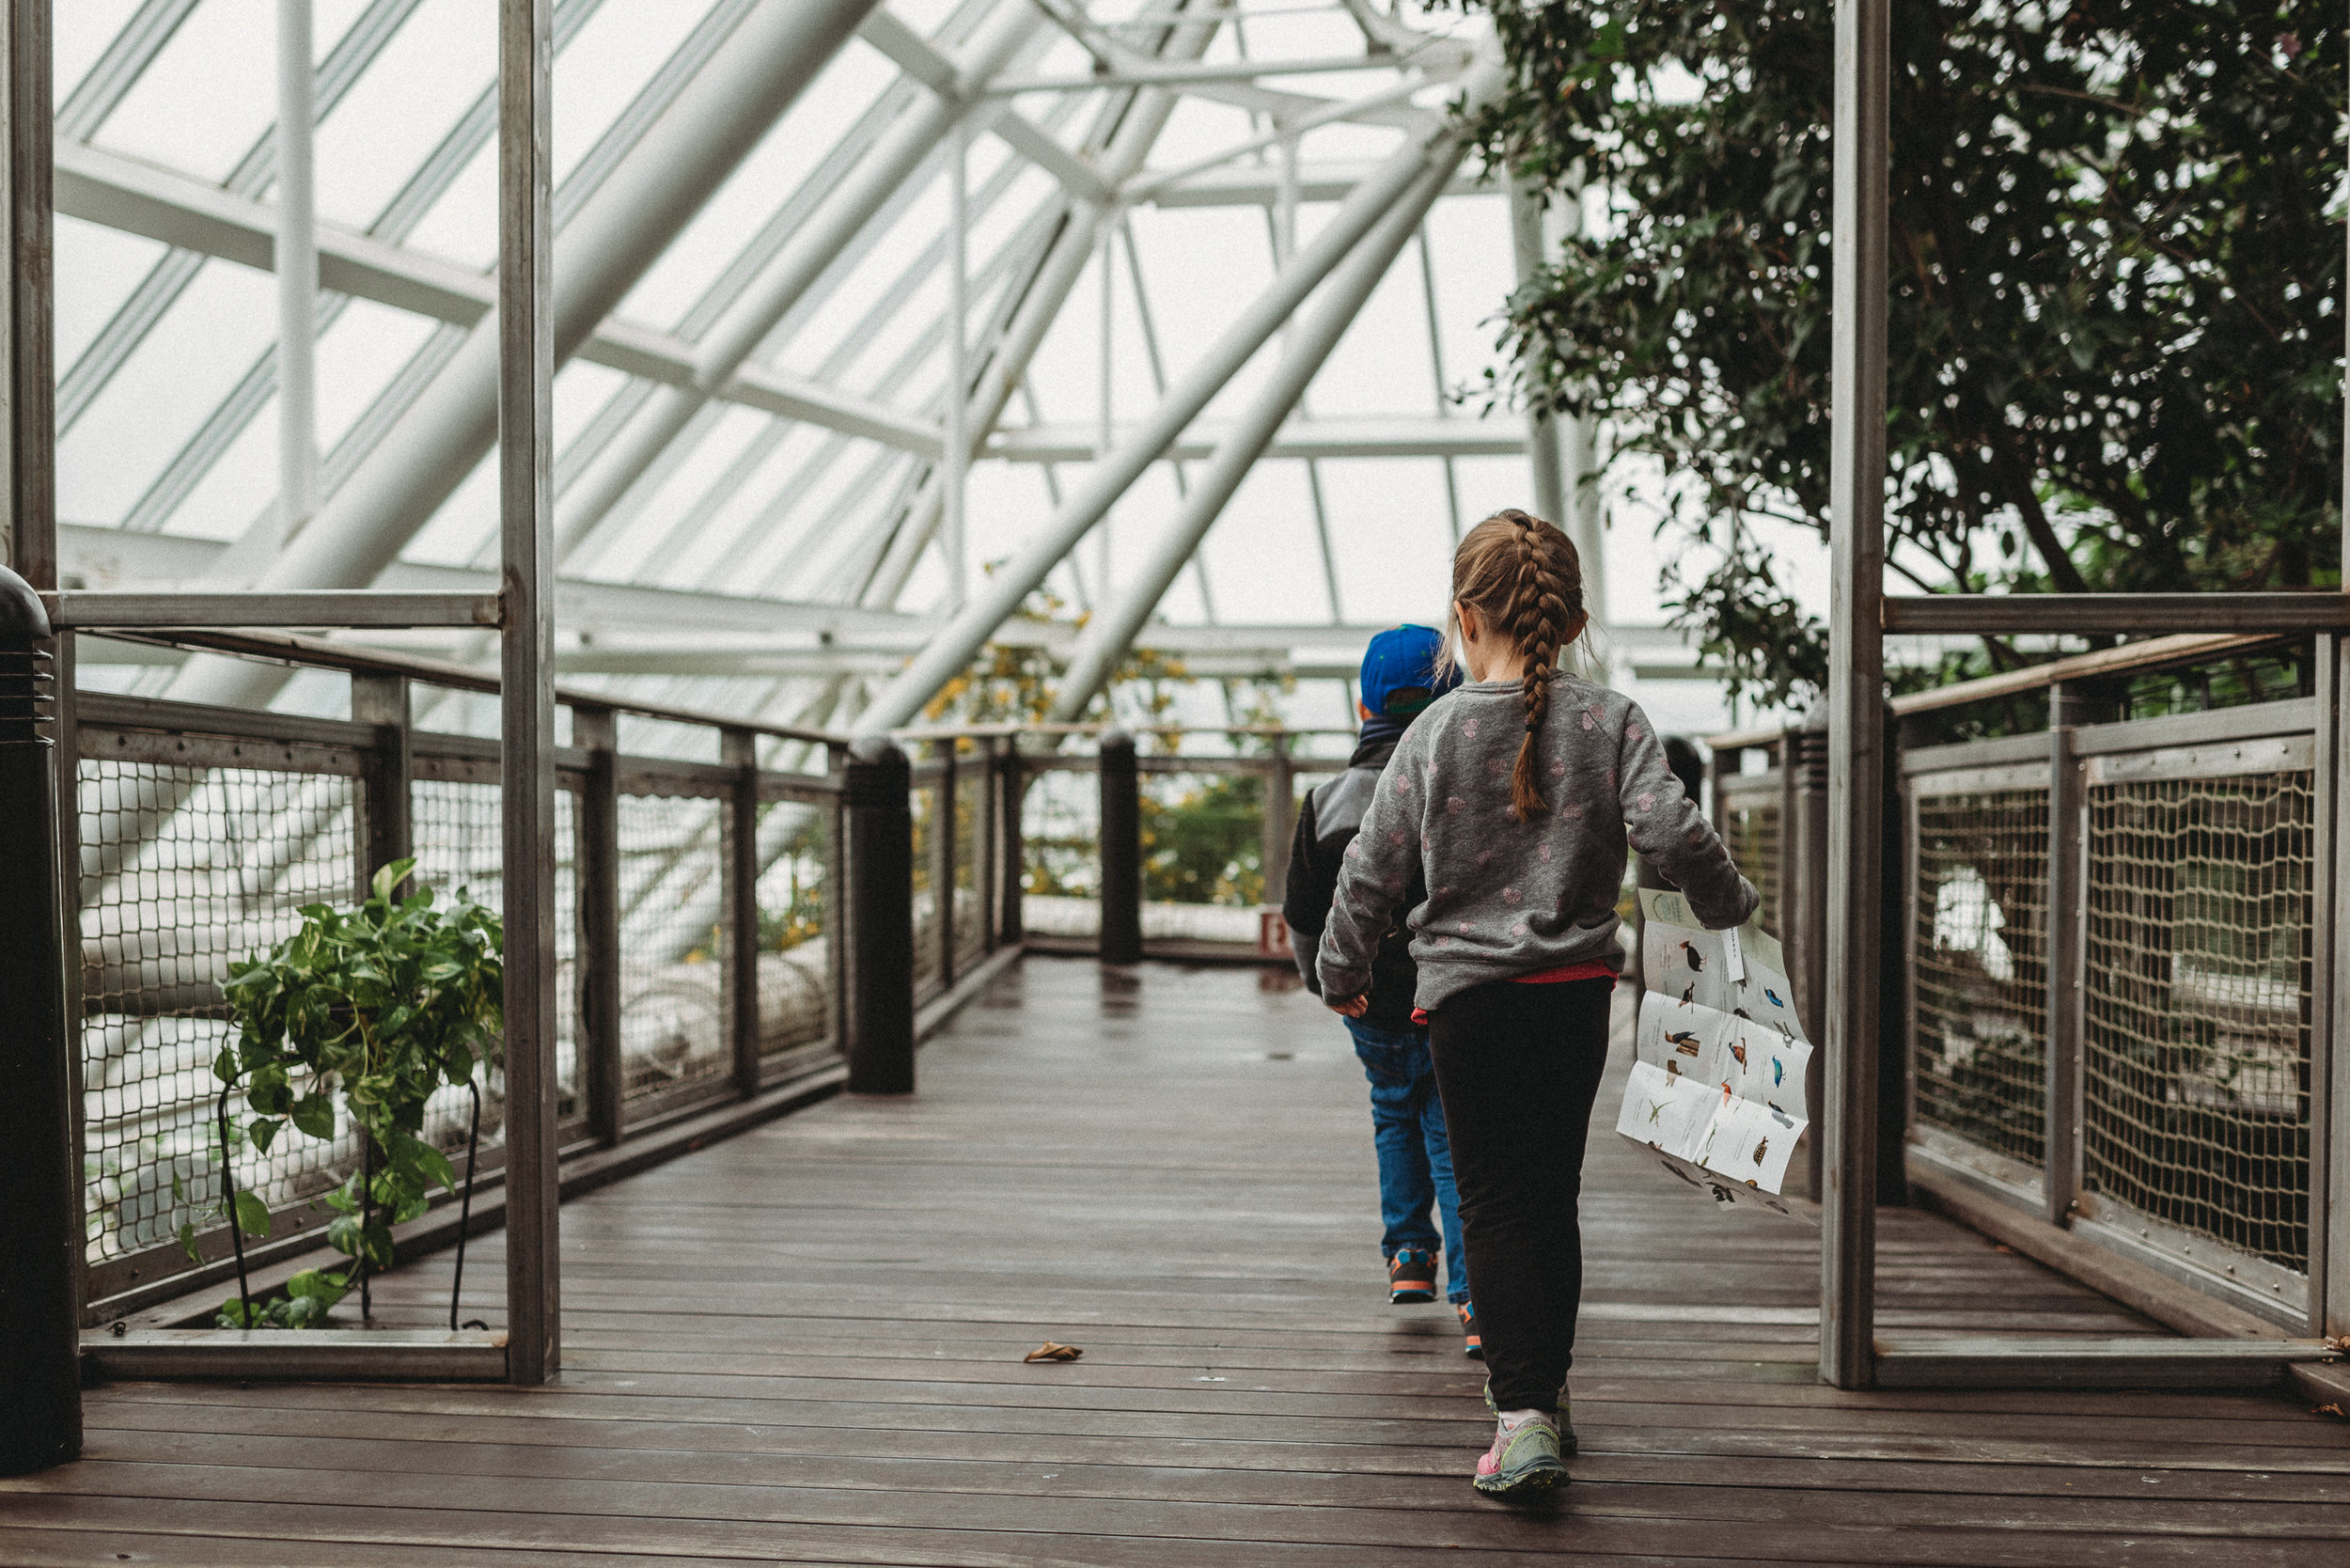
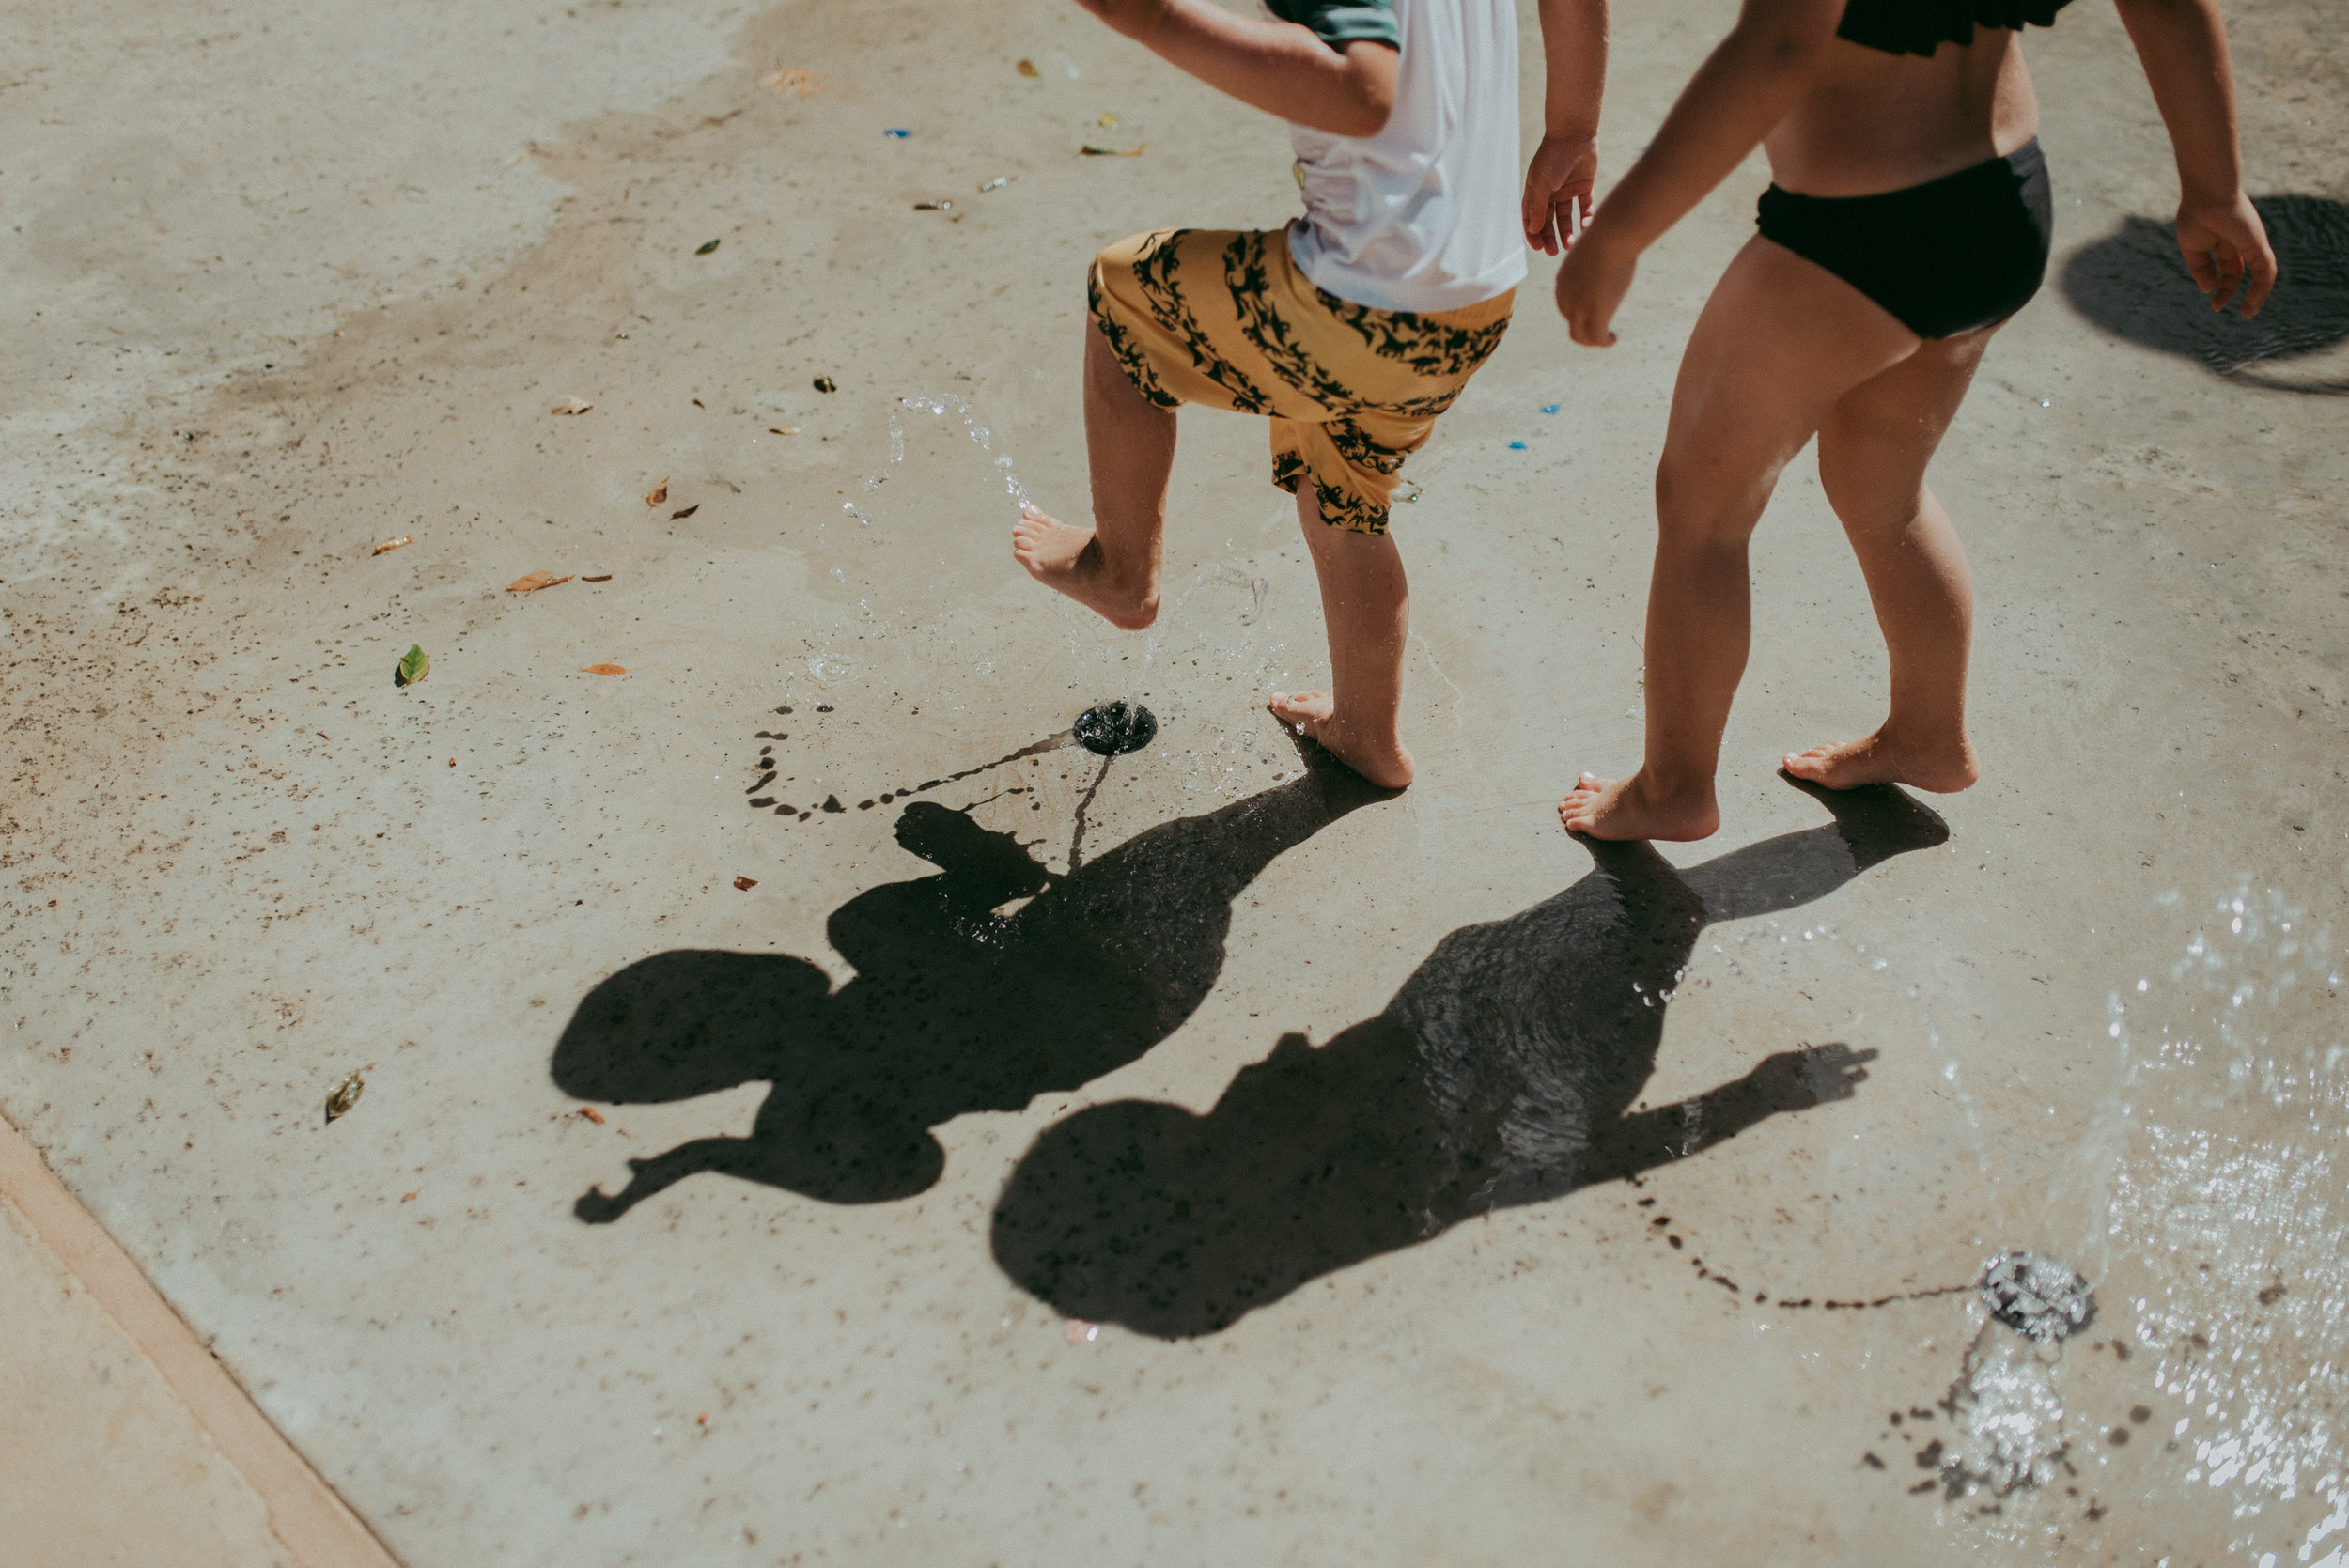
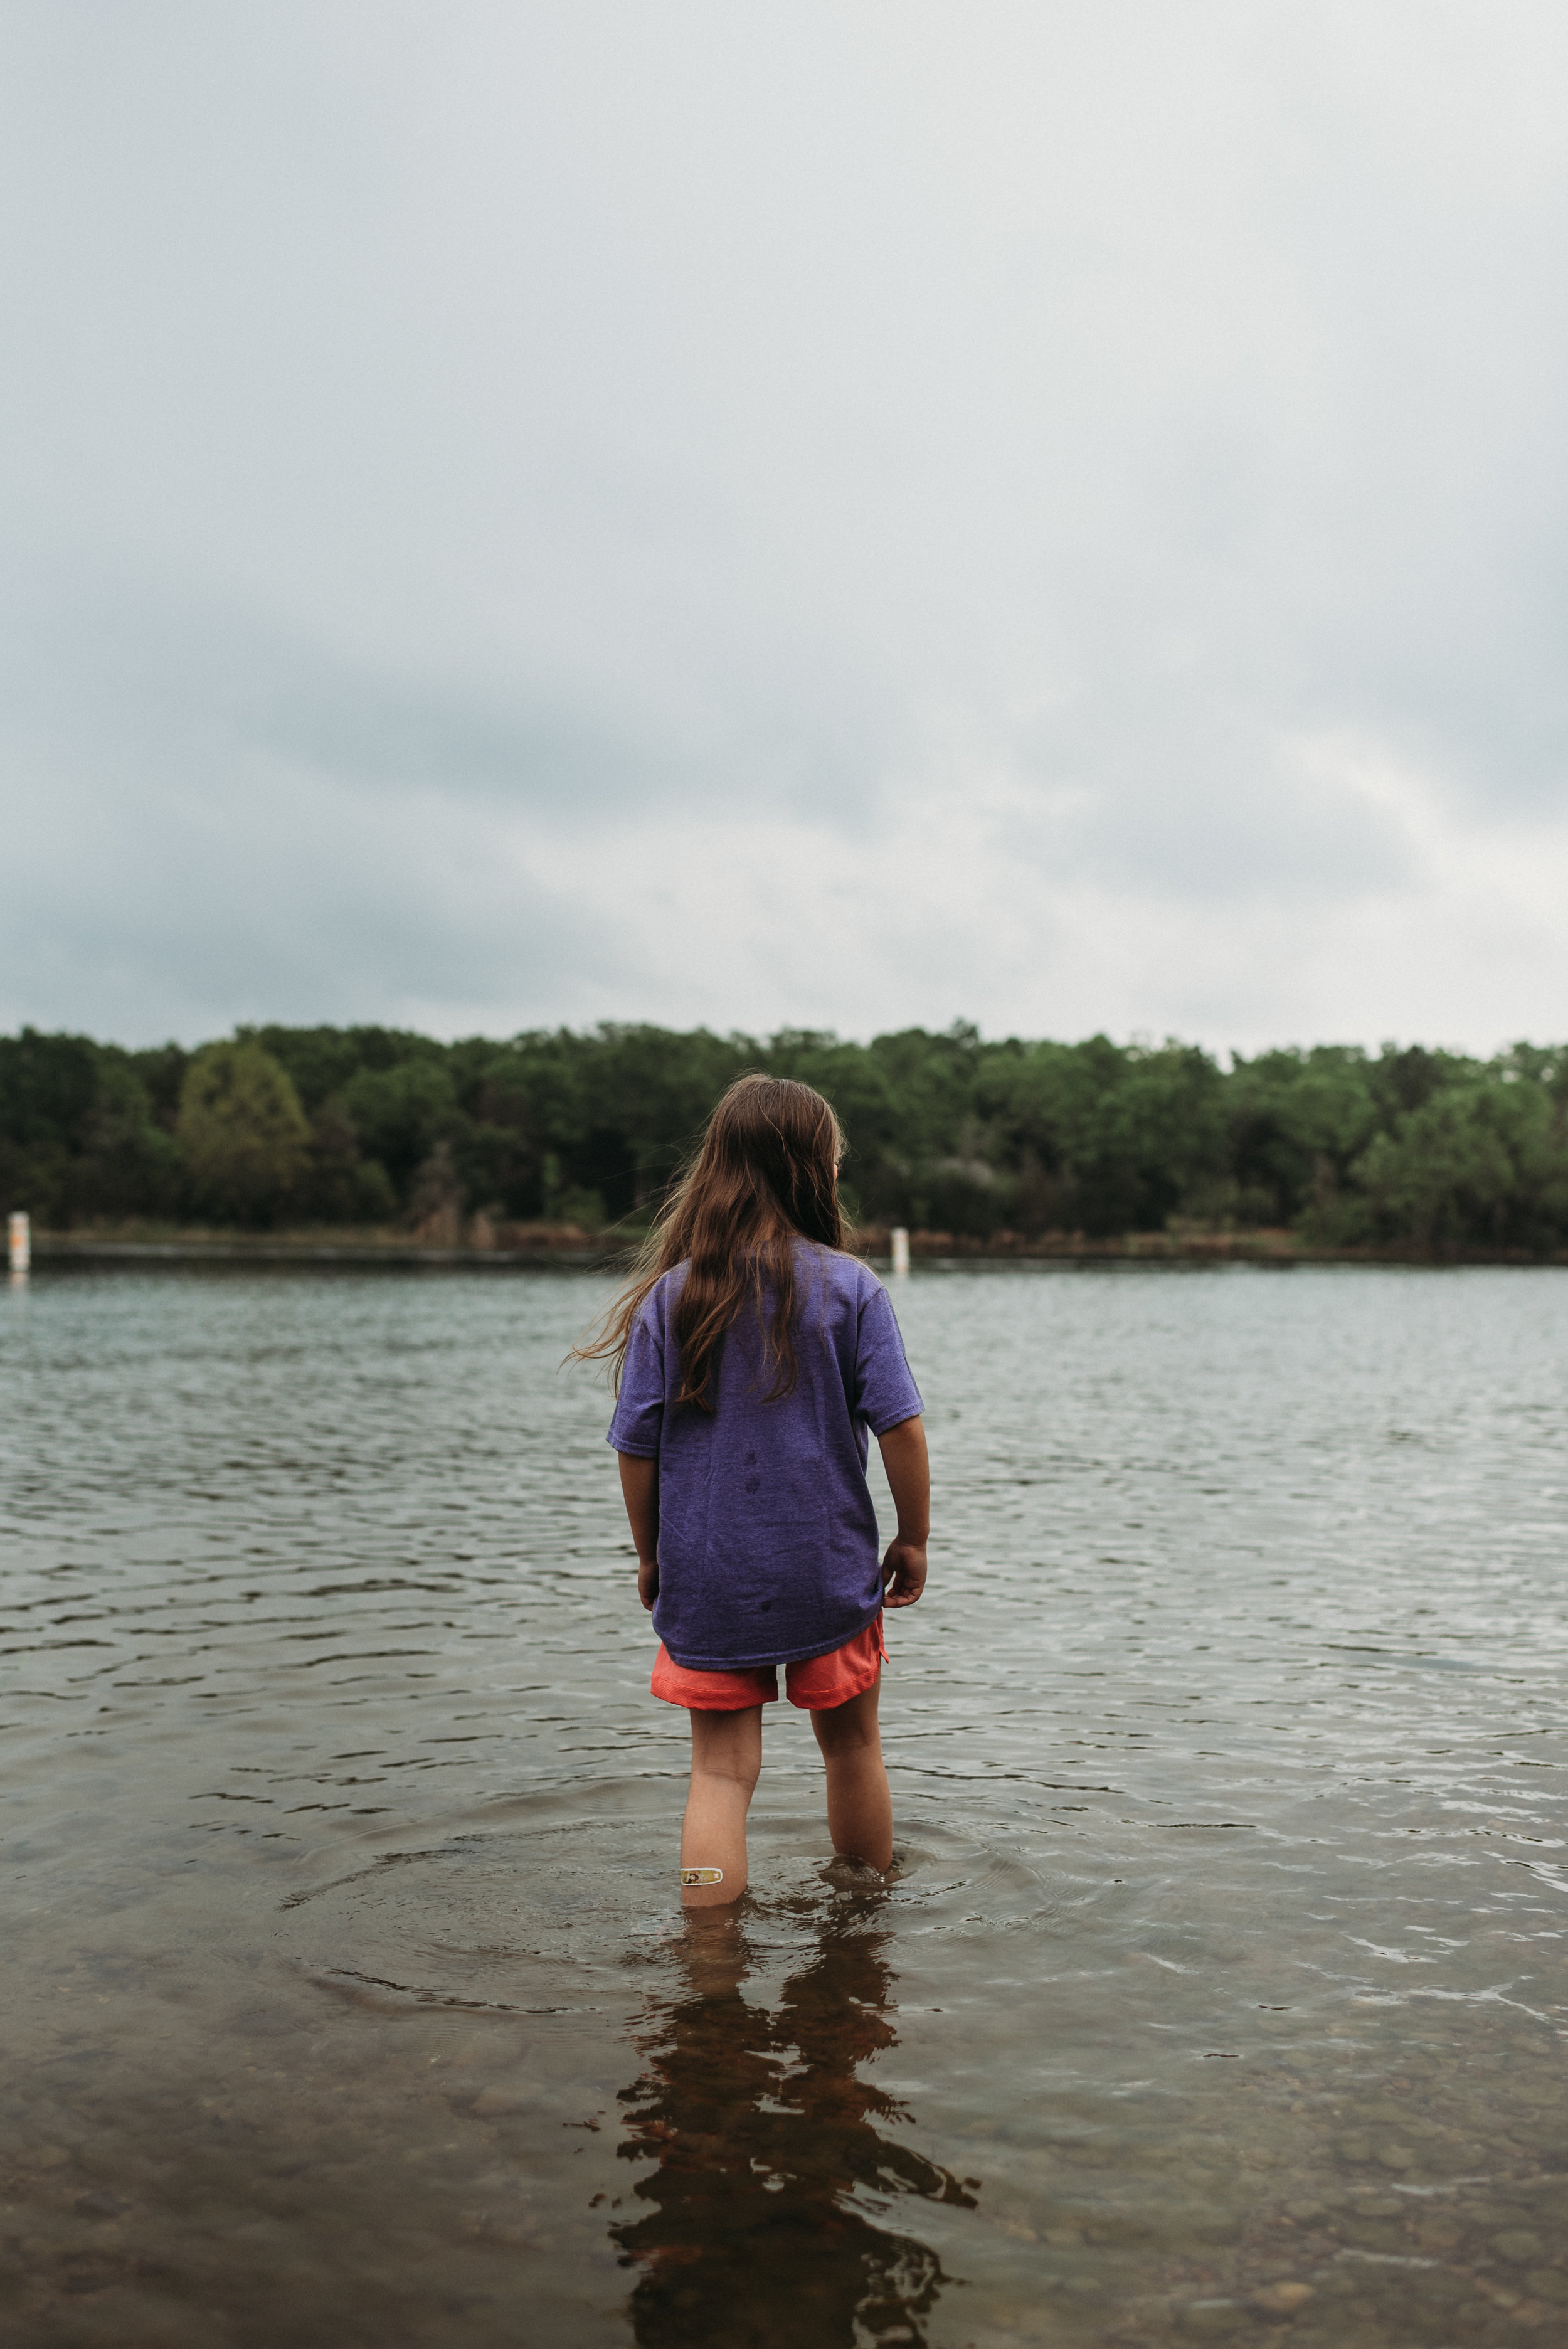
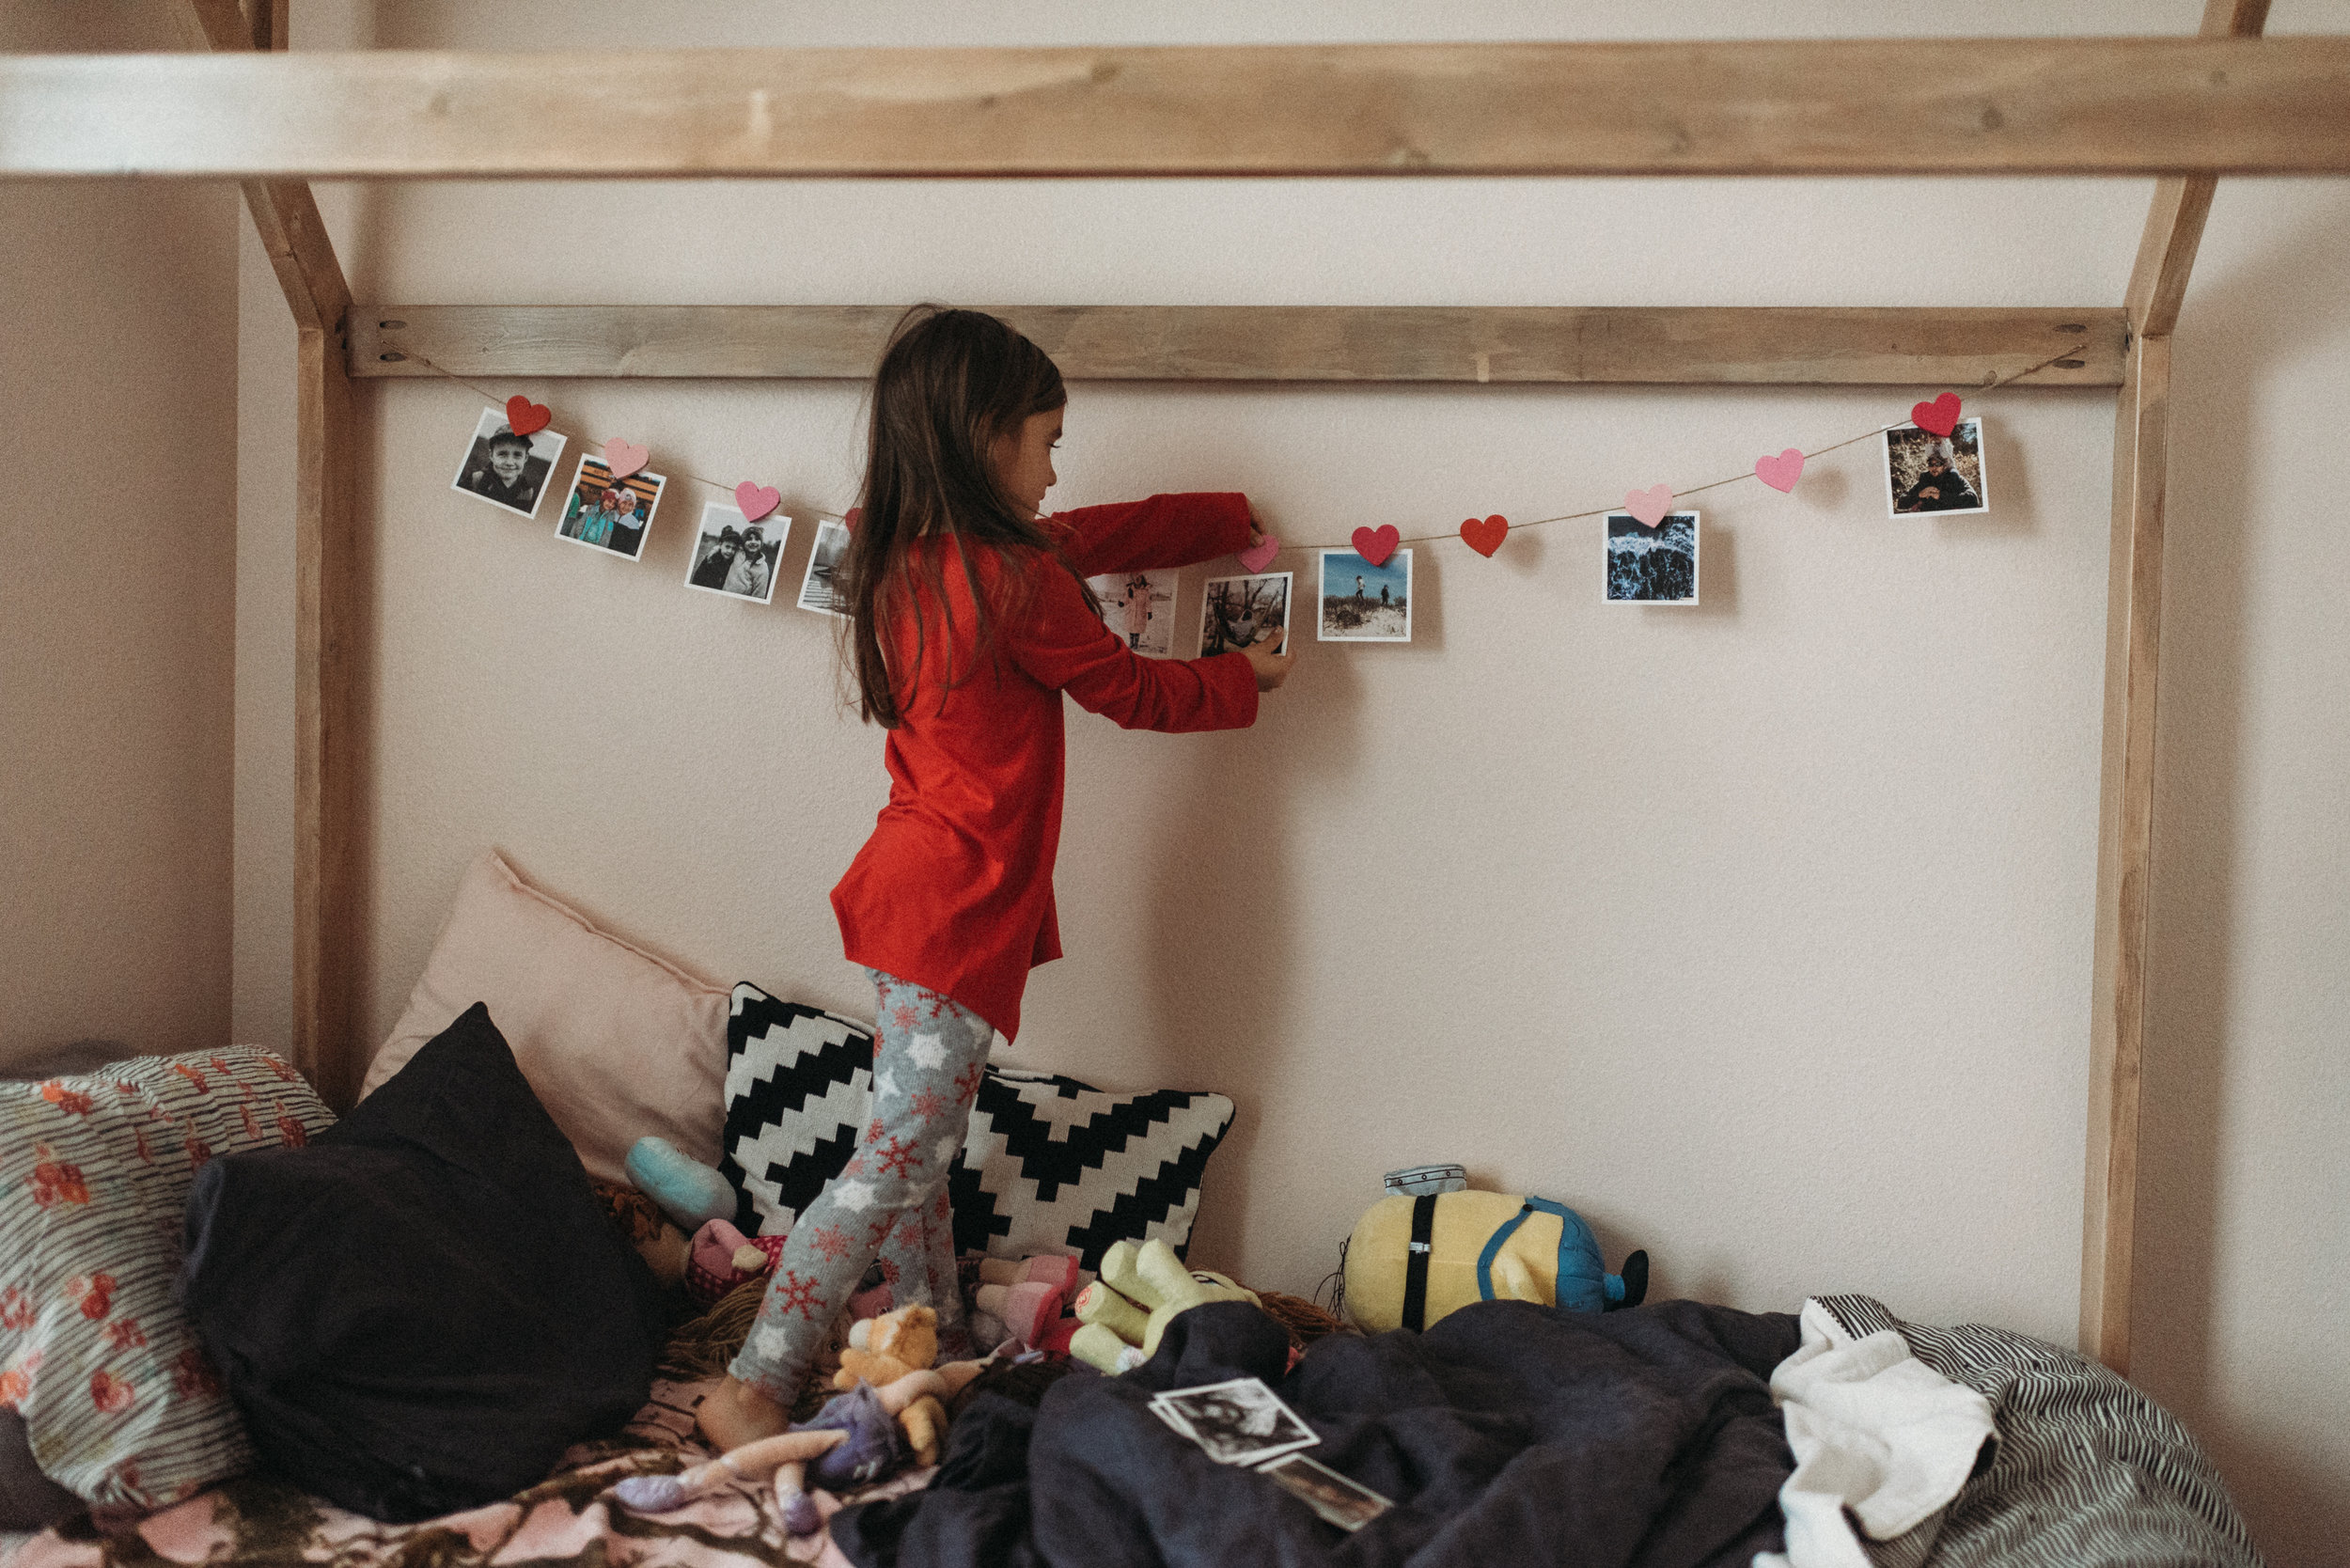
5 Tips for Your Very First Trip in Your New RV

Your first trip out in the new RV can seem overwhelming. It feels like stocking a second home, which it kind of is, and surely you’re going to forget at least one thing you really need. Just make sure it’s not the toilet paper. The rest can be worked out.

Tips for Surviving your First Trip in the New RV

Texas RV Camping McKinney Falls State Park
  1. Stay Close to Home and Camp Near a Walmart - Seriously. Luckily for us there wasn’t anything that we needed to go run and get in an emergency, but it happens all the time for first timers. You forget something you really need and the last thing you need is to be way out in the middle of nowhere and far from home. Our thoughts were that if something went terribly wrong, we could just hook up and be home in 30 minutes. No harm done. Also if we forgot something small that we actually needed like a can opener or bottle opener (if you’re me that’s important), you could just run up to the nearest Walmart and grab it real quick. Some people even choose to camp in their driveway for the first time. If you live somewhere where you can do this, it’s probably not a bad idea.

  2. Keep a Notebook or Start Notes in Your Phone - This is for those things you forgot that you got by without, but definitely want for next time. For me this was salt and pepper and also cooking spray. Although I’ll be totally honest with you, I left the cooking spray in the camper and I’m currently questioning that choice. It’s starting to get hot here and I’m afraid the next time I go in my camper it may have exploded. Fingers crossed my kitchen isn’t covered in cooking oil spray. Also this is great for keeping track of campsites. Drive around and find your favorites and write them down so you remember them for you next trip.

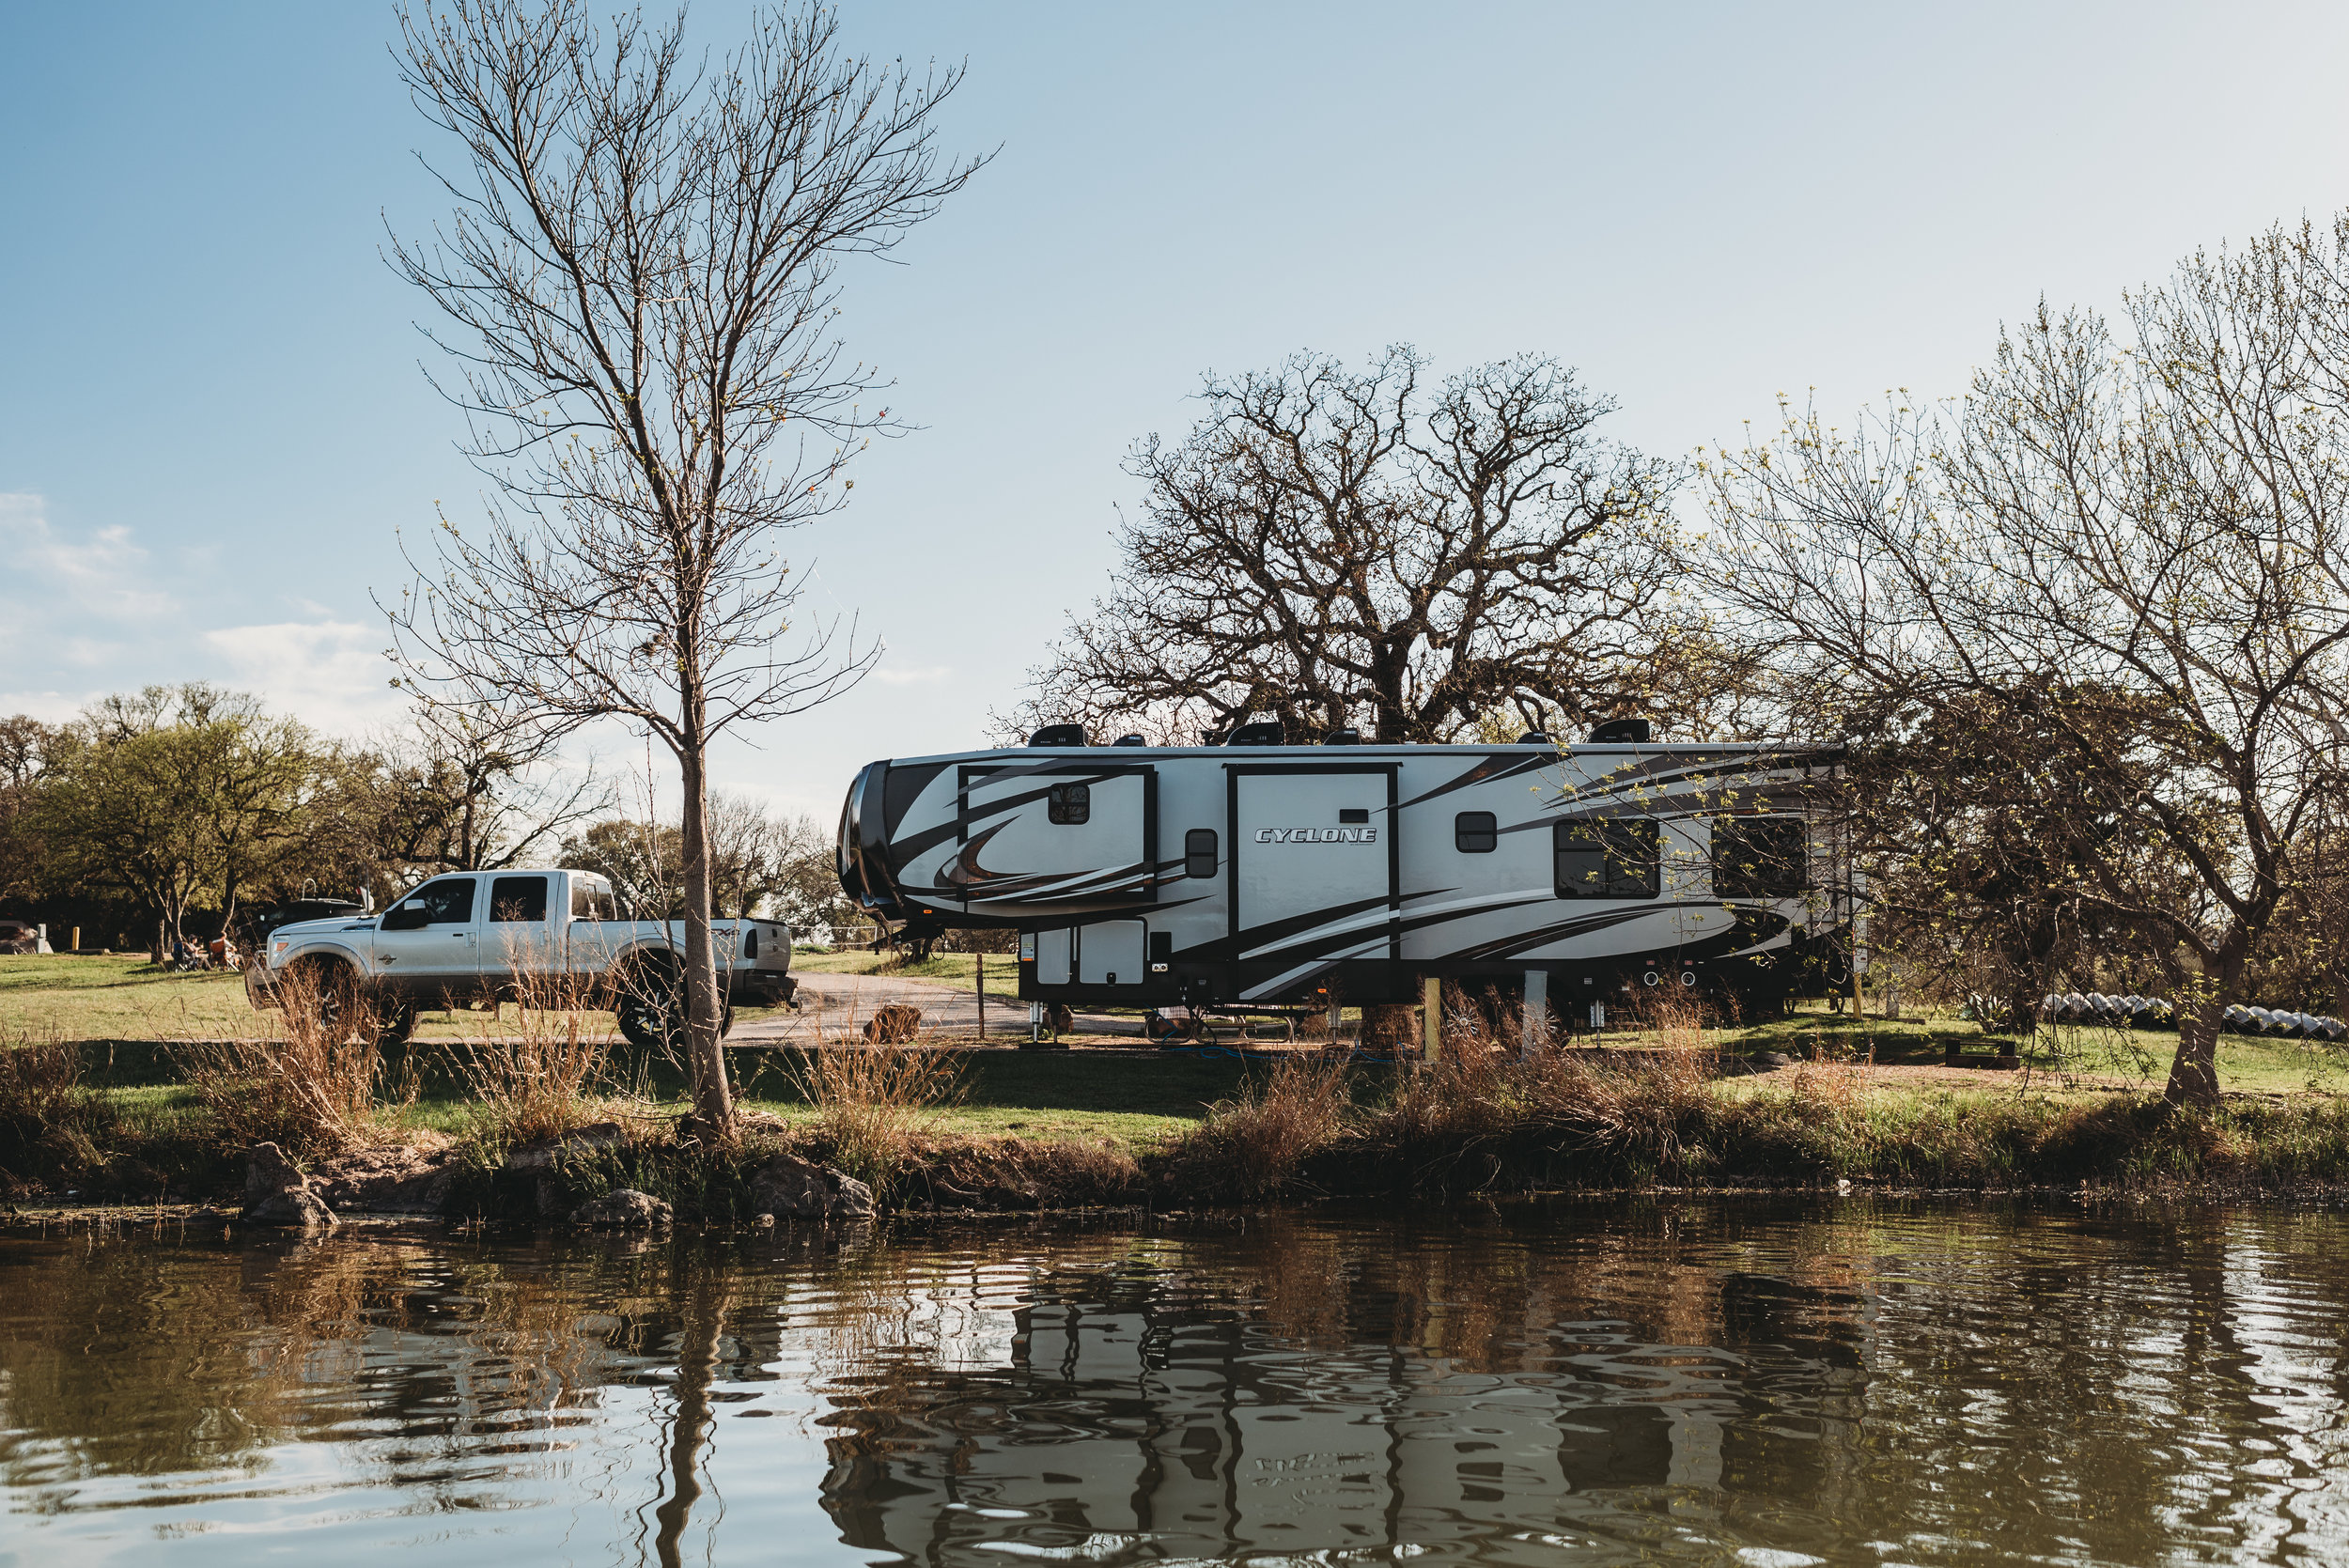
  3. Use your Phone To Communicate While Backing Up the Camper - If cell service is non existent, you could also use walkie talkies. Our camper is 39 ft. long. I tried the whole use hand signals to help my husband back it in thing and it was bad for our marriage. I was never in the right spot and we were both super frustrated. Cell phones allow me to be anywhere I think I need to be and moving regularly to check clearance and I can still direct my husband into the campsite. It’s so much less stressful this way and who wants to start their trip off with stress?

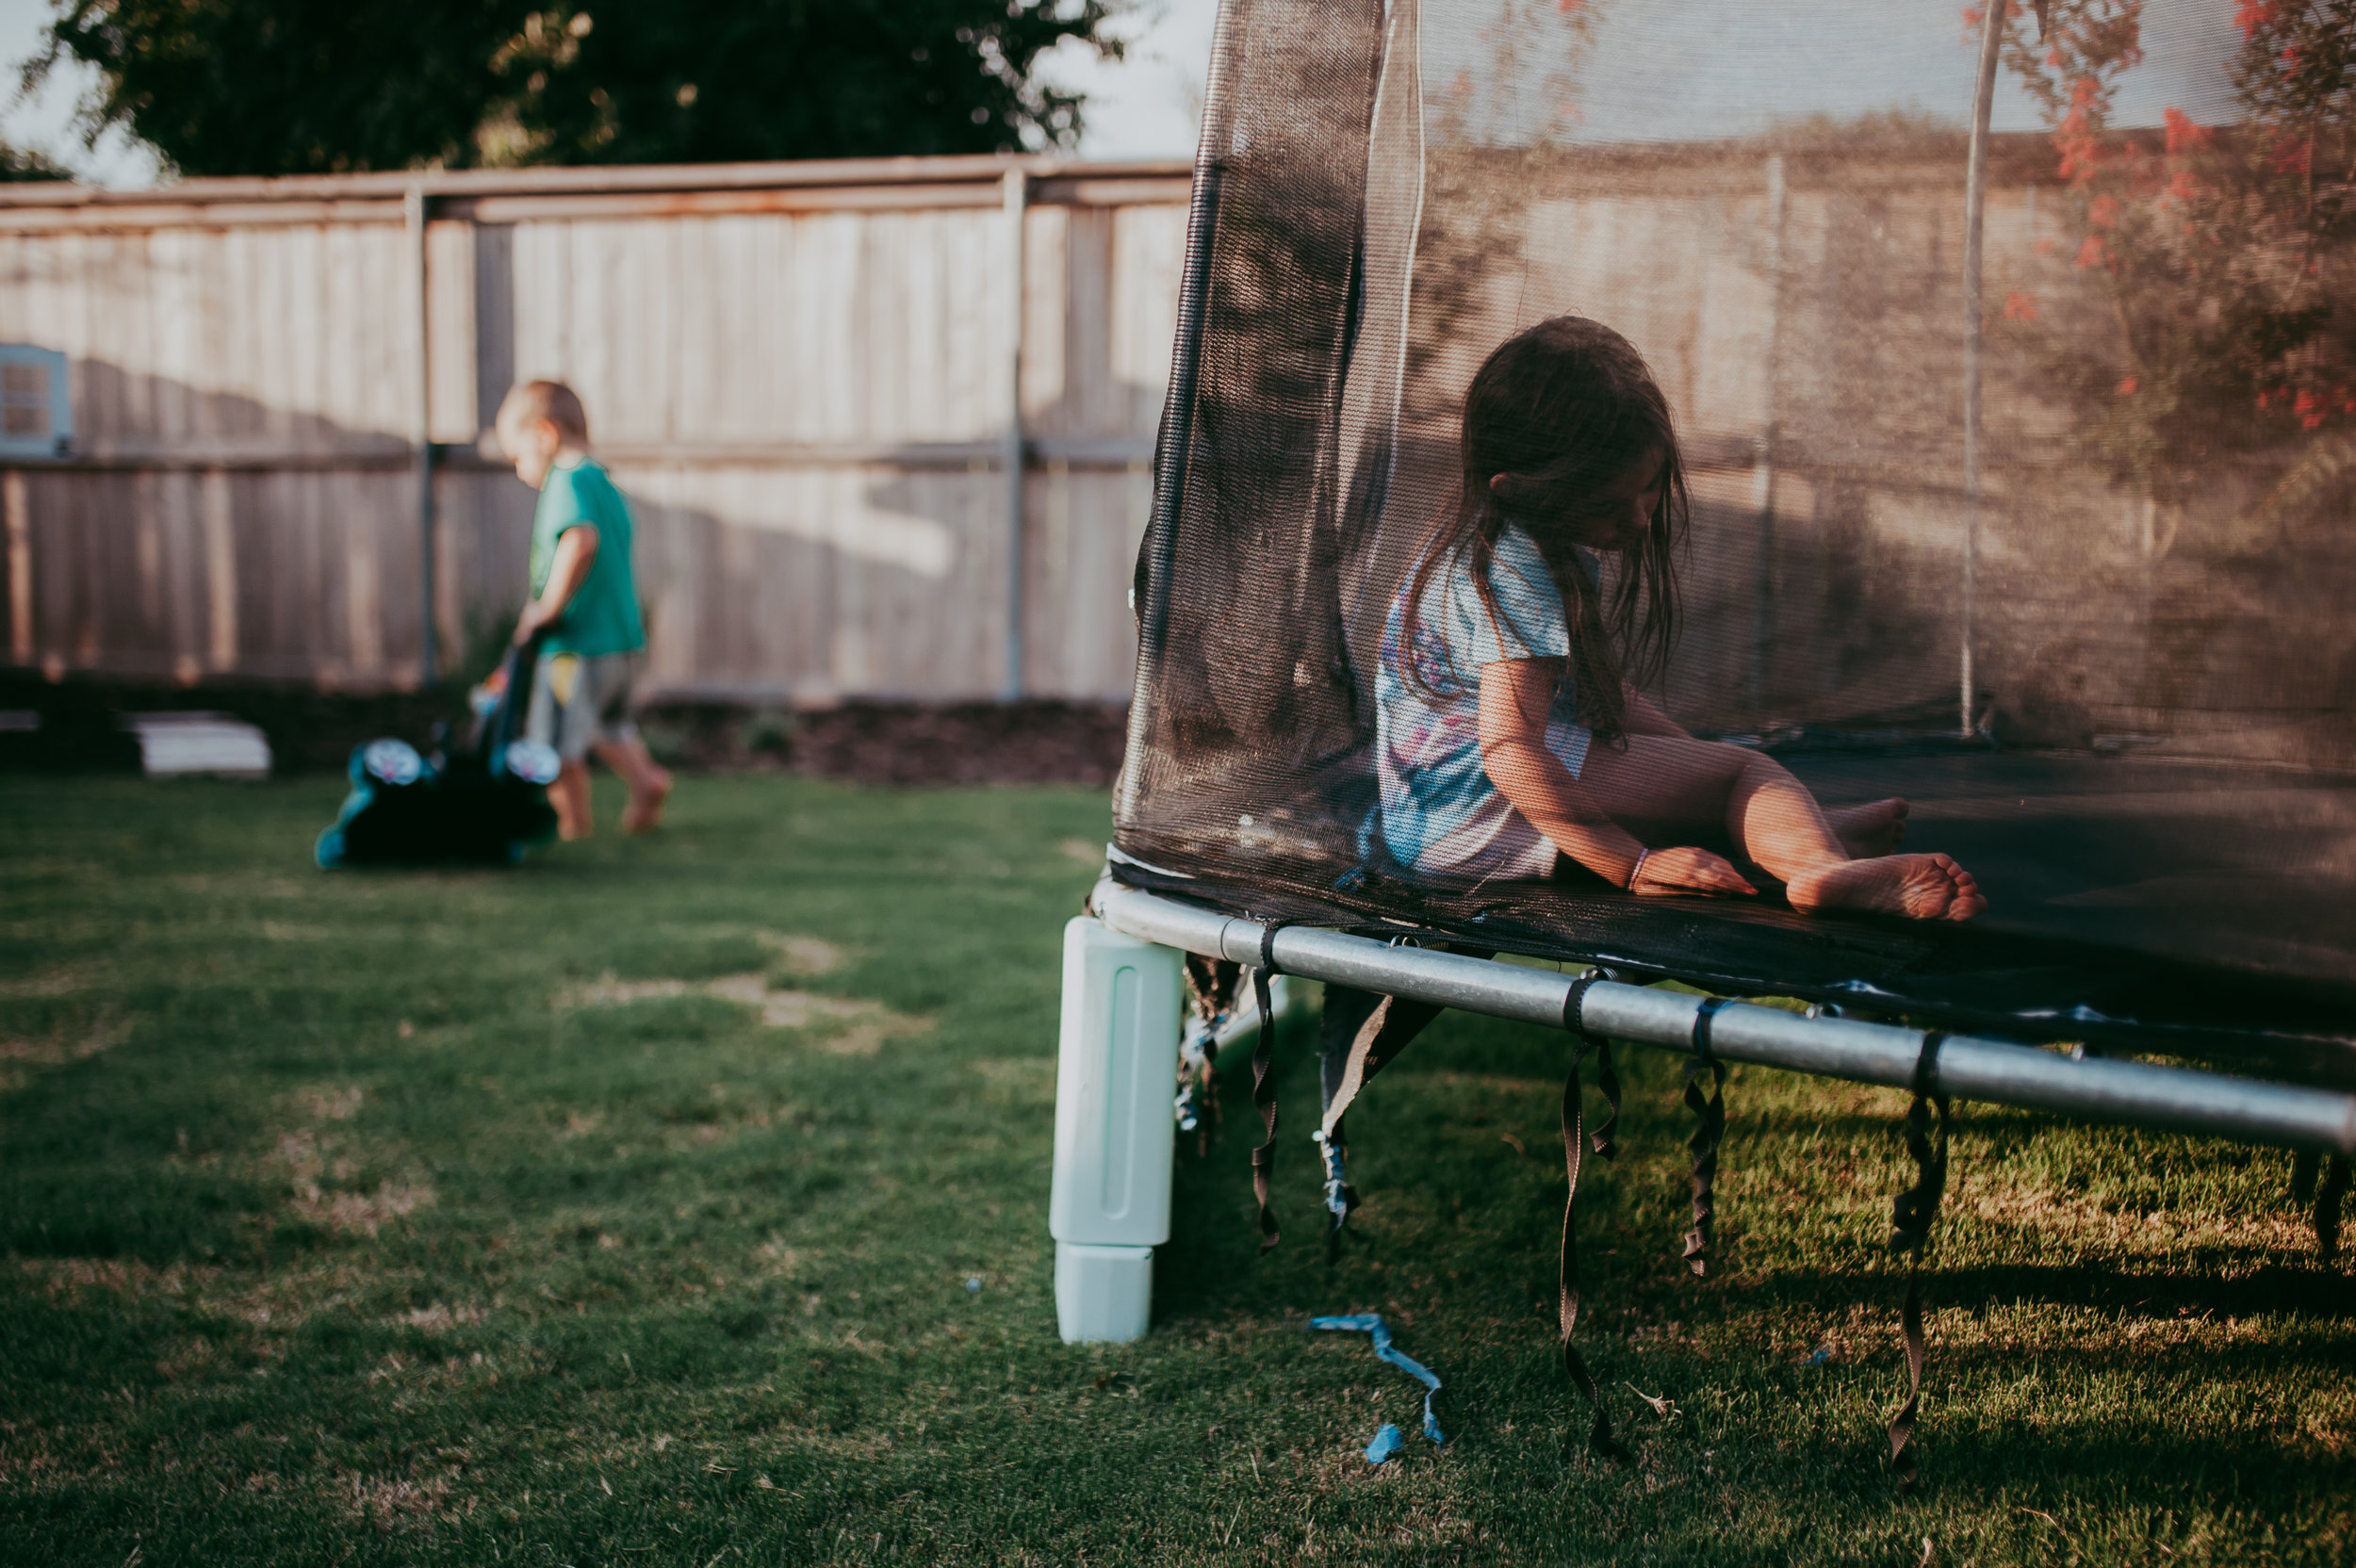
  4. Expect anything or expect nothing - Your first trip is likely going to be a shit show. Or at least peices of it. Expect nothing to go as planned. Expect anything to happen. Setting appropriate expectations can make a not so great trip no big deal at all. Just remember you’re learning and remember this first trip is all about working out the kinks.

  5. Just Enjoy!


Texas RV Camping First Time McKinney Falls State Park

Just before our first trip I polled a Facebook group I’m in to have them tell me that one thing they forgot on their first trip. I want to share the top responses with you before I wrap this post up just so you can make sure you have the most commonly forgotten things.
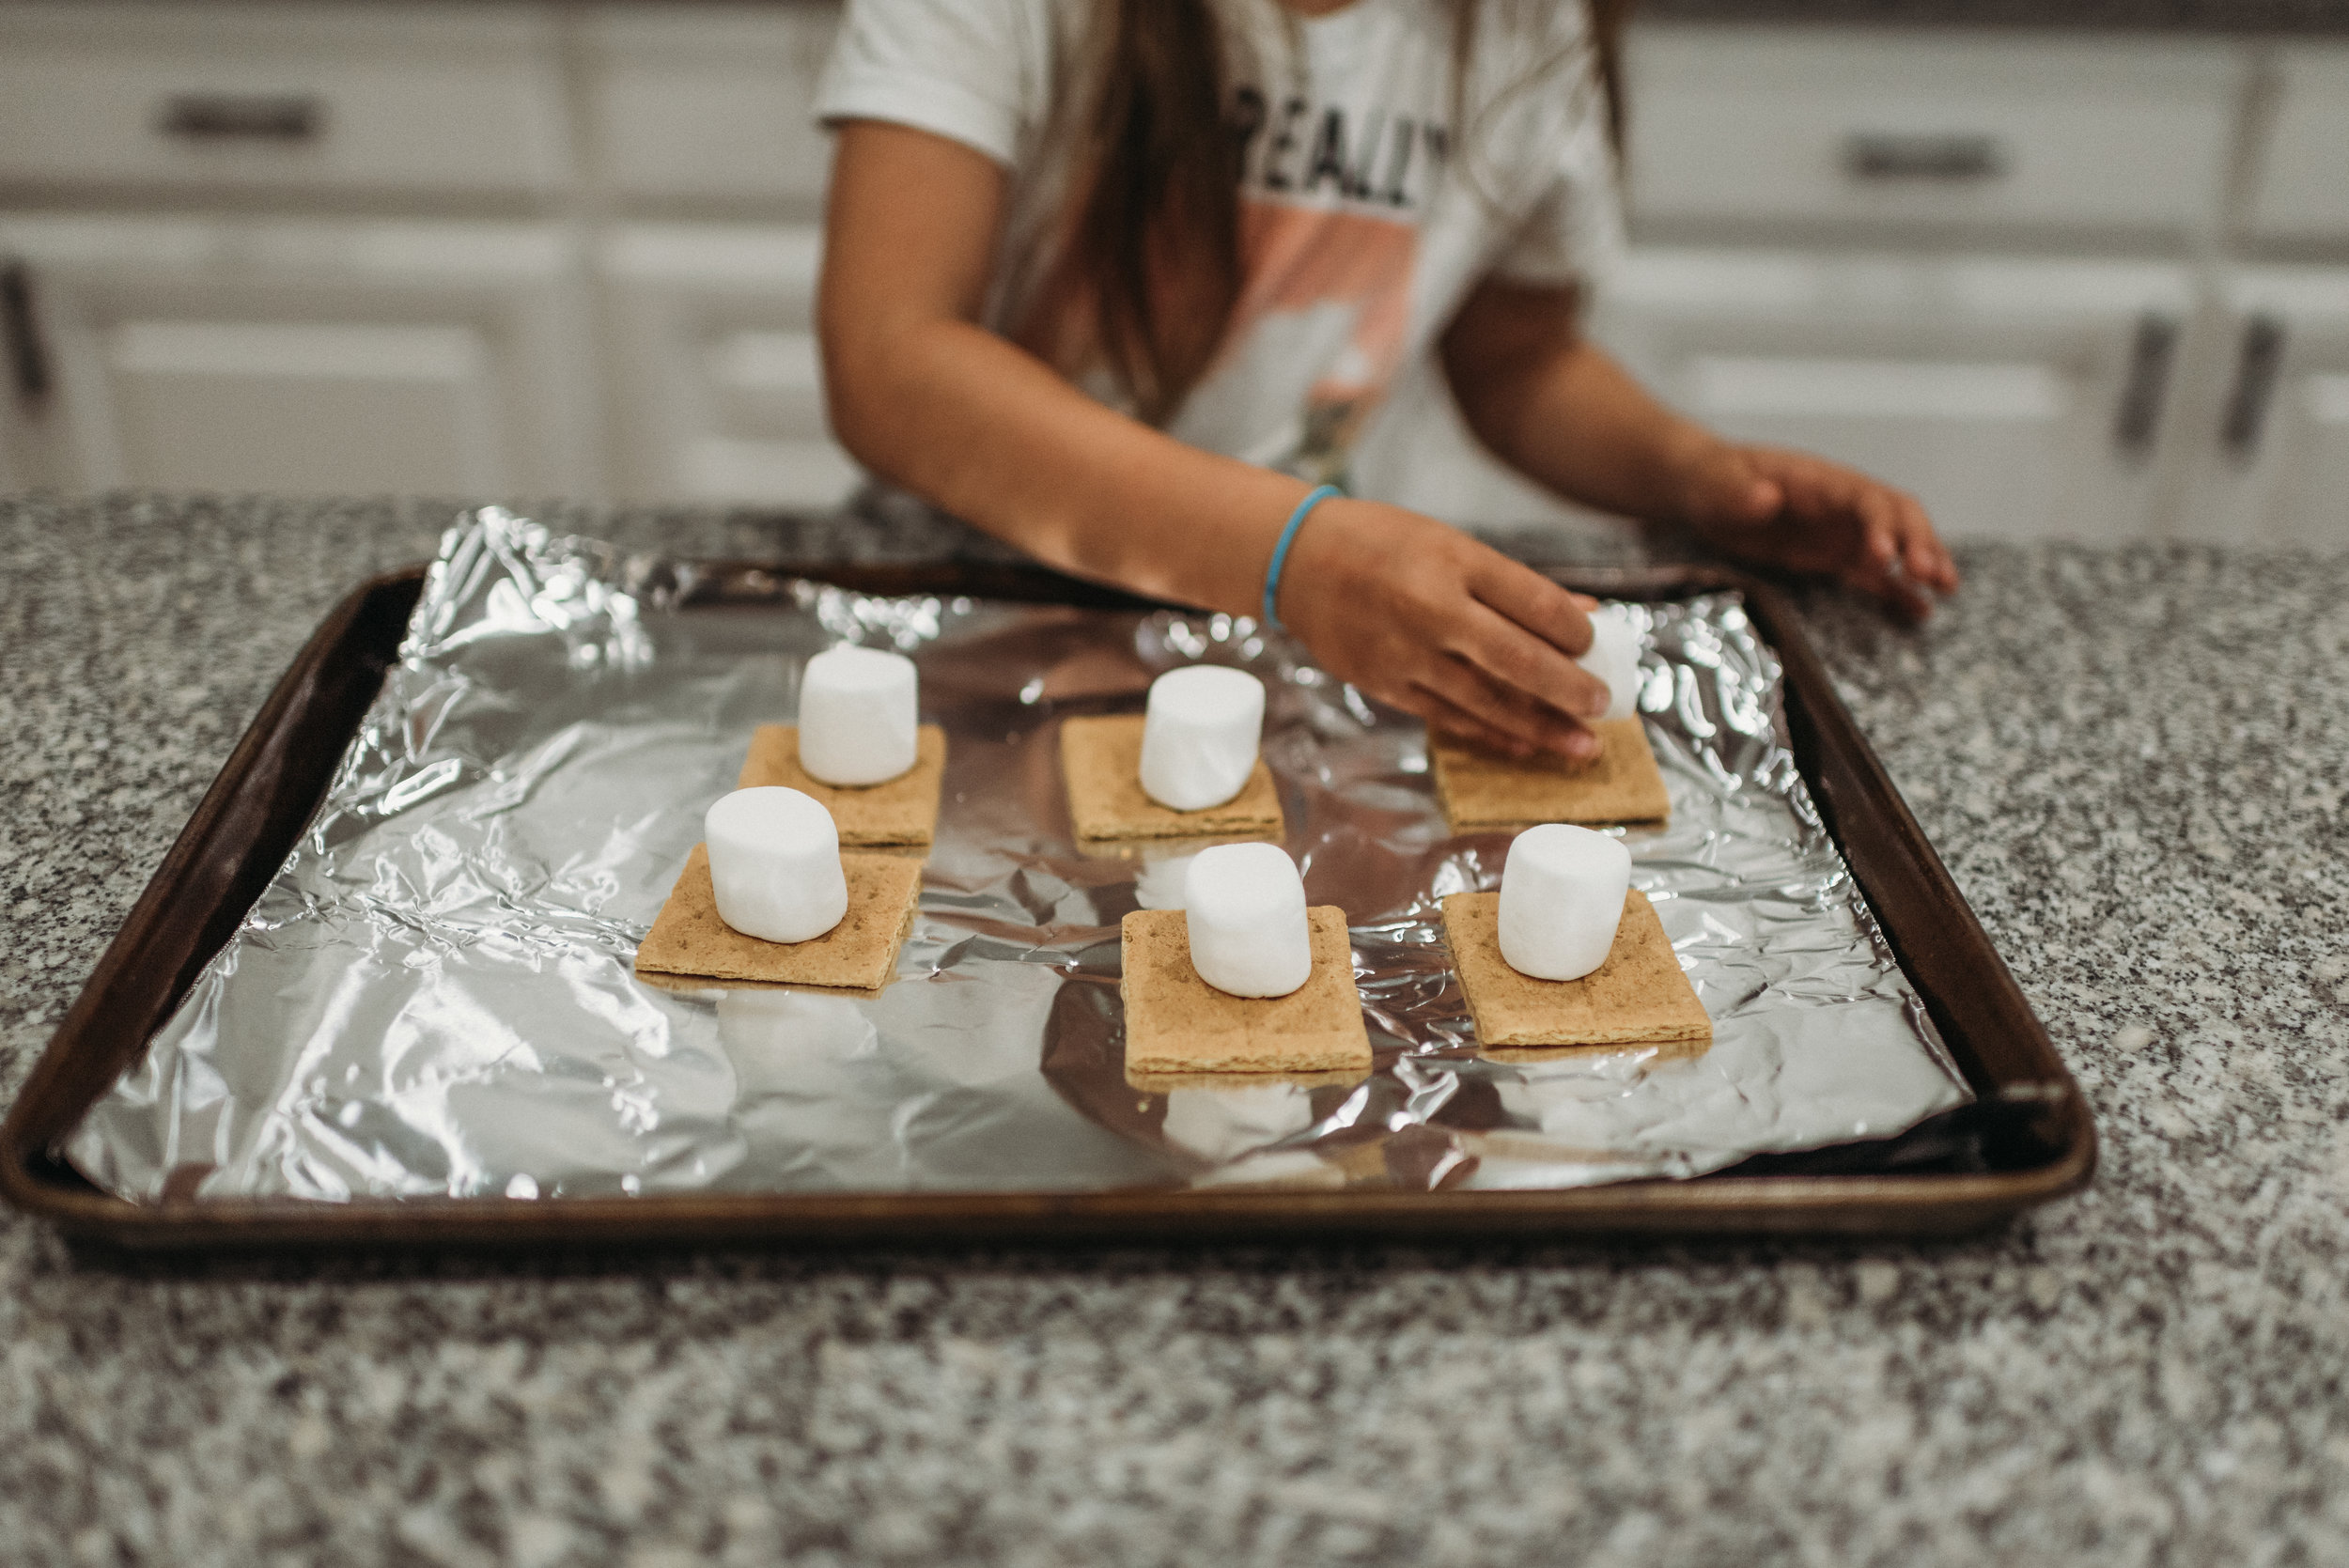
  • Can Opener

  • Cork Screw

  • Toilet Paper

  • Garbage Bags

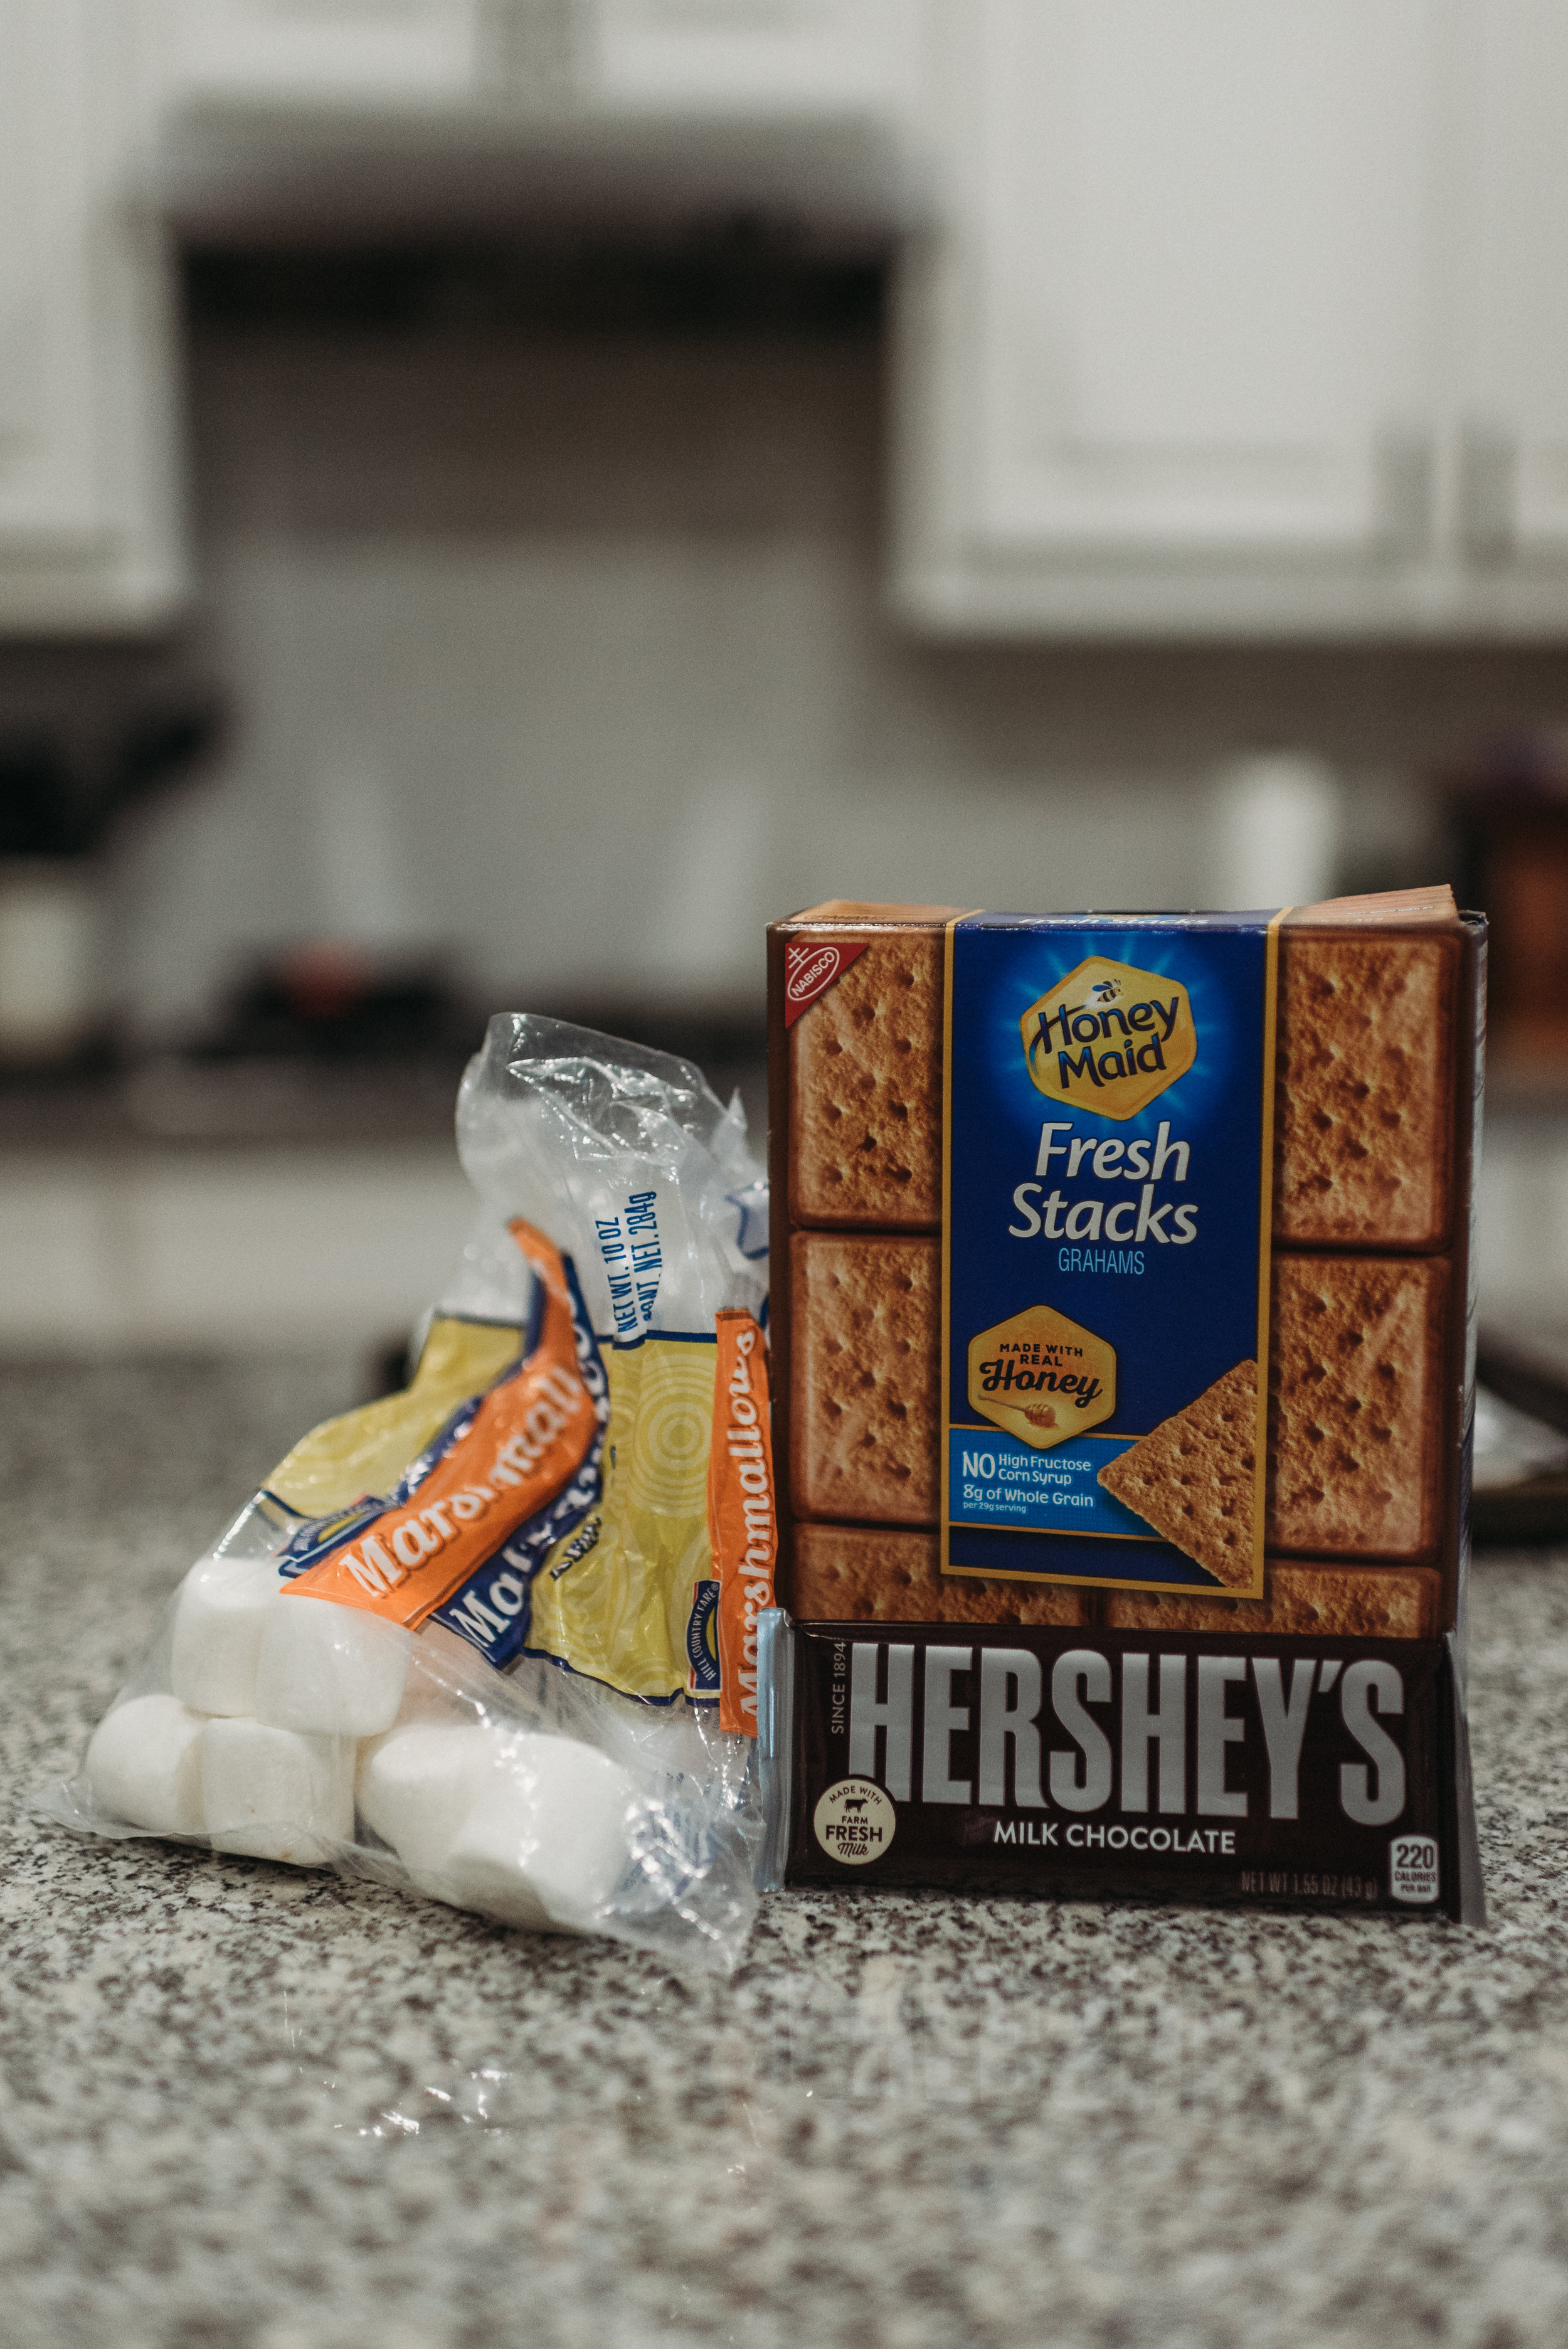
  • Spices (Salt & Pepper)

  • Dish Soap

  • Pillows

  • Scissors

  • Table Cloth

If you have any great tips and tricks to add or want to share the thing your forgot on your first trip, please feel free to share in the comments.

Also if you want to check out my RV camping items on Amazon, click the button below. Maybe you’ll find something else you haven’t thought of yet.

Disclaimer: The Amazon link is an affiliate link and I do earn a tiny commission for any items purchased as a result of clicking this link. If you purchase, THANK YOU!! This allows me to keep bringing you quality content on a regular basis.

Happy Camping!!!

-Monica


Interested in more of my blog posts for Beginner RV Campers? Click the buttons below.


What To Do About That Terrible RV Mattress

If you’re reading this I’m guessing you just spent the night on quite possibly the worst mattress you’ve ever slept on (if you even slept at all). No worries, I’ve got you. Let’s talk about that horrible RV mattress and the best and most affordable way to upgrade it.

It happens to the best of us. We buy our new or new to us camper, we buy all the things to go with it, and then set up our maiden camping trip just to find out ain’t nobody sleeping good on that poor excuse for a mattress that comes with the thing. You just spent all this money and a new mattress is the last thing you have room for in the budget. What do you do? Do you fork out the cash for a new one anyway? It’s a shame to spend all this money on something that’s supposed to bring you joy only to be sleep deprived with an achy back. We fixed this issue for under $100, which by comparison seemed like the perfect alternative to buying a new mattress.

This is NOT a sponsored post. I’m simply sharing what worked for us and helping out my fellow RVers.


What we bought

Lucid 3 Inch Gel Memory Foam Mattress Topper

This particular mattress topper had great reviews everywhere I found it online and was available at many stores for so much less than comparable models. I ended up buying mine from Home Depot because at the time they had the best deal. I like to shop around. I’m going to link it below on several sites so you can find the best deal at the time you’re looking at this. I did see it on more sites (JC Penny, Bed Bath and Beyond, etc.), but those others had a much higher price point and I didn’t see the point of adding them here.

Disclaimer: The Amazon and Home Depot links are affiliate links and if you do purchase through one of those links, thank you! I will receive a super small commission, but that commission keeps me producing quality content for you. That being said, I’m a firm believer and finding the best price most of the time. If it’s not at Home Depot or Amazon, please choose the option that’s best for you.


What else you need to know before purchasing your mattress topper

mattress topper for the camper

I didn’t just purchase ours blind hoping it would work for us. I thought about our sleep needs and the level of firmness we typically prefer. If you like a super plush and soft bed, maybe the 4 inch model would be a better fit for you. If you love it super firm, you may consider the 2 inch model. We chose the 3 inch topper simply because we sunk into the super thin camper mattress directly down to the plywood below. We like it mostly firm, but felt for our needs that the 3 inch might provide a little bit more of what we were looking for. Check out this graphic from Lucid. Maybe it’ll help you decide which model will work best for you.


Hopefully you found this helpful and you can start getting a better night’s sleep on your next trip. This thing really has made a huge difference for us.

Interested in my other blog posts for beginner RVers? Check them out below.

Happy Camping,

Monica

Best Coffee Maker for the Camper

What is the best coffee maker for the RV?

This is a question I see asked by newbies all the time in RV camping Facebook groups. Now I’m still kind of a newbie myself, but I want to share with you what I bought, why I bought it, and a couple other options I see mentioned a lot.


Edit to add pour over

This blog post required a little edit in that none of the original products shared are what we currently use to make coffee while camping. Since writing the original post, I’ve taken up intermittent fasting which means I drink my coffee black and have now for about 2 and a half years. This mean k-cups weren’t doing it for me (they’re mostly only good when you can add a little cream and sugar) and since I’m the only one drinking coffee, I decided to go with pour over. These days I use an electric kettle and one of the pour over drippers that sit directly on top of the coffee mug. I use a #2 filter for the sake of easier cleaning, but it’s not necessary with this particular dripper.


Mainstays Single Serve K-Cup Coffee Maker

We use this Mainstays Single Serve K-Cup Coffee Maker from Walmart.

Why?

  • It’s only $19.99, about half the price of other off brand k-cup coffee makers on Amazon.

  • It has a super small footprint so it doesn’t take up a ton of counter space. We all know RVs are generally lacking in this area.

  • It’s easy to store away when traveling.

  • I’m the only one who drinks coffee so no need to brew a whole pot.

  • It now comes in 4 colors (black, red, mint, and iris)

The Downside of The Mainstays Single Serve K-Cup Coffee Maker

  • You wait in between cups for water to heat. But for that price and considering I’m the only one who drinks coffee in my camper, I can handle that.


Now what if you don’t have electricity?

So far we haven’t been somewhere without it and we have a generator, but I know people camp without electricity all the time and don’t have a generator. Also some just prefer an old school way of doing things especially when they camp and I totally get that, not to mention the folks concerned about the waste of a k-cup. All of this really just depends on your level of coffee snobbery and environmental concern and there isn’t really a right or wrong answer, but here is how you do it without electricity.

Use a Percolator or French Press When Electricity isn’t Available

I’ve found a few percolators on Amazon with 4+ star reviews that won’t break the bank. For these you’ll either need a campfire or a propane stove. At the time I added these to this blog post, they ranged from $17-$36 (all affordable).

And these two French Presses were also super affordable with 4+ star reviews on Amazon. I’ve never used a french press before, but I’ve been curious. Everyone always raves about coffee made with a french press. I’ve read you don’t want your coffee to be too finely ground with these or it’ll end up in your drink so keep that in mind. At the time I added these to this post, both options were about $25.


EDIT

I ended up buying this Bodum 12 oz. French Press from Target for the house just because I’ve always wanted to try one and I’m the only person who drinks coffee in my house. I may even start taking it with me in the camper. I cheat and use my Kurig without a K-cup to boil water and then just have it dispense directly into the french press already containing my coffee grounds. You just wait 4 minutes and then press. Coffee is ready. This is cheaper on Amazon so that’s what I’m linking for you, but I was actually able to find this in my local Target store just in case you’re a buy in person kind of person.

Pro Tip: Go for a bolder coffee. I tried a medium boldness which is usually fine for me, but it came out weak. I bought a bolder coffee and I it’s perfect.


And of course there is nothing wrong with a good old coffee pot, if that is the route that makes the most sense for you…

These two are basic and affordable with great reviews.


I know this seems super simple, but for whatever reason, the coffee maker can be a tough decision to make. Hopefully this gets you thinking about your coffee needs and what makes sense for you in your camper and makes this whole owning an RV thing a little less complicated. If you’ve got one you love in the camper, feel free to share it in the comments. Fellow RVers help each other out.

This blog post contains affiliate links and I may receive a small commission for purchases made by clicking on links in this post. If you choose to purchase any of these items by clicking on the link, thank you! This is part of how I can continue bringing you quality content on a regular basis. Please know that I posted these links with care and either own the product or read reviews prior to linking it in this post. Happy Camping!

Banner Image Photo for this post by Jéssica Silveira on Unsplash

Interested in some of my other posts for beinner RV campers? Check them out below.

24 Rainy Day Camping Activities for Kids

Rainy Day Camping Activities for Kids

I know I’ve talked about it before, but I’ve got a knack for planning camping trips on rainy or poor weather weekends. My talent for doing this is incredible actually. Just ask my family. You want to know when it’s going to rain? Just ask me for my camping schedule and you’ve got the answer. We’re headed to the coast in July and I’m already planning for hurricane weather because that would be my luck. You can bet I’ll be keeping a real close eye on the forcast during that time.

So since it’s obviously going to be raining for my next camping trip and the one after that and the one after that, here is the big question. What kind of rainy day activities can we do to keep the kids busy in the camper? I mean, we’ve watched every single movie in our camper at least 5 times and we haven’t even been camping for all that long. There are only so many times you can watch Sing or the Minions Movie over and over again. I’ve seen this question asked over and over again on camping forums so I’ve compiled the ultimate list of rainy day camping activities for your young kids.

The Ultimate List of Rainy Day Camping Activities For Your Kids

Markers and coloring books

Markers and coloring books

  1. Watch Movies - Yes it’s screen time and that’s not what camping is about, but for me camping is family time so if we’re all enjoying a movie together with a little popcorn, then I’m cool with that. Our camper favorites lately seem to be Sing, Minions, and The Lorax.

  2. Play Board Games - Candy Land, Monopoly, Guess Who, Battle Ship, Connect 4, Chutes and Ladders, Sorry, Trouble, Checkers, or any board game you already have hiding in a closet somewhere will do.

  3. Play Card Games - A whole family activiite sure to please. We love Uno and Go Fish. My almost 6 year old daughter would probably play all day. Don’t forget about games like Skip-Bo, Old Maid, War, Apples to Apples, Crazy 8, or Charades for Kids.

  4. Color - We prefer a couple of coloring books and some markers that stay in our camper. Both of my kids love to color. Crayons can melt if they get too hot so I wouldn’t suggest keeping them in the camper if it gets hot in storage.

  5. Paint - I’ve seen suggestions of painting rocks which looks like a ton of fun. Some people have also mentioned leaving them behind for the next set of campers to discover. I love that idea. Seems like a fun way to put a smile on someone’s face. Also some old school water colors and paper are easy to pack and always a fun activity for kids.

  6. Play outside (if it’s safe to do so) - Just make sure you have a couple of kid size ponchos on hand (or swimsuits if it’s warm enough) and pack their rain boots (or crocs) and you’re good to go for a little rainy day outdoor adventure. Of course if there is lightening near by or dangerous wind, don’t do this. Use common sense folks, but have fun.

  7. Play-Doh - cheap and easy to bring along.

  8. Fort Making in the Bunks - If you have bunks that is and plenty of blankets or sleeping bags, pillows or just anything that can be used for a fort. I haven’t met a kid that didn’t enjoy fort making yet.

  9. Learn Origami - Keep a stash of paper around and maybe grab an inexpensive book off Amazon for learning origami.

  10. Make Slime - You can buy a slime kit or just have the ingredients you need on hand. There are endless recipes for slime on the internet. Just google it and choose a recipe that looks interesting or easy or whatever you want it to be.

  11. Bake Cookies - Our favorite ones to make come from the Magnolia Cookbook. Oddly they’re better after they cool off which is unlike any cookie recipe I’ve ever tried. A premade dough works just fine as well, but from scratch will give you more to do and can be a great family activity for a rainy day.

  12. Legos - Bring a tub or just a small set. You’re never too old for legos.

  13. Read - Grab some books that your kids can read on their own or bring along some to read to them. I went to college to be an elementary school teacher so I’m a fan of reading to kids anytime, not just when it’s raining.

  14. Seek and Find Books - Think Where’s Waldo or the I Spy books. Both of my kids love these.

  15. Puzzles - I love that this can also be an individual thing or a family thing. Bring along all kinds of puzzles ranging from 24 pieces all the way to 500 pieces (depending on how rainy it’ll be or on ages and number of participants).

  16. Jenga - Because this one also never gets old.

  17. Tic-tac-toe - This is our go to at restaurants, but why not on a rainy day in the camper too.

  18. Visit Local Indoor Attractions in nearby city- Museums, Children’s Museums, Aquariums, Kid friendly brewery or winery, trampoline parks, bowling, etc. Just google indoor activities for whatever city you are near and get out and explore.

  19. Craft Kits - you can create your own kit or buy one ready to go. This can be as simple as beads and string or that super cool dream catcher kit in my Amazon list for rainy day activities.

  20. Science Experiments - Honestly even I’d have to just google this one. I wouldn’t know where to start, but I’ve seen it mentioned in forums so I thought I’d include it here.

  21. Dominos - I haven’t played dominos in years and would totally have to figure it all out again, but I do remember having fun. Seems like a great game for kids and adults alike.

  22. Paper Doll Books - I’ve never done paper dolls with my daughter, but I’d bet if I pulled this out on a rainy day, she’d be in heaven.

  23. Joke Books - This is for when you’re desperate and everyone is getting on each other’s last nerve. Hopefully a joke or two will get everyone smiling again.

  24. Magnatiles - We don’t have magnatiles, buy I’ve almost invested in them several times. Everyone who has them swears they’ll keep their kids busy creating for hours.


Just after the sun came back out, looking at birds on the water.

Just after the sun came back out, looking at birds on the water.

Get everything you need to entertain your kiddos on a rainy day in the RV on Amazon. Click the button below to go to my Rainy Day Shopping List created specifically for this blog post.

This link is an affiliate link and I may receive a small commission for any items purchased by clicking this link. If you choose to click and purchase, Thank you! This is how I can continue to bring you quality content on a regular basis.


A cold day spent inside at Moody Gardens Rain Forest Pyramid while camping in Galveston.

A cold day spent inside at Moody Gardens Rain Forest Pyramid while camping in Galveston.

Do you camp? What are some of your favorite rainy day camping activities? Share them with me in the comments for others to see.

Thanks for reading my post!


-Monica

Want to see more of my posts for beginner RV campers? Click the links below.

DIY Essential Oil Mosquito Repellent

Mosquito season has arrived here in Central Texas and I’m on to my next ditch and switch. I’ve seen plenty of recipes for DIY Essential Oil Mosquito Repellent and I’ve taken what I’ve learned and applied it to my own blend of essential oils (all of which are know for repelling mosquitos).

Watch the video below to learn how to make this homemade, non toxic, and super safe mosquito repellent with me. Instruction are below the video if videos aren’t your thing or if you’re at work and supposed to be working or whatever and a video kinda ruins the secret.

Also for the record I used this after making the video and while everyone was getting mosquito bite after mosquito bite, I didn’t come home with a single one. It totally worked for me.


What you’ll need

4 ounce Glass Spray Bottle - I got mine on Amazon. You can find a link at the end of this blog post.

2 oz Witch Hazel - I actually used just under 2 oz. I used Thayers but any witch hazel brand will do. Word on the street is you can even sub with vodka so if you’ve got that laying around and you’re open to not drinking it, you can use that too.

2 oz Water - I actually used just under 2 oz.

Essential Oils (5 drops each) - Geranium, Citronella, Eucaluptus, Lavender, Lemongrass

Measuring Cup with ounces listed

Small Funnel - optional

Directions

Mix water, witch hazel, and 5 drops of each essential oil together in your 4 ounce bottle and give it a little shake. Use a funnel to pour if needed. Be sure to shake your bottle before each use.

This is safe to be applied to clothing or skin for the whole family (except very young infants. I always would suggest talking to your doctor about essential oil use when pregnant, breastfeeding or on infants).


Products from this post


Feel free to comment and let me know how this works for you or if you have a blend of oils you absolutely love for a bug repellent.

-Monica

As Seen in Issue 11 of the Magnolia Journal

IMG_2017.JPG

Issue No. 11 of the Magnolia Journal surrounds the idea of Freedom and inspires you to celebrate freedom in a number of ways. Maybe you celebrate freedom by choosing a path for you instead of what was expected, maybe it’s letting go of comforts to allow room for growth, maybe it’s packing out your kids into the car and living life on the road, or maybe it’s simply running through the grass barefoot on a summer day with literally nothing else to do. There’s even a summer bucket list that will inspire you to make this the best summer ever and live like you’re a kid again. If this sounds like your jam or you just want some of the grilled flatbread recipes (because they look freaking delicious and easy to make), go get it. If you just want to find a few Joanna Gaines approved items you can buy online, well then, I can help you with that. Just keep scrolling.


Backpack by Walker Family Goods

There’s an entire article about the Walker Family in this issue. They sound kind of amazing and I want to be them for like a week (likely I’d change my mind after 1 day in the car with my kids). Plus I’m just loving the vintage vibe of this bag.

Chemical Free Sunscreen

Look, I use the bad stuff on my kids too because it works. I’m trying to do better though and this one caught my eye.


Coconut Milk Roll On Perfume

There’s a seaweed + sea salt one I really want to try. I haven’t used perfume in years, but this makes me want to try.


But seriously, this issue has me saying all the yeses and I’m really anxious to try the spinach + artichoke flatbread and the tomato + basil flatbread. There’s even a recipe for chimichurri with avocado that sounds amazing too and since our outdoor kitchen is finally up and running, you can bet we might just be trying that one very soon with whatever steak I can get Tyler to cook. I don’t grill so if you know what an appropriate cut of mean for a chimichurri is, feel free to share.

So yeah, if you’re asking my opinion, I’d totally recommend issue no. 11 of the Magnolia Journal.

-Monica

5 Tips For Photographing Your Kids This Summer

Hey Moms, 

This morning it took me 5 minutes to find a parking spot at the YMCA and I was late to yoga.  And because I was late I had to do my practice at the front of the room facing sideways and on display for the whole class.  It wasn't a formal punishment or anything, it was just literally the last spot in the room.  I kind of just assumed everyone would be on vacation with this being the first Monday since school let out.  Nope.  I was wrong and I had really had to be on my yoga game this morning because I was just sure everyone was watching me the whole time (likely that wasn't the case, but whatever).  

Anyway, moral of the story is summer is here and summer adventures start hopefully this afternoon once everyone leaves the YMCA and takes their kids to do cool stuff.  

But what's a summer if you don't have proof it happened?  And if you're going to have photo evidence of this awesome summer, wouldn't it be cool if the photos matched the awesomeness?  I was sitting here brainstorming summer photography tips to capture your kids' epic summer.  For today, this is what comes to mind.


5 Photography Tips For Capturing Your Children This Summer


1. Let them get wet

Mainly this is because getting wet is fun for kids and they're destined to give you some real authentic (and probably happy) moments.  Also water mixed with some sweet light can make an image so interesting and fun.  Just look at the way the light shines through the water droplets here.  The photo wouldn't be the same without it.  So get out the hose, the sprinkler, slip and slide, pool, etc. and let your kids have a good time.  Swimsuit not required.  9 times out of 10 my kids are still fully clothed and soaking wet.

Saida-8716.jpg

Browns-7362.jpg
Corbin-9077.jpg

2. Look for the light (or even wait for it)

So this is kind of an obsession for most photographers.  It doesn't matter where I am or if I have my camera with me, I'm looking at light constantly.  Summer can be hard because a lot of what we do is in the middle of the day and that sun is bright, bright, bright.  That harsh light is fun to play with, but morning and evening light is where it's at for me 90% of the time.  Maybe we'll address the harsh light on another day.

This set of images is from an evening in the backyard.  Saida got on the trampoline and I could see the light streaming in there on her leg (picture on the left) and that light under the trampoline.  Because the sun was almost behind the fence I really want to use backlight (place the sun behind my subject) so I could get that beautiful golden summer glow.  I actually turned the trampoline around so I could shoot through the opening towards the sun and voila, beautiful golden summer evening images.  The light was so gorgeous that Saida didn't even have to do anything. 

This is what I first saw when I grabbed my camera. Light coming into the area of the trampoline. This okay I guess, but not the awesome summer evening vibe I was going for.

This is what I first saw when I grabbed my camera. Light coming into the area of the trampoline. This okay I guess, but not the awesome summer evening vibe I was going for.

Then I moved the trampoline so I could shoot through the open part with the sun behind Saida and this is what I saw.

Then I moved the trampoline so I could shoot through the open part with the sun behind Saida and this is what I saw.


Saida-8815.jpg

3. Don't forget the details

I could photograph just the details for the rest of my life and be a happy woman.  Lately my detail obsession as been hand and feet, but it could be anything really.  Hair blowing in the wind will also get me everytime.  Maybe it's also the sweet rock or shell your kid found or their missing two front teeth.  Don't leave these things out.  I promise they'll be a great addition to an end of summer photo album or just something so fun to look at and remember later on.

Saida-8818.jpg
Mock-8113.jpg

4. Capture the everyday stuff too

Summer can be epic and normal, right?  I think so.  These everyday moments are ones we forget about, but are generally just as awesome as those orchestrated summer moments.  Also this is just a reminder that you don't have to spend money or go anywhere to make beautiful summertime photos. You just have to get outside and allow you kids to be kids.

Saida-7990.jpg
Saida-7956.jpg

5. Don't ask them to smile (make them smile)

This actually sounds like I'm holding a gun to their heads and demanding a smile.  I swear that's not what I mean.  What I mean is play with your kids.  In this image I'm shooting and jumping over Saida on the trampoline.  This was actually her request and a great reminder to me.  Look for real smiles and interact with your kids in a way that gets you real smiles.  Get rid of the word "cheese", you don't need it.

Saida-8889.jpg

Hopefully this helps with summer plans and with those everyday moments.  Photography helps me be more present with my kids, which is a challenge for a lot of us moms with all the things on our plates.  Put those other things on the back burner (laundry, dishes, etc.) and just be there with your kids (look, I'm just as guilty as you are).  I promise you'll never remember a specific time the dishes didn't get washed immediately after a meal, but you just might remember that moment with your kids. 

Have an AWESOME SUMMER!!!!
 

-Monica 

Oven S'mores in Under 5 Minutes

Have you ever wondered how you can make s’mores at home in the oven? We have. We technically have 3 months between our last camping trip and our next one and we’re already missing the camping life with over 2 months to go. It’s funny really because the first time we did s’mores with our kids they hated them. I bought the jumbo marshmallows and it was just too much marshmallow (as if there is such a thing) and they didn’t like how messy it was. They’ve since come to love them and we’ve found a way to have them on any ole night at home in under 5 minutes without having to fire up the grill. This is literally the quickest and easiest s’more you ever made and I’d say it’s just as good as the ones we make on the open fire (I’m sure I’m being judged for this statement by campers everywhere and I’m okay with that). Seriously it’ll take you longer to read this blog post than it will to make the actual s’mores.

Now, I know that I’m not generally your recipe girl. I’m only sorta a decent cook. Basically I can follow instruction really well, but cooking really isn’t my thing, but also I’m not sure you can actually call this cooking so I think we’re good there. Plus this is so easy my kids can do it.

how to make s'mores in the oven

What you’re going to need

  • a cookie sheet

  • foil (optional)

  • graham cracker squares (2 for each s’more you plan to make)

  • medium size marshmallows (1 per s’more)

  • Hershey’s chocolate bar (2 individual pieces per s’more)

“Cooking” Instructions

  • set oven to a high broil (our options are high and low, but I think high is 550 degrees).

  • cover cookies sheet in foil if you’re like me and like the easy cleanup of just rolling up the foil and throwing it away.

  • set one (1) graham cracker square down for each s’more you plan to make.

  • add one (1) marshmallow to the top of each cracker.

  • Put in oven for 1-2 minutes or until the tops of the marshmallows are at your desired level of burnt (we’re all different so you do you). Just keep a close eye on it because broil can sneak up on you real fast.

  • Remove from oven and add 2 individual chocolate square to the top of each marshmallow.

  • Add top graham cracker to each s’more and give it a little squish.

  • enjoy!!!!

how to make s'mores in the oven
how to make s'mores at home
how to make s'mores in the oven
How to make oven s'mores
How to make s'mores in the oven

A Dreary Weekend at Lake Bastrop South Shore Park

So first things first, I’m just letting you know that if you’re showing up at Lake Bastrop South Shore Park after 4pm on a Friday with your camper, you need to call ahead and let them know. I’m not always the best at reading the fine print, but fortunately we knew our site number and the park host made sure we were good to go. In my defense, I originally planned on showing up at check in time, but life happens and it didn’t happen.

Lake Bastrop South Shore Park

Where’d we go camping?

Lake Bastrop South Shore Park (an LCRA Park)

Lake Bastrop South Shore Park is one of a collection of parks located along the Colorado River in Texas operated by the LCRA (Lower Colorado River Authority). We paid $22/night to stay in a water/electric RV site and then paid an entry of $5/day for just the adults. The park does have a dump station and I believe they also have just a few full hook up sites. If you don’t have an RV, cabins are also available for rent and of course you can bring your tent.

Site Number?

Site number 4. We made our reservations kind of late and I wasn’t actually excited about this site at the time of reservation. Turns out it’s (in my opinion) one of the best campsites in the park. It’s super spacious with a sufficient enough pad for our monster of a camper and it has a little trail right down to the water. You can actually see the water from the campsite when you’re looking down the trail. This site would be perfect for anyone planning to bring kayaks along as there is plenty of room and an area perfect for launching kayaks just at the end of the trail.

What did we do there?

So we have a running joke already in our household about my ability to choose camping weekends. This was only our 4th trip, but each trip has come with some kind of weather. The first one was cold and a little rainy, the second one was cold and super duper windy, the third was actually mostly okay, but it was a little cold in comparison to the weekends on either side of it, and this one came with the promise of legit storms, flash flooding, and potential for 2 inch hail. Yep, I sure know how to pick them. That being said we didn’t really get to take too much advantage of our time at the park this go around. I think we watched every movie in the camper at least once.

We spent some time down by the water near our campsite watching fish swim around, listening for and finding frogs, and just playing. We also explored the other community areas of the park which included fishing docks, a playground, boat rentals, and mini golf. Of course with the weather we didn’t get to do all of those things, but we were impressed with the amount of activities available. Hiking of course is also on the list of things you could do. You could even hike all the way to the North Shore of the park to the LCRA park there.

Campsite 4. This was our first night and the best weather and light of the entire trip.

Campsite 4. This was our first night and the best weather and light of the entire trip.

Pre bedtime exploration on night 1. This is the area just at the end of the trail from the campsite that would be great for launching a kayak or canoe.

Pre bedtime exploration on night 1. This is the area just at the end of the trail from the campsite that would be great for launching a kayak or canoe.

Camping at Lake Bastrop South Shore Park
Messy eater didn’t get cleaned up before setting off to explore.

Messy eater didn’t get cleaned up before setting off to explore.

Do you see the frog? This little guys were hanging out all over near the water. It was so fun to spot them.

Do you see the frog? This little guys were hanging out all over near the water. It was so fun to spot them.

Camping at Lake Bastrop South Shore Park
Looking for fish swimming around. There was actually a bass just off the shore. Would have been a great fishing spot.

Looking for fish swimming around. There was actually a bass just off the shore. Would have been a great fishing spot.

Next time bubba.

Next time bubba.

My heart.

My heart.

Fishing pier at the RV loop.

Fishing pier at the RV loop.

Part of the park playground.

Part of the park playground.

Swimming area. It was a little cold for swimming though.

Swimming area. It was a little cold for swimming though.

Love this quiet moment.

Love this quiet moment.

More from the swimming area at the main community area where the playground, mini golf, and boat rentals are located just off a large parking lot.

More from the swimming area at the main community area where the playground, mini golf, and boat rentals are located just off a large parking lot.

After this last photo we headed back to our campsite for lunch and Corbin’s nap. By the end of Corbin’s nap, the weather was starting to approach and any plans we had were out the window. We stayed inside the rest of the time and watched movies and waited on storms to pass.

Leaving the next morning was quite eventful. Check out is noon and all we saw on the radar was one storm after another. We packed up the inside of the camper and waited for a break and weather and then hooked up as fast was we could and hit up the dump station in the rain with thunder off in the distance not all that far away.

Ponchos are a definite must have to have on hand in your camper. If you don’t have them, go to the dollar store or jump on Amazon and order some now.

-Moninca


Other Products seen in this blog post

Disclaimer: These are affiliate links.

As Seen in Issue No. 10 of The Magnolia Journal

I’m a Johanna Gaines fan. For some that’s cool and for others I imagine they’re over it, but I could literally watch Fixer Upper all day. I don’t reall buy magazines, but I finally broke down the other day and bought my first issue of The Magnolia Journal and I kind of love it. It’s not over ran with ads and I love that not every single item in the magazine is from Magnolia Market or the Hearth and Hand section at Target. I was a little surprised really and from my surprise came this post. I’ve compiled some of the things from the magazine that can be purchased elsewhere and put them all here. It’s a little doormat heavy because I guess that’s a thing at the onset of spring when we’re all trying to freshen up our outdoor spaces. It makes me want a few more exterior doors. And I really think I’d like to have The Kaufman Merchantile Guide. It looks like one of those things you could get lost in for a little bit.

Disclaimer: Post contains a couple affiliate links.


IMG_1741.JPG
Screen Shot 2019-04-08 at 12.24.01 PM.png

Screen Shot 2019-04-08 at 12.32.10 PM.png
Screen Shot 2019-04-08 at 12.35.45 PM.png

Screen Shot 2019-04-08 at 12.41.31 PM.png
Screen Shot 2019-04-08 at 2.15.20 PM.png

Screen Shot 2019-04-08 at 2.24.03 PM.png
Screen Shot 2019-04-08 at 2.33.37 PM.png

If you’ve ever thought about checking out the magazine and haven’t, I’d recommend picking one up. This issue had articles about authenticity and monthly journal prompts in addition to just being eye candy. I love the positive vibe and plan on subscribing.

-Monica

Building a Tract Home: What I Would and Wouldn't Do Again

Okay so the truth is I wouldn’t build another tract home (or cookie cutter home) again. That’s just me being real about the whole deal. Very little about the process was enjoyable and the stress didn’t end once our house was done. But I also understand that sometimes this is your only or your best option. That’s the boat we were in when we built our house. I could go on and on about our situation, but it’s not important and I can ramble with the best of them so let’s just skip over that and move on to what you came here for.

Disclaimer: This is all based on the experience we had with our builder. Upgrades, options, and standard inclusions vary depending on builder and I can only speak of our experience and hope it helps.

What I would do

  • Add can lights wherever possible. We did can lights in our bedroom because I didn’t want a light kit on the fan and we added them in our living room for the same reason. It just cleaned everything up and I’d defintley do it again.

  • Upgrade to taller doors. I never thought of this, but the model home had it done and it’s amazing how taller doors throughout your home can make it feel bigger and just overall give it a more open and grand appearance and for not a lot more money.

  • Add electrical outlets outside. We added one at the front corner of our house for Christmas lights and blow ups. Thank goodness for that plug. We also added one to the porch ceiling and it’s perfect for our string lights.

  • Add a gas stub out to your back porch (if you have gas in your home). Nobody wants to change out propane tanks for the grill. Now we don’t have to. We also added an electrical outlet and water to the back porch because we’re building an outdoor kitchen. Paying the builder to put in an outdoor kitchen was hefty so we decided we’d just have them add these things and then we’d do it ourselves.

  • Add the third car garage and extend the length. Okay so this may not be as big of a deal for everyone as it was for us, but we don’t regret it and our garage is the envy of our neighbors. The garages in these track homes are so short and we’re the only one who can actually get a mid size SUV in their garage. We also added the third car garage so my handy husband could have a dedicated workshop area.

  • Pay extra for white ceilings. Or better yet, just paint the whole house white. The builder paint is so terrible and we ended up repainting the entire thing anyway and I was glad the ceilings were already white. We actually argued about this one so don’t tell Tyler I actually agree with him now.

  • Get another Blanco sink. Y’all I love these things. It’s a granite composite sink that is not only beautiful, but also so easy to clean and maintain.

  • Upgrade the baseboards and cabinets. We didn’t do this and I wish we would have. We were pinching pennies and to go with what was included and I really wish we had shaker cabinets and the big squared off baseboard.

  • Upgrade shower and bath fixtures. I mean the ones that aren’t going to be easy to switch out yourself. We would literally have to bust out walls to change some things out and I regret not getting what I wanted from the builder.

  • Add irrigation. Our builder charged extra to put it in the back, but it was something we wanted and the upgrade amount seemed totally worth it.

What I Wouldn’t Do

  • Upgrade light fixtures. This is something else they builder tried to charge us a small forture for and what they had to offer wasn’t even in style (hadn’t been for years) and the quality wasn’t great. Let them put the basic light fixtures in and then come in and change them out afterwards.

  • Upgrade areas that can be carpeted. There are two reasons for this. One is that they charge you too much for just okay material. You can get something nicer for way cheaper from a reputable flooring company than you’ll get it from the builder. Carpet is easy to rip up. The other reason is the sub contractors the builder hires are not great. If they mess something up (and they will) it’s not an easy fix. If it’s an area that has to be tiled, go ahead and have the builder do the tile and get one you actually want.

I hope this helped in some way or at least got you thinking about what makes sense for your family in your new home build. Really decide what’s important and what you don’t want to have to deal with later. Ask yourself when you’re in design if these are the things you really actually want and bring you joy or if it even matters to you. We make some really great decisions and ones I regret. Good luck and feel free to share your woulds and would nots in the comments.

-Monica

Header Photo by David McBee from Pexels

Spring Break at Inks Lake State Park

You know what Saida and I fought about just before heading out with the camper to Inks Lake State Park? She didn’t want to go and and kept telling me we should just stay home. Homegirl junior. Not that she cares, but I had to pull the “well mommy and daddy don’t spend too much money a month on this camper to not go anywhere so do you think we should go camping or do you want to sell the camper?”

Obviously we went camping. I won’t say she didn’t cry about it for an hour and half on the way there though because she totally did.

Where’d we go?

Inks Lake State Park (and Longhorn Cavern State Park for a couple hours)

Site number?

West Loop, Site 43. I’d highly recommend this site especially if you like being right on the water and you like having the park store nearby with boat rentals and such. It is very close to the park store though and when they did fishing with a park ranger, there was a lot of foot traffic on the trail between 42 and 43. We didn’t mind, but if you do, consider a different site. And also fair warning, someone did mention to me on the Texas RV Camping Facebook page that they had seen a rattlesnake and some water moccasins in this particular area. We kept and eye out, but never saw anything.

What we did while we were there

Camped, hiked, paddle boated, made memories with family, made s’mores and hamburgers, watched movies in the camper (we’re real people), fished, hit up the park store for ice cream, made a quick trip to Longhorn Cavern State Park to take a cave tour.

Other Things you can do there

They have at least 2 playgrounds, a Kona Ice truck, kayaks, canoes, more hiking trails, swimming in the lake & events depending on the day. Also I had my eye on a winery up Park Road 4 called Perissos Vinyard and Winery, but we didn’t actually go there.


Around the campsite

Campsite 43. You can see the canoes from the park store behind the camper.

Campsite 43. You can see the canoes from the park store behind the camper.

Golden hour behind our campsite looking towards the park store.

Golden hour behind our campsite looking towards the park store.

From our campsite (43) looking out over the cove.

From our campsite (43) looking out over the cove.

Camping at Inks Lake State Park in Texas

Hiking

Camping at Inks Lake State Park in Texas

My kids aren’t exactly experienced hikers so when picking out a hike, we went for something that appeared manageable. We chose Lower and Upper Fisherman’s Trail and essentially made a loop. We ended up on the dark green trail for a few minutes so we walked a little further than originally anticipated, but overall this was a great trail for them. They got to climb a little, see the lake, and it wasn’t too long or challenging for them (ages 3 and 5). Corbin fell a few times, but that’s mainly because he’s a little more clumsy than your average 3 year old.

Upper Fisherman’s Trail

Upper Fisherman’s Trail

Lower Fisherman’s Trail and they were only climbing because the wanted to. This is actually just above the trail.

Lower Fisherman’s Trail and they were only climbing because the wanted to. This is actually just above the trail.


Paddle Boats

Anyone curious what happens when I ask my kids to stand next to each other for a picture? THIS! This is what happens. This is why I don’t ask them to do it. Also the only reason I have this sad image is because we were about to buy ice cream and they weren’t taking a chance of not getting it. Also this was after getting off the paddle boats which ended up being a disaster because everyone was tired and both kids (who couldn’t even really reach the peddles) wanted to be able to peddle at the same time. We didn’t even use our full hour and then when I asked Saida what her favorite part of camping was after we’d been home a few days, she said the paddle boats. Blew my mind. I’m like you mean that thing we did where everyone whined the whole time. They really did have a great camping trip overall though.

Camping at Inks Lake State Park in Texas

Longhorn Cavern State Park

Camping at Inks Lake State Park in Texas and Longhorn Cavern

Longhorn Cavern State Park really wasn’t on our list of things to do on this trip, but when we realized it was literally down the street from Inks Lake State Park, we decided why not. To be honest I really wasn’t sure what we were getting into. I thought we could explore a cave on our own for like 20 minute and then go hit some trails (because from what I can tell they have some super easy and kid friendly trails), but turns out this cavern is much more expansive than I originally thought and it’s only accessible by a 90 minute guided tour. Obviously we took the tour and decided against any hiking trails since we were well into nap time by the time we finished. The kids absolutely loved it. Corbin was a litte over it about an hour in (because it was nap time) but overall he did really well (thank goodness).


We’re only three camping trips in, but so far we’ve really enjoyed each one. I think the kids are anxious to come back here again sometime soon. My final thought is that it’s a fantastic park for families and next time we look forward to bringing bikes for the kids as well. Maybe I’ll even hit up that winery and report back.

-Monica

Weekend Wrap Up: Lots of Sanding and A Little Bit of Crawfish

Photo Mar 11, 12 39 23 PM.jpg

This weekend was a weekend of I’m not really sure where the time went or what all got done. I guess technically we did lose an hour, but even still…

Photo Mar 08, 4 01 58 PM.jpg

I’d hoped to finish up some projects this weekend that just weren’t moving along as expected. Lots of lots of sanding went down and I think the sanding part might finally be done. And let’s be real, kids need things so it’s not like these things ever get my full attention for too long. Here’s a visual of what we’re working on. I’m sanding and staining multiple projects at a time because they’ll all get stained the same color and it seems like the easiest way to control having them all look the same. Sometimes I just eyeball the stain mixture and don’t actually measure so… yeah. The picture ledge will get painted the same white as the shiplap, but the rest of these are getting stained.

Photo Mar 11, 6 17 08 PM.jpg

I feel like the frames for the mirrors are going to take our bathrooms to a whole new level and I’m really excited about it. Our master bathroom especially is in major need of a transformation and paint and framing the mirrors seem like the biggest bang for our buck. We’ve also got some inexpensive light fixtures from Lowe’s that will be mounted into the header portion of the frame. The top of the frame is a 1x10 and the rest of the frame is going to be made out of 1x4s.

I painted a couple of accent walls black (one in our bathroom and one in the office). I don’t regret it, but admittedly I do regret the sheen. Before we can finish and install the floating shelves, I have to head back to Home Depot for more paint. I went with an eggshell by mistake thinking that was what we used for our outdoor kitchen, but the outdoor kitchen is a satin. I think I may purchase a matte this go around. I did try to sand down the sheen because I saw something on the internet that said I could, but our texture is too heavy for this idea to work so back to painting I go.

Saturday evening we attended a random crawfish boil at our home builder’s house. Two years later he and Tyler still keep in touch even though we were a tough customer. The picture below is all the kids (except Corbin) and their big hearts letting the last two crawfish go. Saida is there on the left cautiously watching the release go down. She was curious, but not interested in getting anywhere near those pinchers.

IMG_1297.jpg

Galveston Island Camping Trip: More of My Happy

If you’ve known me for more than 5 minutes, you probably know that the beach/bay is the place my soul craves. Our latest camping trip to Galveston Island State Park was gloomy, windy, and cold. I didn’t care. It rained all weekend at home so gloomy, windy, and cold with a bay view seemed just fine to me. The sun came out on our last morning just as it was about time to start packing up. We decided to spend just 30 more minutes exploring before we had to leave and the dunes on the beach side of the island is where we ended up. They called it their mountain. They were in thier own kind of heaven and I can’t even explain to you how overwhelmingly happy and at peace I was in this moment. It’s the kind of happy and peaceful you forget exists until it sneaks up on you. There isn’t a worry or a care in the world because in that moment nothing else matters except being present and completely soaking it in and storing it in a place to keep you content until that feeling sneaks up on you again.

Beachside at Galveston Island State Park

Beachside at Galveston Island State Park

Leaving was the hardest thing. Nobody wanted to go.

More of my favorites from our trip below.

Galveston Island State Park Hiking Trail

Galveston Island State Park Hiking Trail

Lensbaby detail in the camper

Lensbaby detail in the camper

Saki Monkeys inside the Rainforest Pyramid at Moody Gardens

Saki Monkeys inside the Rainforest Pyramid at Moody Gardens

Outside Moody Gardens Rainforest Pryramid

Outside Moody Gardens Rainforest Pryramid

Inside Moody Gardens Rainforest Pyramid

Inside Moody Gardens Rainforest Pyramid

Walkways over the intercoastal at Galveston Island State Park

Walkways over the intercoastal at Galveston Island State Park

camping-4984.jpg
Hiking at Galveston Island State Park

Hiking at Galveston Island State Park

Camper window light with a lensbaby

Camper window light with a lensbaby

We stayed with our RV at Galveston Island State Park on the bayside in site 55. I feel like sites 58-64 would be ideal in terms of a killer view of the bay. That’s my goal for next time. I think I acutally prefer the bayside to the beachside. The bay has a sense of calm that is totally my jam so I think I’d do that again.

We try to keep things simple. This was a quick trip so Moody Gardens Rainforest Pyramid is the only attraction we spent money on. We did things like drive by port on Saturday while two ships were in and the kids thought that was cool. We didn’t take the ferry this time, but kids also love that and it’s free. Just do it when it’s not crowded. In the past we’ve done the offshore oil rig museum which is pretty cool and affordable and just right there by the cruise ships, just with the wind we skipped it this time. I think Corbin would love it though so I want to take him to do that someday. What I really wanted to do was the oil rig museum at 4pm when the ships left so we could wave to the cruisers on deck as it passed by. That would have been cool, but our go with the flow attitude meant we weren’t around for that. Exploring the park and connecting with nature was priority for me even though we made time for fun in town too.


Looking for an RV Park or Resort on the Texas Coast? I’ve got a list of more than 60 Parks just waiting for you to book. Click the button below to see the list.

The Picture That Sums up Why we Bought a Camper / Our Trip to McKinney Falls State Park

I promised myself I’d start blogging about our camping trips once we actually started taking them. I wasn’t sure what these blog posts would be exactly. I’m pretty sure I was thinking at some point I would become some sort of camping expert and people would flock to my blog to hear about our trips and what cool things I did/cooked that they too need to be doing, but I’m not sure this is where that is going. Big dreams, huh? I feel inspired for like 5 minutes and then it’s gone so…. Also, like, I’m never going to be that person. EVER. I don’t have my shit nearly enough together for that.

This morning I edited a picture from our trip that basically sums up our reason for buying a camper and trying to take a camping trip every month. Do you want to see it? Not that your answer matters because I’m going to show it to you whether you want to or not.

Here it is…

saida-2462.jpg

You: But Monica, that’s just a blurry photo of your child swinging on her hammock. How could that possibly sum up your reasons for buying a camper?

Me: Um no, it’s not. That photo right there is a feeling.

But for real, the out of focus element of this image is giving me this out of body experience where time has slowed significantly and I’m just exactly where I’m supposed to be. It’s that thing I was reaching for when we bought our camper. It’s that thing I’ve wasted the past 6 months or so of my life anxiously awaiting. It’s that thing we’ve been missing in this life that doesn’t ever seem to slow down. It just goes faster and faster and faster and we were afraid that before we knew it we’d wake up and our kids would be grown and we would have let the opportunity for these kinds of experiences pass us up.

It’s easy to skip these things over. It’s easy to say, “Well, life is just to damn busy to stop right now.” We live in a world where we have to intentionally schedule time to slow down and so that’s what we’re doing.

Me: You wanna see more of my favorites from this trip to McKinney Falls State Park?

You: Yes, Monica. I can’t think of anything I’d love more.

saida-2194.jpg
saida-2742.jpg
Corbin-2697.jpg
Corbin-2395.jpg
browns-2631.jpg
Corbin-2623.jpg

Where we stayed: McKinney Falls State Park in Austin, Texas

Campsite: 18, (1 of 12 50 amp sites with water and electric). Very large pull through campsite with one site very close by (worked out fine because they never came out of their camper) and next to the bathrooms which turned out to not be a big deal at all. In fact when Corbin pooped in his pull up we were just thankful there was a dumpster nearby.

Just a Little Personal Work

So what do I do when I’m not photographing lifestyle family and newborn sessions for all of these amazing Central Texas and Austin area families?

I have impromptu mini sessions with my kids in sweet light and then swoon over them for a bit and oh my goodness does it make my heart happy.

Saida-5021-4.jpg
Corbin-5153.jpg
Corbin-5102.jpg

Think of Someplace Warm

So I love yoga partly because I sometimes get to have these day dreamy moments at the instruction of my yoga teacher and nobody gets to ruin them by asking for fruit snacks or milk. It’s not every time I go, but I hadn’t actually been in over two weeks and my body and mind were screaming for some me time on the mat.

It was 90 degrees yesterday. It’s 45 degrees today so during a pre-class child’s pose Maria (my yoga instructor) asked us to think of someplace warm. 10 times out of 10 when you ask me to think of someplace warm, I’m going to think of my toes in the sand, the sun on my face, and gentle waves slowly lulling me to sleep. It’s my go to. I tried to go there today and you know what? I didn’t want to be there.

Who am I? Why do I not want to be at the beach? What other warm place could I possibly want to go?

And then I had my most favorite day dream of someplace warm to date. It was cold outside in this day dream (much like today), but I was snuggled in close on the couch in our new to us camper in front of the TV and space heater fireplace with the three people who mean the most to me in all the world. Wrapped in blankets we’re happy and warm and just soaking in all the goodness that is family confined to a small space. We’re drinking hot chocolate, the kids are laughing (I can actually hear Corbin laughing in my head and it makes me smile), Tyler and I are beaming with pride for the family we created, and I literally can’t think of anywhere else I’d rather be.

adventure.png

I can’t wait to start sharing our camping adventures with you. I love that we’re calling them adventures. I was showing Saida all the places we’d go and instead of asking where we’d camp next, she asked me to tell her what the next adventure would be. It was painful actually signing the paperwork for the second most expensive thing we currently own, but hearing her put it that way makes me realize I would have gladly paid even more to make these adventures her reality. These are the moments we were absolutely meant to live together and I’m glad we get to start sooner rather than later.

Stay tuned.

- Monica

Why We Invested In Memories Over Real Estate

There was this brief moment a few weeks ago where Tyler and I seriously considered buying a house. As seriously as we’ve done anything we were planning renovations for each room and really trying to understand the layout and falling in love with the sweet lot the house sat on. We’d only seen it in pictures and it just hit the market and literally every single room was going to need renovations. I’m down for renovations, don’t get me wrong, but there wasn’t going to be any money left for renovations.

That morning we’d been camper shopping so we were thrown for a loop when we saw this property pop up. Our options were camper or house, but not both. We already have a house so it’s not like we don’t have a place to be, but real estate is always a good investment, right? Campers just depreciate over time and all that.

Monica-3457.jpg

Sooooo, we passed up a super awesome real estate opportunity and decided to buy a camper. It wasn’t quite that simple, but it’s what we did. Here is what it came down to for me.

Real Estate vs. Memories

We got stuck in one of those time share presentations back in April in Sedona. We had no intention of buying, but there we were trying to collect the $100 promised to us for sitting through it. Side note: Don’t ever sit through one of these things for only $100. Ask them for the world before you show up and negotiate something much better than $100. Anyway, they ask you all these questions trying to guilt you into buying a timeshare because if you don’t, you obvioulsy don’t love your kids or your mother-in-law. Legit this is what the dude working for Diamond Resorts more or less told me. I wish I was kidding. The thing that made sense from that presentation was investing in memories. We’re not timeshare people, but that doesn’t mean I don’t want to start making the kinds of memories I cherish from my childhood with my own children. So we bought a camper and invested in moments and memories for our family. We can buy an new house with more land later after we handle some more things financially, but I’d prefer to start making the memories now. Each day is a gift and it would sure be a shame if we let these years pass us by with regret. Something tells me we’ll never regret a single day spent with our kiddos exploring nature and making s’mores.